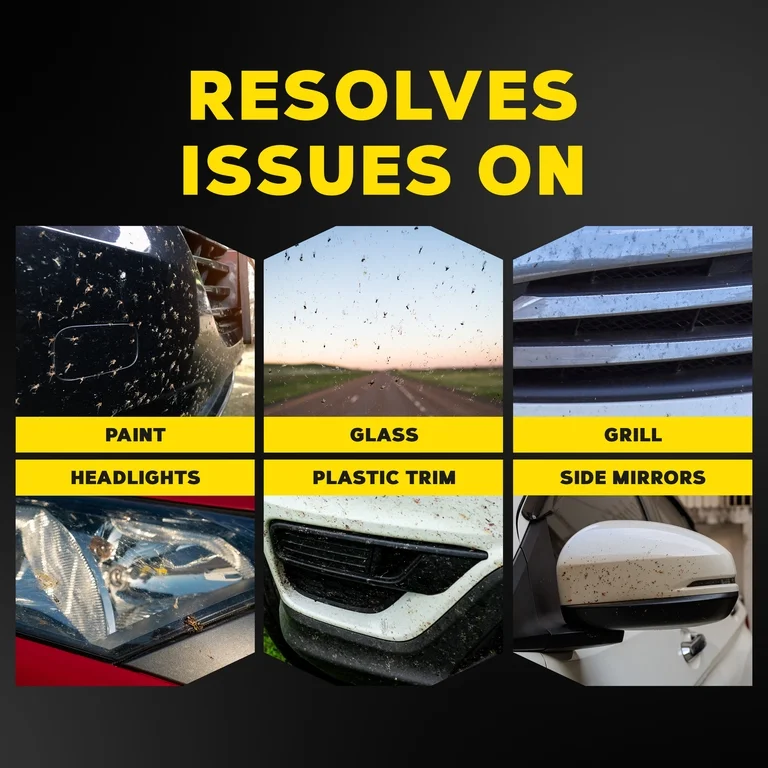
Your car’s plastic headlights and mirrors often bear the brunt of bug splatters after a long drive. These stubborn marks not only ruin your vehicle’s appearance but can also reduce visibility and safety.
You might wonder, what’s the best way to get rid of these pesky bugs without damaging those delicate surfaces? If you’ve been tempted to use common bug sprays or household hacks, it’s crucial to understand what works and what can cause harm.
You’ll discover safe and effective bug remover options designed specifically for plastic headlights and mirrors—helping you restore that clear shine and keep your car looking its best. Keep reading to learn how to protect your investment and enjoy crystal-clear views every time you hit the road.
Choosing Bug Removers
Choosing the right bug remover for plastic headlights and mirrors protects your vehicle’s surfaces. Many products can clean bugs but may damage plastic parts. A good remover cleans effectively without harming plastic or leaving residue. Understanding ingredients and brands helps pick the best option for your car. You can choose between store-bought products and do-it-yourself solutions. Each choice has benefits and risks to consider before use.
Safe Ingredients For Plastic
Safe bug removers contain gentle ingredients that do not harm plastic. Look for cleaners with water-based formulas and mild detergents. Avoid harsh chemicals like ammonia, bleach, or strong solvents. These can cause clouding or cracks on plastic surfaces. Ingredients such as citrus extracts or biodegradable surfactants work well. They remove bugs without scratching or fading headlights and mirrors. Always check product labels to ensure plastic safety.
Top Brands And Products
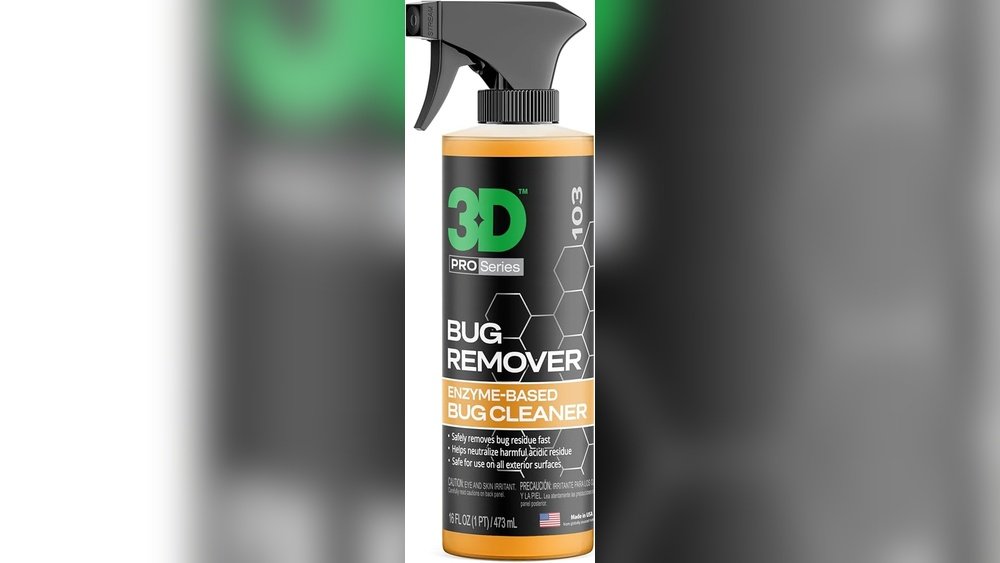
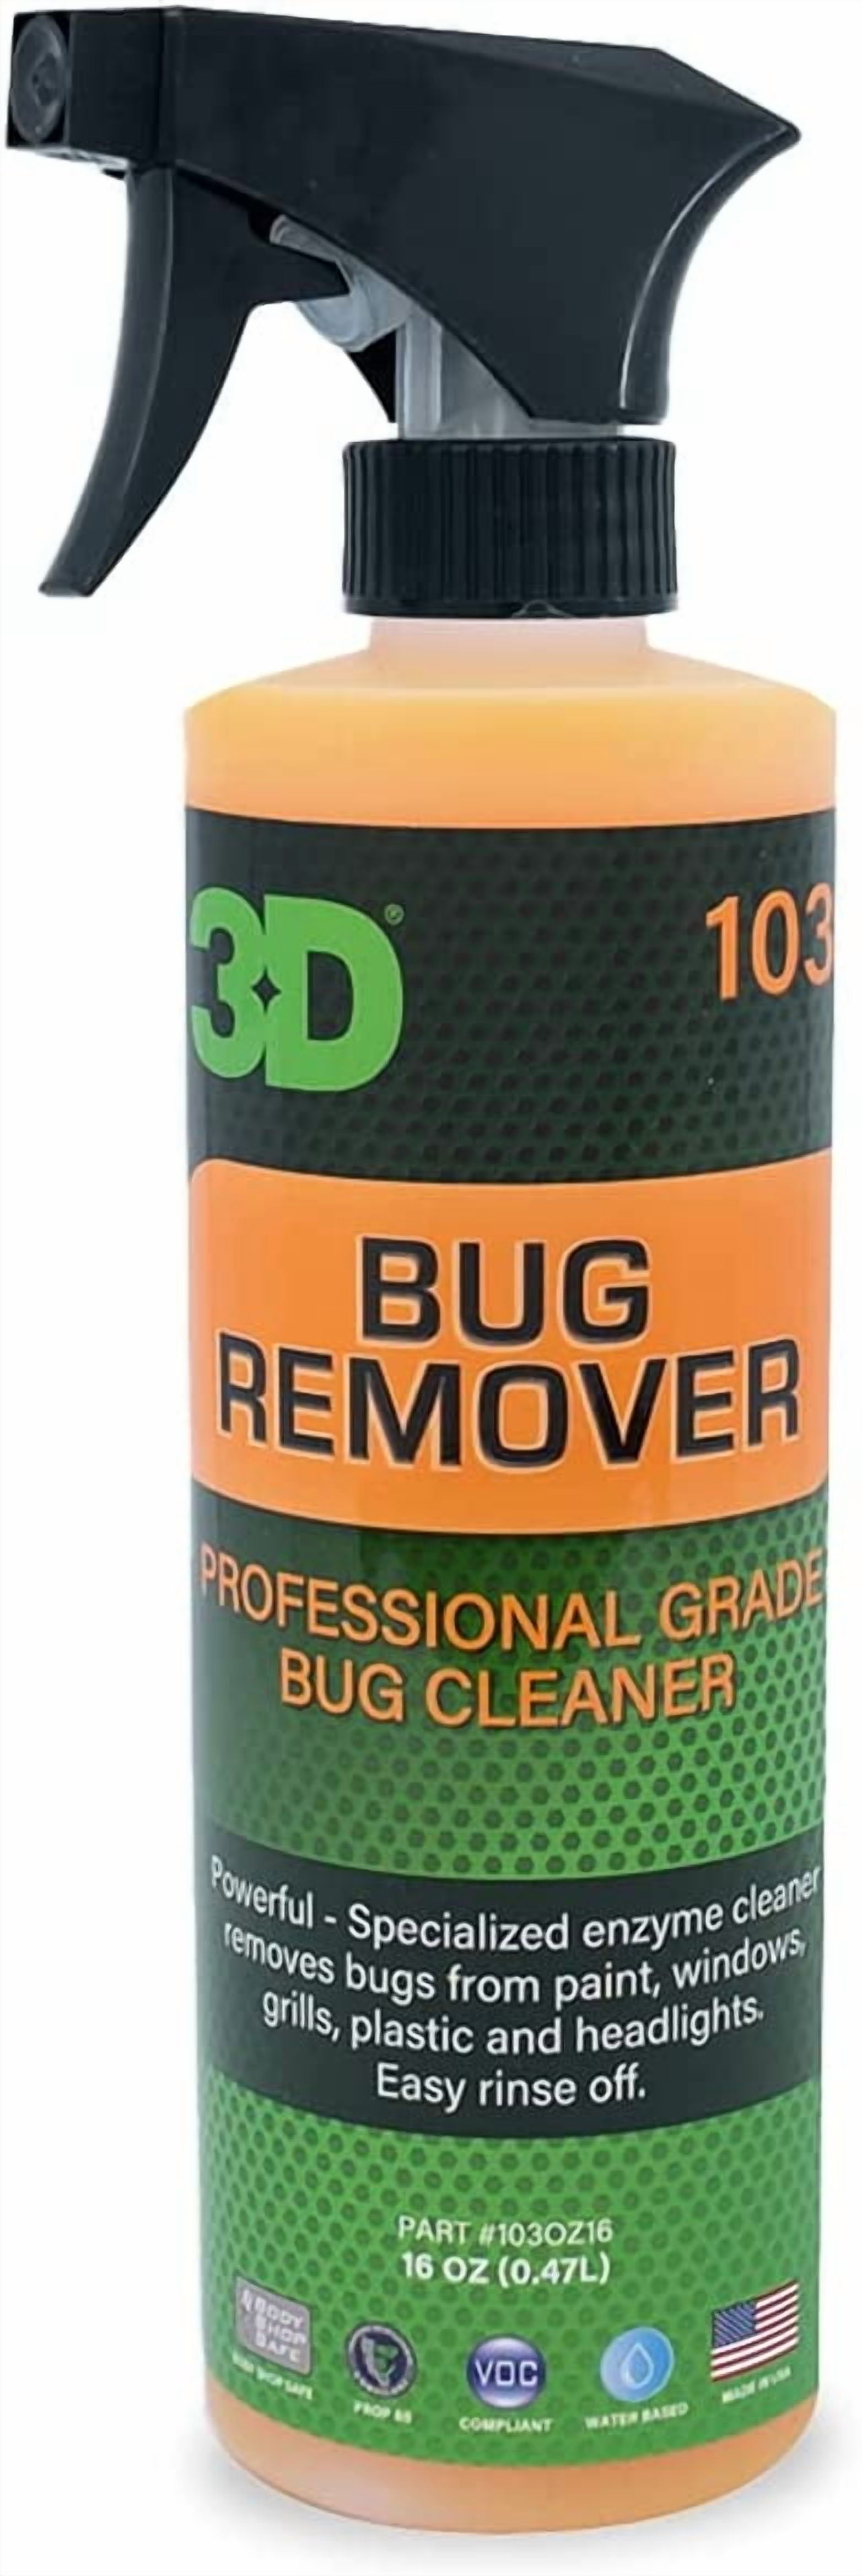
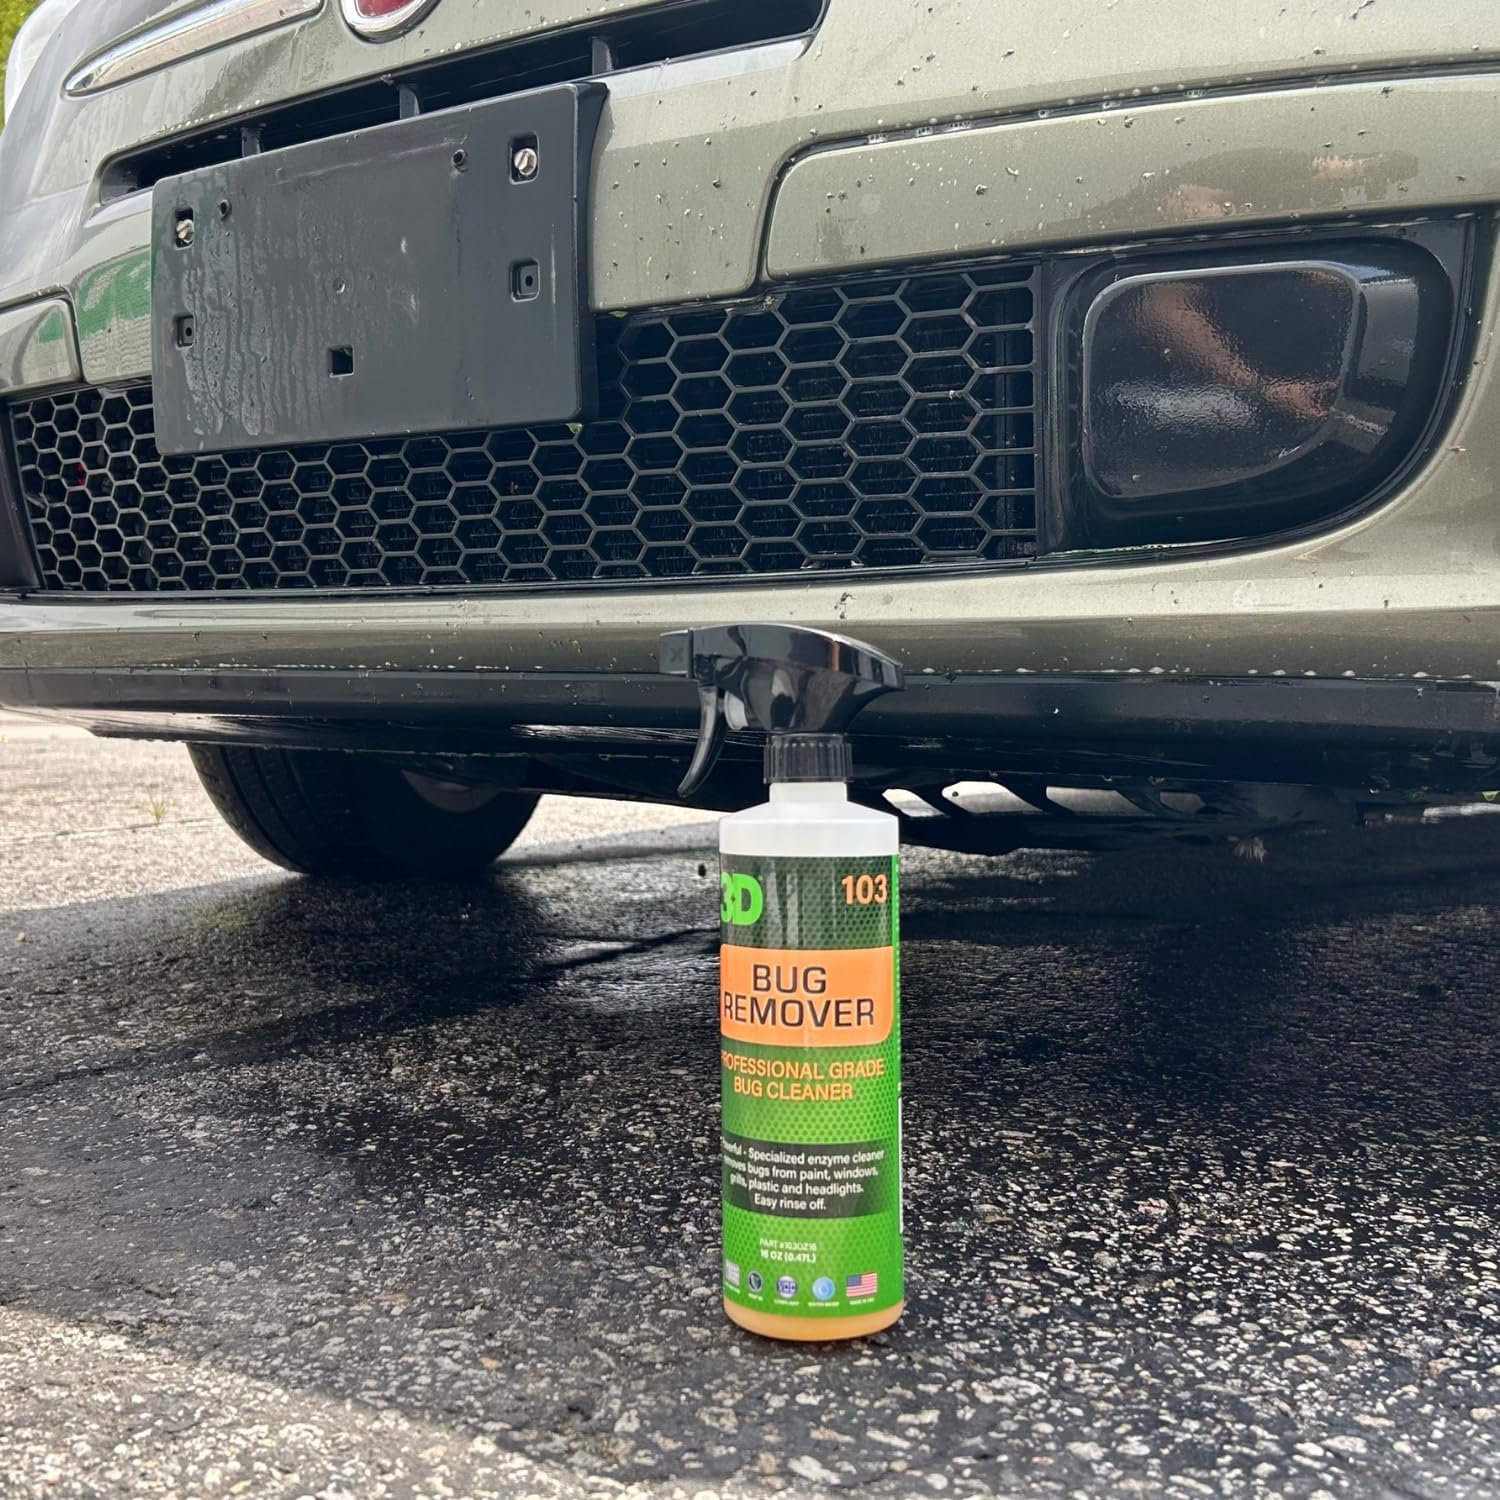
Some brands specialize in bug removers safe for plastic parts. Meguiar’s Bug & Tar Remover is popular for gentle cleaning and quick bug removal. Adam’s Bug Remover offers effective cleaning with safe ingredients. Griot’s Garage Bug & Smudge Remover cleans bugs without leaving streaks. Many of these products also protect surfaces after cleaning. Choose products with good reviews for plastic headlights and mirrors. Trusted brands reduce the risk of damaging your vehicle.
Diy Vs Commercial Solutions
DIY bug removers use household items like vinegar, soap, or baking soda. These can clean bugs but might not be as effective or gentle. Commercial products are tested for plastic safety and fast results. DIY solutions may need more effort and risk slight damage. Commercial options offer convenience and consistent results. Consider your budget and time before choosing between DIY and store-bought removers.
Credit: zavala.es
Preparing Surfaces
Preparing plastic headlights and mirrors before applying bug remover is essential. Proper preparation ensures effective cleaning without damage. This step makes bug removal easier and safer for your vehicle’s surfaces.
Cleaning Before Bug Removal
Start by washing the headlights and mirrors with water. Use a mild soap to remove dirt and grime. Dry the surfaces with a soft cloth. This prevents scratching during bug removal.
Protecting Surrounding Areas
Cover nearby paint and trim with masking tape. This protects them from harsh chemicals. Use plastic sheets or cloth to shield larger areas. Protection helps avoid accidental damage.
Tools You’ll Need
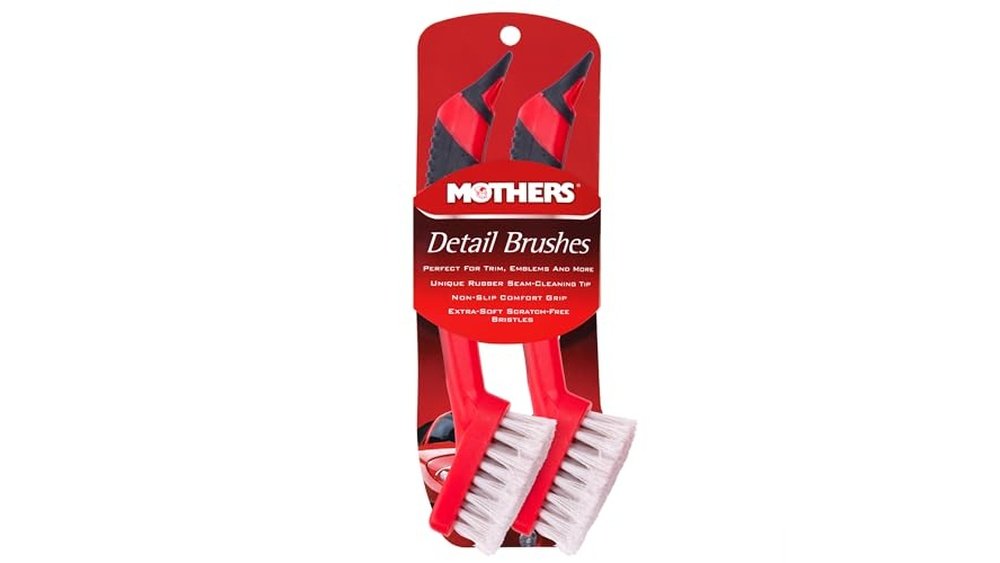
Gather soft microfiber cloths for cleaning and drying. Have a gentle bug remover solution ready. Use a spray bottle for easy application. A soft-bristle brush can help with stubborn spots. Proper tools make the process smooth and safe.
Removing Bugs From Headlights
Removing bugs from headlights improves visibility and car appearance. Bug splatters can block light and look unpleasant. Cleaning headlights regularly keeps your plastic lenses clear and bright. Use proper methods to protect the plastic and avoid damage.
Step-by-step Cleaning Process
First, rinse headlights with water to remove loose dirt. Apply bug remover spray or a mild soap solution. Let it sit for a minute to soften the bugs. Use a soft cloth or sponge to wipe off residue gently. Rinse again with clean water. Dry with a microfiber towel to prevent water spots.
Avoiding Scratches And Damage
Always use soft cloths or sponges to clean headlights. Avoid harsh scrubbing or abrasive materials. Do not use strong chemicals that can harm plastic surfaces. Test any cleaner on a small area first. Work in the shade to prevent cleaner from drying too fast.
Handling Stubborn Residue
For tough bug residue, apply bug remover twice if needed. Use a plastic-safe cleaner to avoid haze or cloudiness. Gently rub with a soft brush for stuck spots. Avoid sharp tools or scrapers that can scratch plastic. Finish by rinsing and drying to restore clarity.
Credit: www.walmart.com
Cleaning Mirrors Effectively
Cleaning mirrors effectively requires a gentle approach to protect their reflective surfaces. Unlike headlights, mirrors have a delicate coating that can easily scratch or dull. Proper cleaning removes bugs, dirt, and grime without causing damage. Use the right tools and techniques to keep mirrors clear and shiny for safe driving.
Differences From Headlight Cleaning
Mirrors have a smooth, reflective coating that is more sensitive than plastic headlights. Headlights are made of thicker, tougher plastic that can handle stronger cleaners. Bug removers designed for headlights may contain harsh chemicals that damage mirror surfaces. Avoid abrasive scrubbing, which can cause tiny scratches on mirrors. Use mild cleaners or specialized products made for mirrors.
Best Practices For Mirror Surfaces
Start by rinsing mirrors with water to remove loose dirt and bugs. Apply a gentle bug remover or a diluted soap solution. Use a soft microfiber cloth to wipe the surface in a circular motion. Avoid paper towels or rough cloths that can scratch the mirror. Dry the mirror with a clean, dry microfiber cloth to prevent streaks. Repeat cleaning regularly to maintain clear visibility.
Common Mistakes To Avoid
Removing bugs from plastic headlights and mirrors improves visibility and keeps your car looking good. Many drivers make simple mistakes that can damage these surfaces. Avoiding these errors saves money and effort. Below are common mistakes to watch out for during bug removal.
Using Harmful Chemicals
Some cleaners contain harsh chemicals that can damage plastic headlights. Avoid products with strong acids, ammonia, or solvents. These substances can cause cloudiness or cracks on plastic surfaces. Choose gentle, plastic-safe bug removers instead. Always check product labels before use.
Over-scrubbing And Abrasion
Scrubbing too hard or using rough cloths can scratch headlights and mirrors. Scratches reduce clarity and worsen over time. Use soft microfiber cloths or sponges. Clean gently in circular motions. Let the cleaner do the work to avoid unnecessary damage.
Ignoring Protective Coatings
Many headlights have protective coatings to prevent UV damage and yellowing. Strong chemicals or aggressive cleaning can strip these coatings. Losing protection makes headlights more vulnerable to bugs and dirt. After cleaning, apply a protective sealant or wax to maintain the coating. This step extends the life of your headlights.
Restoring Headlight Clarity
Restoring headlight clarity improves both safety and car appearance. Cloudy headlights reduce light output and make night driving risky. Dirt, bugs, and oxidation cause the dull look on plastic headlights and mirrors. Removing these layers carefully brings back the original shine and brightness.
This section covers practical methods to restore clarity using simple steps. Learn how polishing, protective sealants, and knowing when to replace can extend headlight life.
Polishing Techniques
Start by cleaning the headlight surface with soap and water. Dry it completely before polishing. Use a plastic polish or a mild abrasive compound. Apply polish with a soft cloth in small circular motions. Avoid harsh scrubbing to prevent scratches.
For deeper oxidation, use fine-grit sandpaper wet sanding. Sand lightly and evenly, then polish. Repeat polishing until clarity improves. Finish by wiping off residue with a clean microfiber cloth.
Using Protective Sealants
After polishing, apply a protective sealant to guard against future damage. Sealants create a barrier against UV rays and bug residue. Use a sealant designed for plastic headlights. Apply evenly and allow it to dry fully.
Regular use of sealants prolongs clarity and reduces oxidation speed. Reapply sealant every few months for best results. This step keeps headlights brighter and cleaner longer.
When To Consider Replacement
If headlights remain foggy after cleaning and polishing, replacement may be necessary. Deep cracks or severe yellowing cannot be fixed with polish alone. Damaged headlights reduce visibility and can be unsafe.
Check local regulations for headlight standards. Replace headlights with quality parts for better durability. Proper replacement restores full clarity and improves driving safety.
Maintaining Clean Surfaces
Maintaining clean surfaces on plastic headlights and mirrors is key for safe driving and clear visibility. Dirt, bugs, and grime build up quickly on these surfaces. This buildup reduces light output and can cause damage over time. Regular care keeps plastic parts looking new and working well. Simple cleaning habits help prevent stubborn stains and scratches. Follow easy steps to keep headlights and mirrors spotless.
Regular Cleaning Tips
Wash headlights and mirrors with mild soap and water. Use a soft cloth or sponge to avoid scratches. Rinse thoroughly to remove all soap residue. Dry with a clean microfiber towel to prevent water spots. Avoid harsh chemicals that can damage plastic surfaces. Clean these parts at least once a week to stop dirt buildup.
Preventing Bug Buildup
Bugs stick easily to headlights and mirrors during drives. Clean bugs off as soon as possible to avoid stains. Use a bug remover designed for plastic surfaces. Spray on and let it sit for a few minutes before wiping. Avoid scrubbing hard, which can cause scratches. Parking in a garage or shaded area can reduce bug contact.
Seasonal Care Advice
Winter and summer bring different challenges to headlights and mirrors. In winter, salt and road grime build up quickly. Wash these surfaces more often to prevent damage. In summer, heat can cause plastic to fade or crack. Use protective sprays made for plastic surfaces. Check headlights and mirrors before long trips each season for best results.
Credit: www.ubuy.fr
Frequently Asked Questions
Is It Safe To Use Bug Spray On Headlights?
Using bug spray on headlights is unsafe. DEET melts plastic, causing permanent damage and sticky surfaces that haze quickly. Choose dedicated plastic-safe cleaners instead.
Does Bug Spray Work To Clean Your Headlights?
Bug spray may temporarily clear headlights by melting the plastic surface. This causes permanent damage and a sticky, hazy finish. Avoid using bug spray for cleaning headlights to prevent deterioration. Use products designed specifically for headlight restoration instead.
How To Clean Bugs Off Car Headlights?
Spray a citrus-based bug and tar remover on headlights. Let it sit for a few minutes. Gently wipe with a soft microfiber towel. Avoid scrubbing to prevent scratches. Rinse with water and dry thoroughly. Repeat if needed for stubborn bug residue.
How To Remove Bug Spray From Headlights?
Use a citrus-based bug and tar remover or dish soap to loosen residue. Apply, wait a few minutes, then gently wipe with a microfiber cloth. Avoid scrubbing to prevent damage. Repeat if needed until the bug spray fully removes from headlights.
Conclusion
Keeping plastic headlights and mirrors clean improves safety and appearance. Use a proper bug remover made for automotive surfaces. Avoid harsh chemicals like bug sprays containing DEET. These can damage plastic and cause fogging. Gently clean with soft cloths and recommended products.
Regular maintenance prevents buildup and keeps lights clear. Clear headlights help you see better at night. A simple, careful cleaning routine works best. Protect your car’s plastic parts while removing bugs effectively.