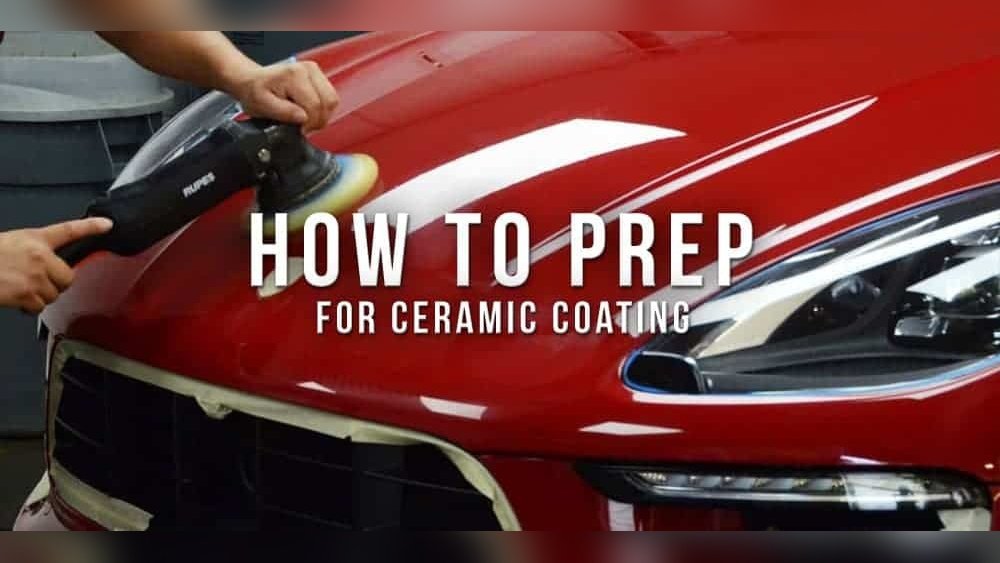
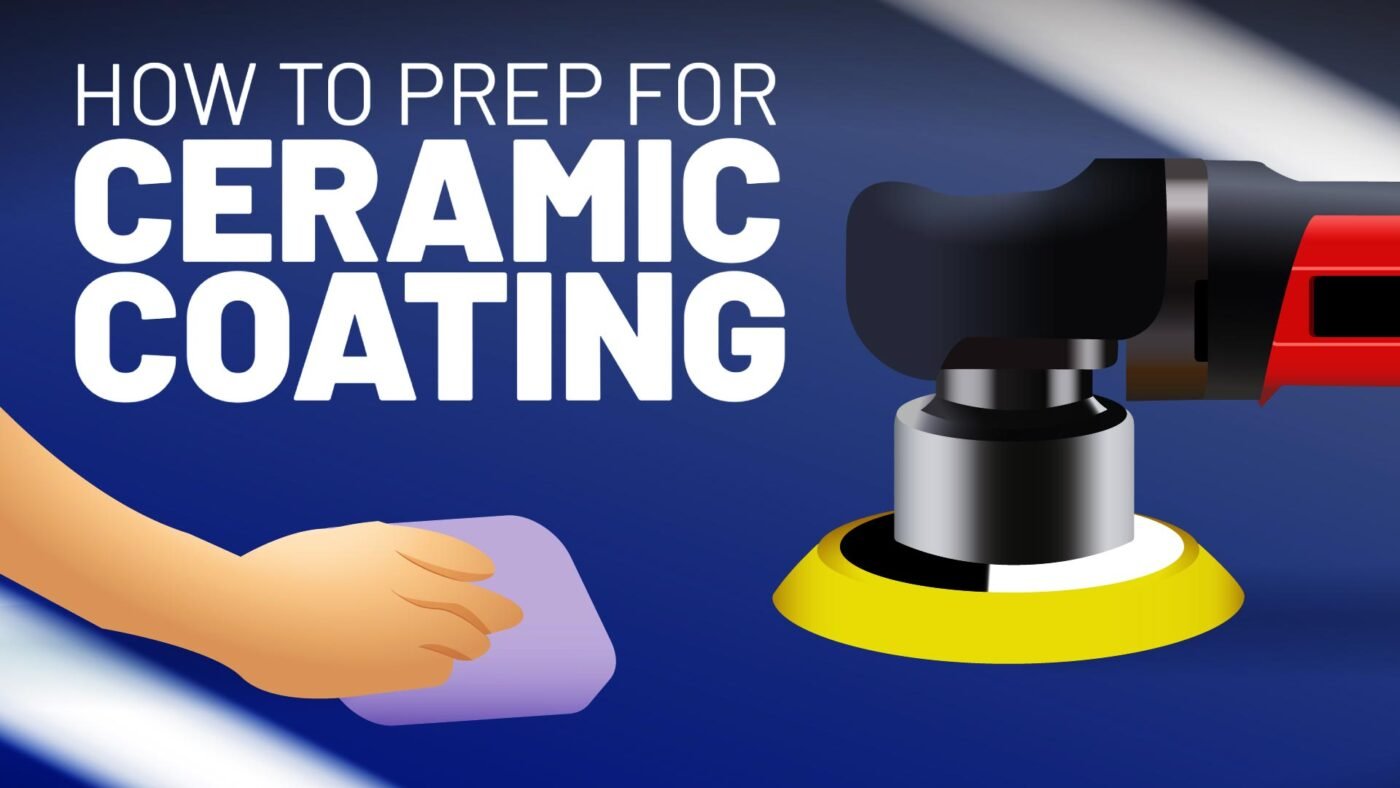
You want your car to look stunning and stay protected for years, right? Ceramic coating is one of the best ways to give your paint that deep shine and durable shield.
But before you dive in, prepping your car properly is absolutely crucial. If you skip or rush this step, you risk locking in dirt, scratches, or imperfections that will ruin the finish and reduce the coating’s effectiveness. In this guide, you’ll learn exactly how to prep your vehicle to get the smoothest, longest-lasting ceramic coating possible.
Follow these simple steps, and you’ll see why preparation makes all the difference between a good job and a flawless finish. Keep reading to discover how to get your car ready like a pro!
Credit: www.drbeasleys.com
Why Prep Matters
Preparing your car before applying ceramic coating is a crucial step. It ensures the coating bonds properly to the surface. Without proper prep, the coating cannot perform at its best. Dirt, oils, and old wax must be removed. These contaminants block the coating from adhering well. Clean and smooth surfaces create a strong base for the ceramic layer. Good prep extends the coating’s life and improves its shine.
Skipping prep or doing it poorly can lead to problems. The coating might peel or show uneven spots. Taking time to prepare correctly saves money and effort later. It also keeps the car looking better for longer.
Impact On Coating Durability
The durability of ceramic coating depends on surface preparation. A clean surface lets the coating stick firmly. Any leftover dirt or grease weakens the bond. This causes the coating to wear off faster. Proper prep helps resist scratches and chemicals. It also makes the coating last years instead of months. Strong bonding means fewer reapplications and better protection.
Avoiding Common Mistakes
Many make errors during prep that reduce coating success. Using soap that leaves residues can block adhesion. Not drying the car fully invites water spots under the coating. Skipping the clay bar step leaves tiny particles trapped. These imperfections cause dull or patchy areas. Rushing the process or ignoring surface defects leads to poor results. Taking each prep step carefully avoids these issues and improves finish quality.
Gathering Essential Tools
Gathering essential tools is the first step to prepare for ceramic coating. Proper tools help ensure a smooth and effective application. Each item plays a key role in cleaning, polishing, and applying the coating. Having everything ready saves time and reduces mistakes.
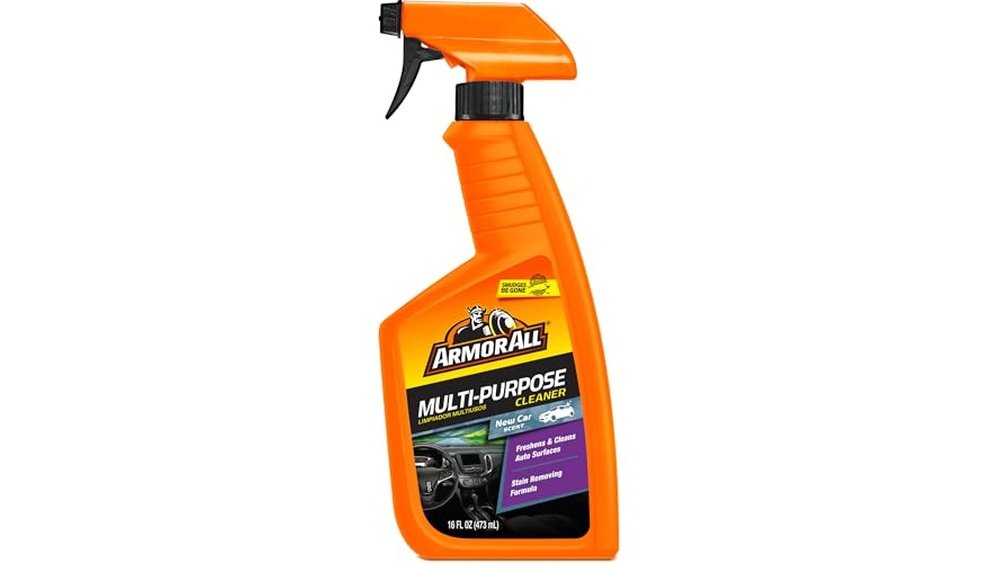
Cleaning Supplies
Start with high-quality cleaning supplies. Use car shampoo designed for automotive paint. Microfiber wash mitts prevent scratches during washing. Wheel cleaner removes brake dust and grime. Clay bars help remove embedded dirt. Lint-free towels dry the surface without leaving fibers.
Polishing Equipment
Polishing removes imperfections and smooths the paint. Use a dual-action or rotary polisher for best results. Select foam or microfiber polishing pads based on the paint condition. Choose the right polish to eliminate swirls and oxidation. Always keep extra pads and polish on hand for different areas.
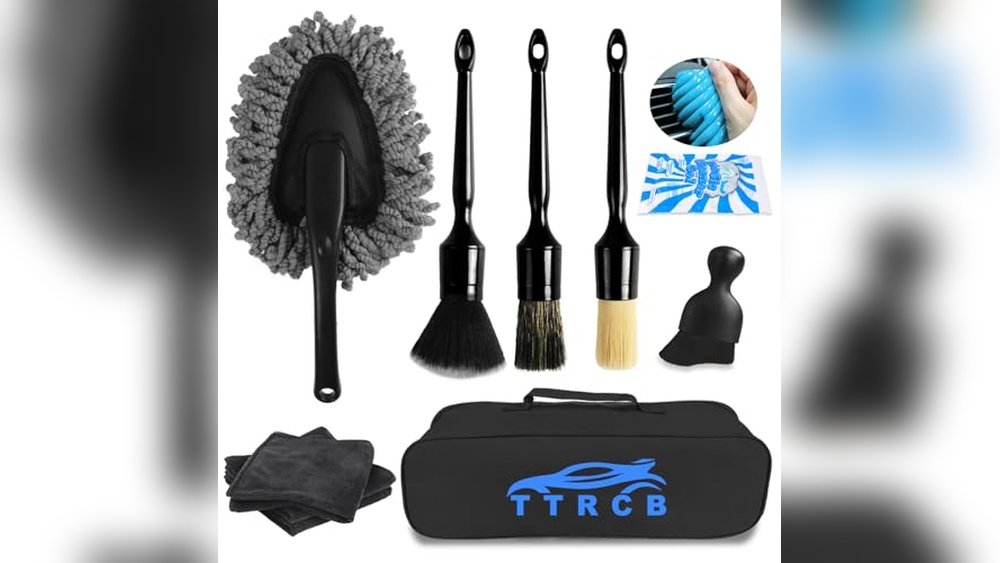
Application Tools
Application tools ensure even ceramic coating coverage. Use applicator pads made of soft foam or suede. Have microfiber towels ready to buff off excess coating. Work in small sections for better control. Use gloves to protect your skin from chemicals. Keep a spray bottle with isopropyl alcohol to prep the surface between steps.
Thorough Washing Steps
Preparing your car for ceramic coating starts with thorough washing. Dirt, grease, and old wax can block the coating from bonding correctly. A clean surface ensures the ceramic layer sticks well and lasts longer. Follow these washing steps carefully for the best results.
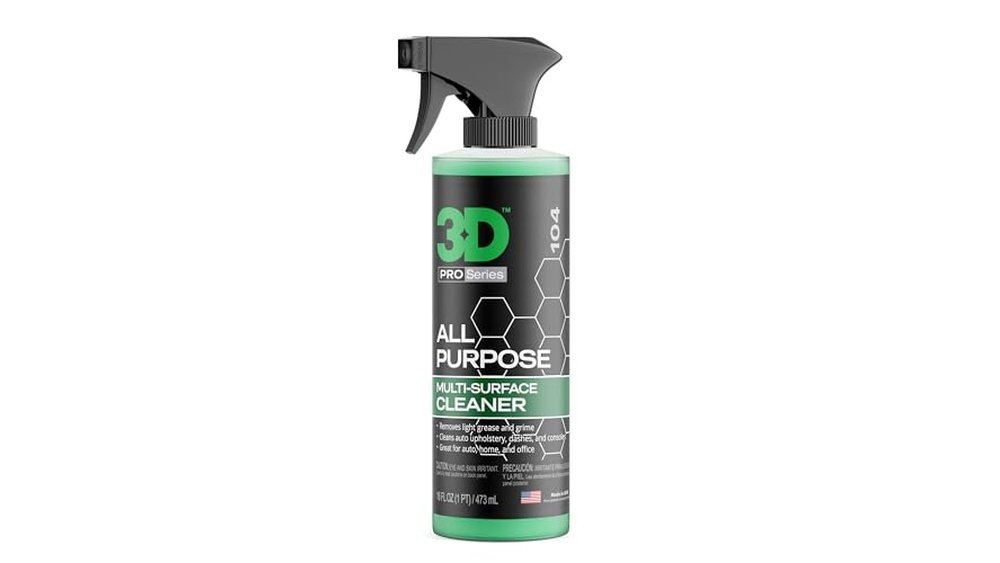
Choosing The Right Soap
Pick a soap made for cars, not household detergents. Car shampoos are gentle and do not strip away protective layers. Avoid soaps with wax or additives that leave residues behind. Use a pH-balanced formula to clean without harming the paint.
Proper Washing Techniques
Rinse the car first to remove loose dirt. Use two buckets: one with soap water and one with clean water for rinsing your sponge. Wash from top to bottom to avoid spreading dirt. Use a soft microfiber mitt to prevent scratches. Rinse frequently and be gentle on the paint.
Drying Methods
Dry the car quickly to prevent water spots. Use a clean microfiber towel or a soft drying cloth. Pat the surface instead of rubbing harshly. Air drying may leave marks and spots, so always dry by hand. Make sure no moisture remains in crevices or door jambs.
Removing Contaminants
Removing contaminants is a crucial step before applying a ceramic coating. Dirt, dust, and particles can prevent the coating from bonding properly. Taking time to clean the surface deeply ensures better protection and shine. Here are some key methods to remove stubborn contaminants.
Clay Bar Treatment
Clay bar treatment clears embedded dirt from the paint. It smooths the surface by lifting tiny particles. Use a lubricant spray with the clay bar to avoid scratching. Gently glide the clay over each panel until it feels smooth. This step helps the ceramic coating stick better and last longer.
Iron Fallout Removers
Iron fallout removers dissolve metal particles stuck in the paint. These particles come from brake dust or road debris. Spray the remover on the surface and wait a few minutes. The product will change color as it reacts with iron. Rinse thoroughly to remove all loosened particles. This process protects your car from rust and stains.
Tar And Sap Removal
Tar and tree sap are tough contaminants that need special care. Use a dedicated tar and sap remover to soften these sticky spots. Apply the product, let it sit briefly, then wipe with a microfiber cloth. Repeat if needed to fully clean the surface. Removing these ensures a smooth base for the ceramic coating.
Paint Correction Basics
Before applying ceramic coating, preparing your car’s paint is essential. Paint correction removes imperfections that can spoil the final look. This step ensures the coating bonds well and lasts longer. Understanding the basics of paint correction helps you achieve a smooth, flawless surface.
Identifying Swirls And Scratches
Swirls and scratches are tiny marks on your car’s paint. They often appear after washing or from everyday use. Use bright light or a flashlight to see them clearly. Swirls look like fine, circular lines. Scratches are deeper and may catch your fingernail. Identifying these helps you decide how much correction is needed.
Polishing For A Smooth Surface
Polishing removes swirls, scratches, and oxidation. Use a good-quality polish and a soft pad. Work in small sections to avoid missing spots. Polishing creates a smooth and shiny surface for the ceramic coating. Always follow product instructions and avoid over-polishing, which can damage paint.
When To Seek Professional Help
Some paint damage needs expert care. Deep scratches or paint chips require special tools and skills. Professionals use advanced machines and compounds for best results. They ensure the paint is properly corrected without harm. Seeking help saves time and prevents costly mistakes.
Surface Preparation
Proper surface preparation is key before applying ceramic coating. It ensures the coating bonds well and lasts longer. Dirt, oils, and residues can block the coating from adhering properly. Thorough cleaning and prepping create a smooth, clean surface. This step improves the final shine and protection of your vehicle.
Using Panel Prep Solutions
Panel prep solutions remove invisible contaminants from the paint. These products clean the surface without harming the clear coat. Use a microfiber cloth to apply the solution evenly. Wipe each panel carefully to eliminate old wax, polish, and oils. This step readies the paint for the ceramic coating.
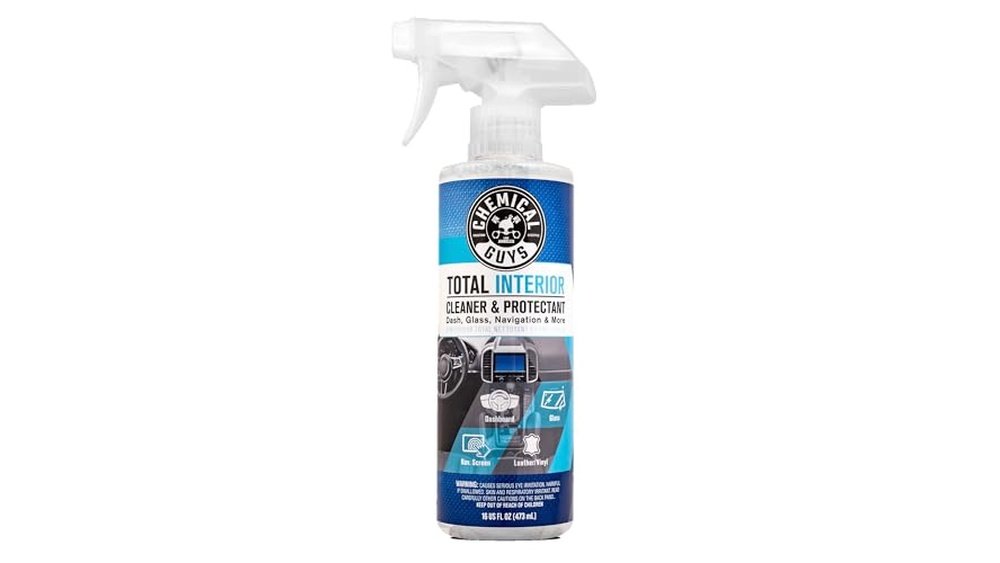
Removing Oils And Residues
Oils and residues reduce the coating’s effectiveness. Use a dedicated surface cleaner or isopropyl alcohol diluted with water. Spray the cleaner on the surface and wipe with a clean cloth. This process ensures no oily films remain. Removing residues helps the coating stick better and last longer.
Environment Considerations
Preparing the right environment is key for ceramic coating success. The coating bonds best on a clean, dry surface. Environmental factors like temperature, humidity, dust, and wind can affect the application and final results. Setting up in the correct conditions helps the coating cure properly and last longer. Pay close attention to these details before starting.
Ideal Temperature And Humidity
The best temperature range for applying ceramic coating is between 60°F and 80°F (15°C to 27°C). Extreme cold or heat can harm the curing process. High humidity slows down drying and can cause streaks or spots on the surface. Aim for humidity below 50% to ensure smooth, even coverage. Moderate temperatures and low humidity help the coating bond firmly to the paint.
Avoiding Dust And Wind
Dust particles can stick to the surface during application, ruining the finish. Wind increases dust and debris in the air, making it harder to keep the surface clean. Choose a calm, sheltered space free from dust and wind. A garage or indoor area is ideal. If working outdoors, pick a day with little wind and clean surroundings to protect your work.
Credit: adamspolishes.com
Applying Ceramic Coating
Applying ceramic coating requires care and attention. This step protects your car’s paint and enhances shine. Proper application ensures the coating bonds well. It also improves durability and water repellency. Follow the right techniques to avoid mistakes and get a smooth finish.
Correct Application Techniques
Use a clean applicator pad for the coating. Apply a few drops of product on the pad. Work on small sections, about 2×2 feet each. Spread the coating evenly in straight lines. Avoid circular motions to prevent streaks. After applying, wait a minute, then buff with a microfiber cloth. Use light pressure to remove excess coating. Change cloths often to avoid contamination. Wear gloves to keep oils off the surface. Keep the car in a dry, shaded area during application.
Layering And Curing Times
Allow the first layer to cure for 1 to 2 hours. Avoid contact with water during this time. Apply additional layers for better protection and depth. Two or three layers are usually enough. Each layer must dry before adding the next. After the final layer, let the coating cure for 24 to 48 hours. Do not wash or expose the car to rain. Proper curing time strengthens the coating’s bond. Patience ensures a long-lasting, glossy finish.
Post-application Care
Post-application care is crucial to get the best results from your ceramic coating. Proper care helps the coating bond well with the surface and last longer. It also keeps your car looking shiny and protected. Neglecting this step can reduce the coating’s effectiveness and durability.
Initial Cure Period
The first few days after applying ceramic coating are very important. Avoid washing your car for at least one week. Water spots or contaminants can weaken the coating if exposed too soon. Keep the car in a shaded, dry place to help the coating cure properly. Do not park under trees or near dust sources.
Maintenance Tips
Wash your car regularly using a gentle, pH-neutral shampoo. Use a soft microfiber cloth or sponge to avoid scratching the surface. Avoid automatic car washes with brushes. Dry the car completely after washing to prevent water spots. Apply a ceramic coating booster every few months to maintain shine and protection.
Avoiding Common Pitfalls
Do not use harsh chemicals or abrasive cleaners on the coated surface. Avoid parking near construction sites or industrial areas with heavy dust. Do not wax or polish your car after ceramic coating, as this can damage the layer. Always use proper tools and products designed for ceramic-coated cars to keep the coating intact.
Cost And Expectations
Ceramic coating offers excellent protection and shine for your vehicle. Understanding the cost and setting clear expectations is vital before applying it. This section breaks down the main points to consider. It helps you prepare better for the investment and results.
Upfront Investment
The price of ceramic coating varies by product and service. Professional application costs more than DIY kits. Expect to pay more for quality and durability. Proper prep work adds to the total cost. Budget for cleaning, polishing, and paint correction before coating. Think of it as an investment in your car’s long-term appearance.
Realistic Performance
Ceramic coating creates a strong, hydrophobic layer on your paint. It helps repel water, dirt, and light contaminants. The coating enhances gloss and makes cleaning easier. It does not make your car completely stain-proof or scratch-proof. Results depend on how well the surface was prepared and coated. Regular washing and care are still necessary to keep the coating effective.
Limitations Of Ceramic Coatings
Ceramic coatings do not prevent all types of damage. They cannot fix existing scratches or chips. Heavy impacts or harsh chemicals can still harm the paint. The coating can show water spots if not dried quickly. It requires periodic maintenance to maintain protection and shine. Knowing these limits helps avoid disappointment and keeps expectations grounded.
Credit: snsautosupply.com
Frequently Asked Questions
What Should I Do Before Ceramic Coating My Car?
Thoroughly wash and dry your car to remove dirt. Clay bar the surface to eliminate contaminants. Correct paint imperfections with polishing. Use an alcohol-based panel prep to remove oils. Ensure the car is in a dust-free, shaded area before coating.
Can I Go Through A Regular Car Wash With Ceramic Coating?
Yes, you can use a regular car wash with ceramic coating. Avoid harsh brushes to prevent scratches and maintain the coating’s durability.
What Is The Downside To Ceramic Coating?
Ceramic coating costs are high and require professional, detailed prep. It doesn’t prevent deep scratches or chips and needs regular maintenance. Improper drying can cause water spots. Many users expect unrealistic protection based on marketing claims.
How Long Do I Let Ceramic Coating Sit Before Wiping?
Let ceramic coating sit for 1 to 5 minutes until it flashes or becomes tacky. Then wipe off gently with a microfiber towel. Avoid letting it dry completely to prevent high spots. Follow product instructions for best results.
Conclusion
Preparing your car properly ensures the ceramic coating lasts longer. Clean and dry every surface carefully. Remove all dirt, grease, and old wax before starting. Use a clay bar to get rid of stubborn contaminants. Fix any scratches or paint defects for a smooth finish.
Work in a dust-free, shaded area to avoid mistakes. Taking these steps helps your car shine and stay protected. A good prep makes applying ceramic coating easier and more effective. Your effort now saves time and money later.