Your trim may seem like a small detail, but when it’s dirty or scuffed, it can make your entire room look tired and neglected. If you’ve been avoiding cleaning your baseboards, doors, and trim because it feels like a hassle, you’re not alone.
But what if there was a way to get them spotless without bending over or scrubbing endlessly? You’ll discover simple, effective tricks and tools that make cleaning trim fast and even enjoyable. Ready to bring back that fresh, crisp look to your home’s edges?
Keep reading and learn how to clean your trim like a pro—without the stress.
Choosing Cleaners
Choosing the right cleaner is key to keeping your trim spotless and damage-free. Different trims need different cleaning methods and solutions. Some cleaners work well on painted surfaces, while others suit wood or vinyl better. Knowing what type of cleaner to use helps protect your trim and makes cleaning easier.
Diy Solutions
Simple DIY cleaners use common household ingredients. Mix warm water with a little dish soap for light dirt and dust. Add a splash of white vinegar to cut grease and grime. These mixes are gentle and safe for most trims. They are budget-friendly and easy to make anytime.
Commercial Cleaners
Commercial cleaners are made specifically for trim and baseboards. They remove tough stains and dirt quickly. Look for products labeled safe for wood, painted, or vinyl trim. Always test on a small area first. Some commercial cleaners may contain strong chemicals. Use gloves and ventilate the room well.
Natural Alternatives
Natural cleaners use ingredients like baking soda, lemon juice, or borax. Baking soda paste can scrub away marks without scratching. Lemon juice helps brighten and disinfect. Borax mixed with water cleans and deodorizes. These options are eco-friendly and safe around pets and kids. They work well for light to moderate dirt.

Credit: www.wahl.co.uk
Essential Tools
Cleaning trim requires the right tools to make the job easy and effective. Using proper equipment helps remove dirt without damaging the surface. It saves time and keeps your trim looking fresh and neat.
Some tools work better on delicate surfaces, while others handle tough grime. Choosing the right items ensures a smooth cleaning process and great results.
Microfiber Cloths
Microfiber cloths are soft and gentle on trim surfaces. They trap dust and dirt without scratching paint or wood. These cloths hold moisture well, making them perfect for damp cleaning. Use them dry for dusting or damp for wiping stains and spots.
They are reusable and easy to wash. Microfiber cloths reduce the need for harsh chemicals, protecting your trim’s finish.
Vacuum Attachments
Vacuum attachments help remove loose dust and dirt before wiping. Brush or crevice tools reach tight corners and grooves on trim. They prevent dust from spreading in the air during cleaning.
Use a vacuum on low suction to avoid damage. This step prepares the surface for deeper cleaning and reduces effort.
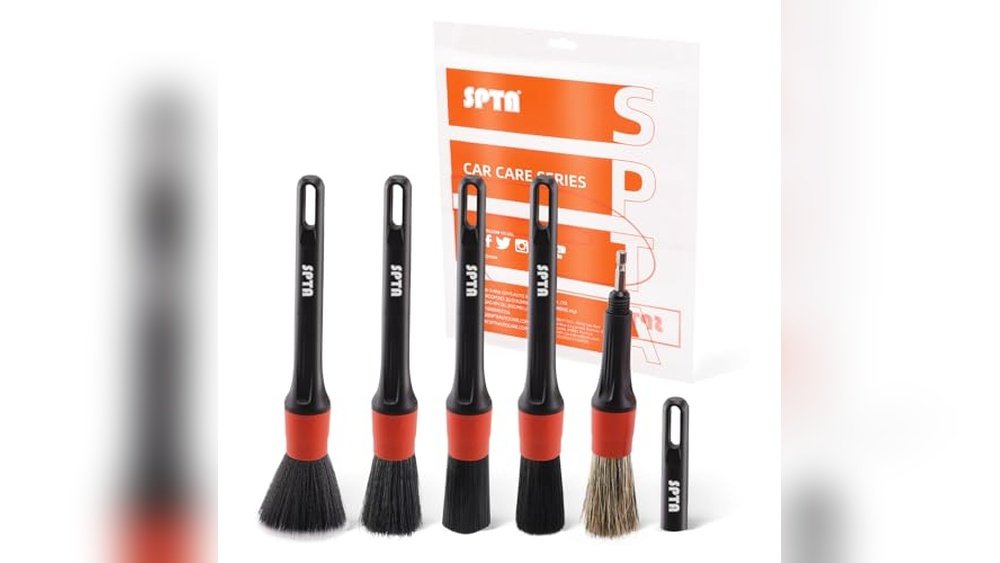
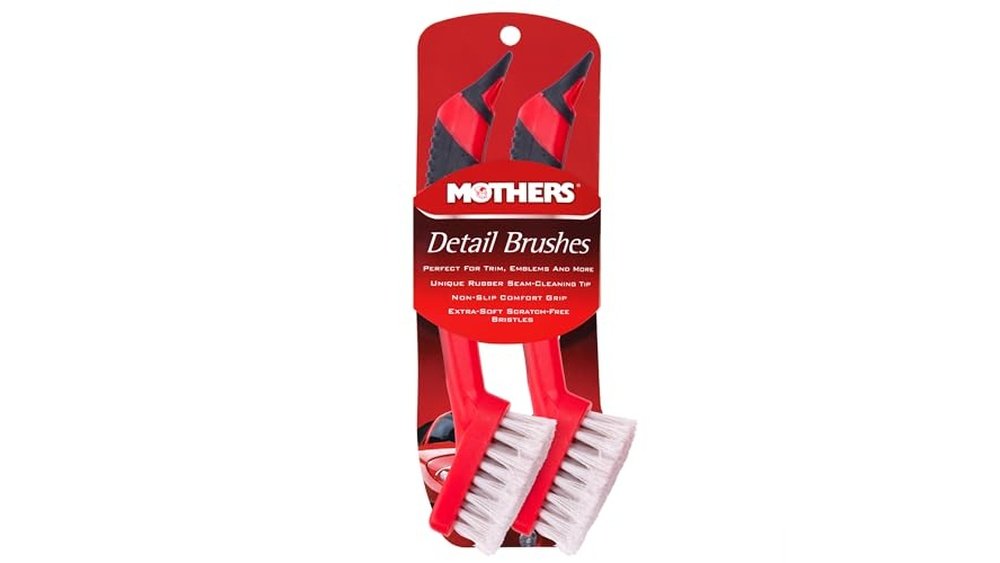
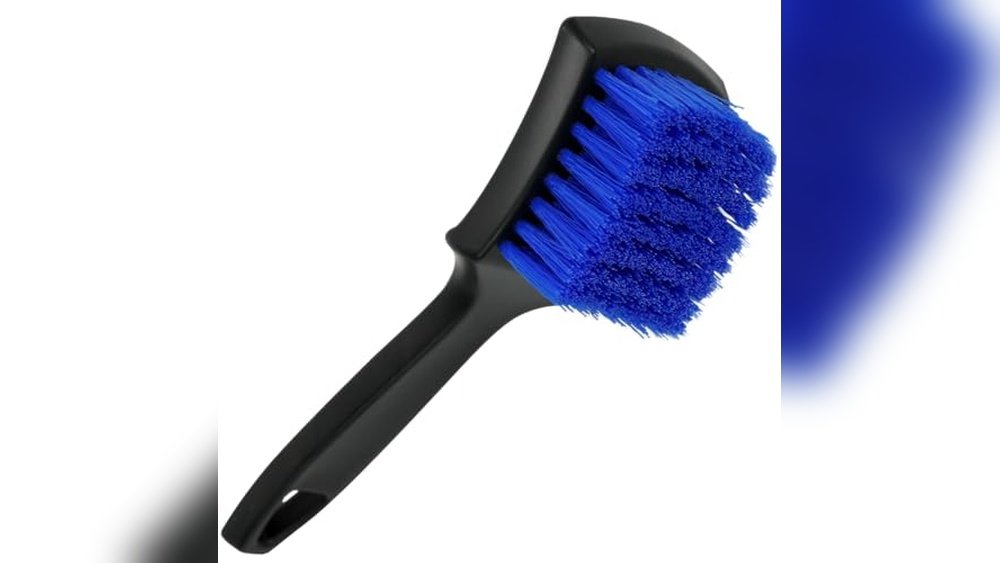
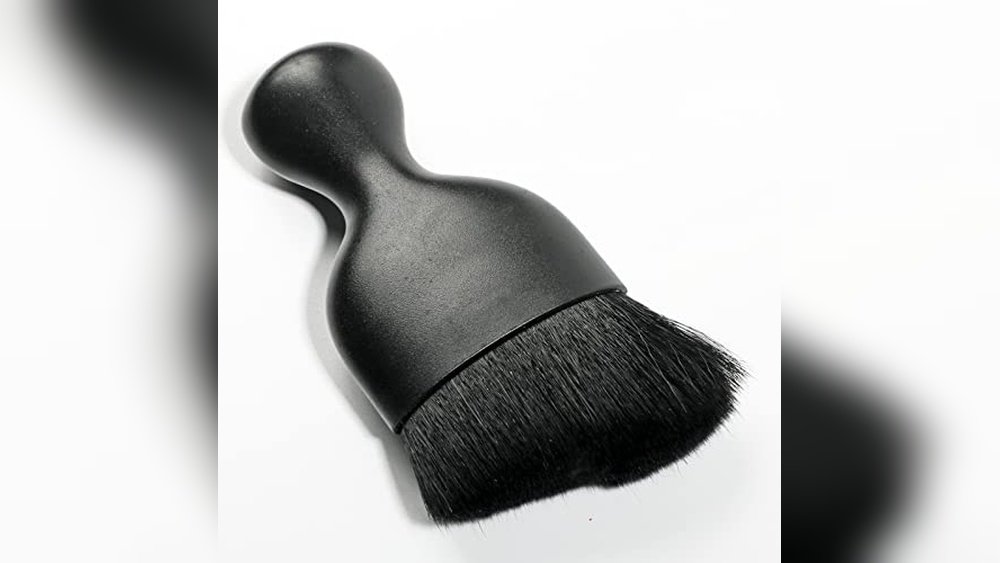
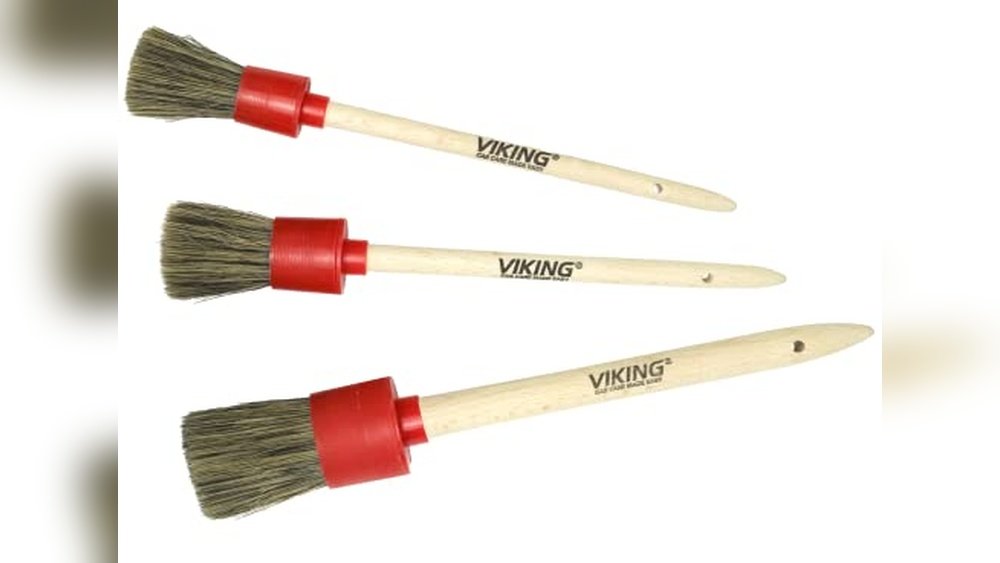
Specialized Cleaning Tools
Specialized tools include small brushes, magic erasers, and baseboard cleaning wands. Brushes reach into grooves and detailed trim edges. Magic erasers remove tough stains but use gently to avoid paint wear.
Baseboard cleaning wands help clean without bending, reducing strain. These tools make cleaning trim faster and more thorough.
Pre-cleaning Tips
Preparing trim for cleaning ensures the best results and protects your home. Following simple pre-cleaning steps saves time and prevents damage. These tips make the cleaning process smooth and efficient.
Dust Removal
Remove dust before washing the trim. Use a soft cloth or a microfiber duster. A vacuum with a brush attachment also works well. This step avoids spreading dust during cleaning. It prepares the surface for deeper cleaning.
Protecting Surrounding Areas
Cover floors and nearby furniture to prevent water or cleaner damage. Use old towels or plastic sheets. Tape edges if needed to keep coverings in place. Protecting these areas keeps your space clean and safe.

Credit: www.drbeasleys.com
Step-by-step Cleaning
Cleaning trim can refresh your room’s look quickly. Follow these clear steps to clean trim effectively. Each step ensures dirt and grime come off without damage.
Use the right cleaner and tools. Work gently but thoroughly. This step-by-step guide helps you clean trim easily and well.
Applying Cleaner
Choose a mild cleaner for your trim. Mix warm water with a little vinegar or dish soap. Dip a soft cloth or sponge in the solution. Wring out extra liquid to avoid drips. Apply the cleaner gently along the trim’s surface. Cover small sections at a time for best results.
Scrubbing Techniques
Use a soft brush or cloth for scrubbing. Move in long, even strokes along the trim. Avoid harsh scrubbing to protect paint or finish. For textured trim, use a toothbrush to reach grooves. Wipe away loosened dirt with a clean damp cloth. Repeat scrubbing if needed but keep it gentle.
Handling Tough Stains
For stubborn stains, make a paste of baking soda and water. Apply it to the stain and let it sit for a few minutes. Use a soft brush or sponge to scrub the area lightly. Rinse with a damp cloth to remove all residue. Magic Erasers can work but test on a small spot first. Avoid strong chemicals that may damage trim surfaces.
Cleaning Hacks
Cleaning trim can be a tedious chore, but smart hacks make it easier and faster. These tips help keep your trim looking fresh without strain or damage. Use simple tools and household items to save time and effort. Here are some clever cleaning hacks for trim that anyone can try.
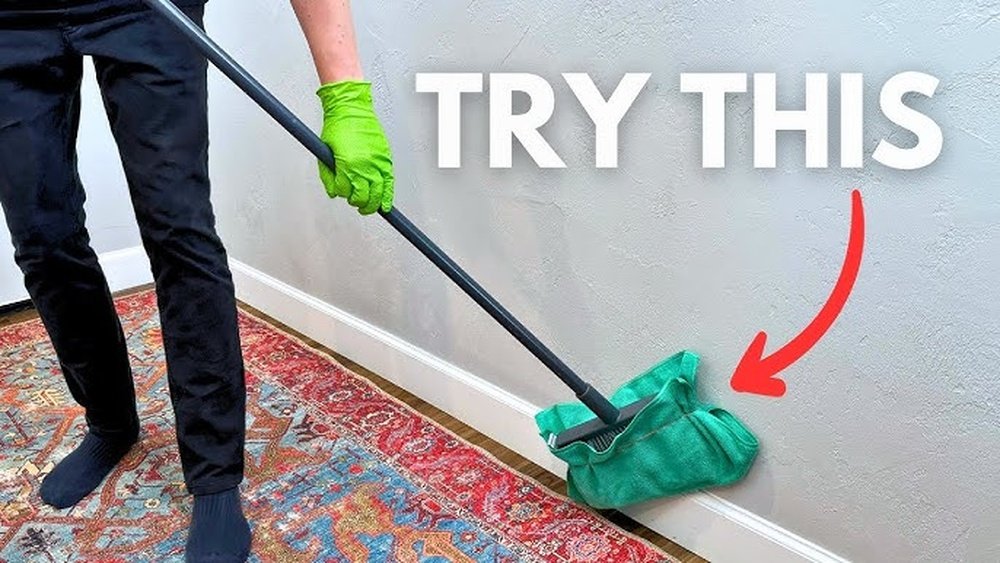
Avoiding Bending
Bending down to clean baseboards or lower trim strains your back. Use long-handled tools like dusters or scrub brushes. A microfiber mop with a flat head works well for dust and dirt. This approach saves your knees and back from discomfort. Standing while cleaning also speeds up the process.
Using Household Items
Many common household items clean trim effectively. Mix warm water with a few drops of dish soap and vinegar for a gentle cleaner. A soft cloth or sponge soaked in this mix removes dirt and grime easily. For tough marks, a damp magic eraser works well but use it carefully to avoid paint damage. Baking soda paste also helps lift stubborn stains naturally.
Speed Cleaning Tricks
To clean trim quickly, work in sections and use circular motions. Keep cleaning tools handy to avoid interruptions. Use a vacuum with brush attachment first to remove dust fast. Follow with a damp cloth to wipe away residue. Multi-task by cleaning trim while dusting nearby surfaces. This method reduces overall cleaning time dramatically.
Maintenance Tips
Maintaining clean trim keeps your home looking fresh and tidy. Regular care stops dirt and grime from settling. Simple habits make cleaning easier and extend the life of your trim. Follow these practical tips to keep your trim spotless.
Regular Dusting
Dust your trim often to prevent buildup. Use a microfiber cloth or a soft brush. This removes loose dust and dirt quickly. Regular dusting saves you from tougher cleaning later.
Spot Cleaning
Clean spots as soon as they appear. Use a damp cloth with mild soap for stains. Avoid harsh chemicals that can damage paint or wood. Blot gently instead of scrubbing to protect the surface.
Preventing Build-up
Keep your trim free from grease and grime. Wipe kitchen trim regularly with a vinegar and water mix. Avoid letting dirt sit for too long. This stops stains and makes deep cleaning easier.
Handling Different Trim Types
Cleaning trim requires different methods for each type. Understanding the material helps protect and maintain its look. Each trim type reacts differently to cleaners and tools. Use the right approach to avoid damage and keep your trim fresh.
Painted Trim
Painted trim needs gentle cleaning to avoid peeling or chipping. Use a soft cloth or sponge with mild soap and water. Avoid abrasive scrubbers that can scratch the paint. For tough stains, a damp magic eraser works but test it first. Dry the trim with a clean towel to prevent water marks.
Wood Trim
Wood trim requires special care to keep its natural beauty. Dust regularly with a soft brush or cloth. Use a wood cleaner or mild soap mixed with water for dirt. Wipe gently and avoid soaking the wood. After cleaning, apply a wood polish or oil to protect the surface and restore shine.
Textured Trim
Textured trim traps more dust and dirt in its grooves. Use a soft brush or vacuum with a brush attachment to remove loose dirt. For deeper cleaning, apply a mild soap solution with a soft brush. Rinse lightly and dry quickly with a towel. Avoid harsh chemicals that can damage the texture or finish.
Credit: www.apartmenttherapy.com
Frequently Asked Questions
What Is The Best Way To Clean Trim?
Dust trim with a vacuum or duster first. Then, wipe using a microfiber cloth dampened with a vinegar and water solution. For tough spots, gently scrub with a Magic Eraser or mild soap. Avoid harsh chemicals to prevent damage. Dry with a clean cloth.
What Is The Best Cleaner For Dirty Baseboards?
The best cleaner for dirty baseboards is a mixture of warm water, vinegar, and a few drops of dish soap. Use a microfiber cloth or Magic Eraser for tough stains. For grease, mild degreasers work well. Regular dusting and vacuuming prevent buildup effectively.
How To Clean Dirty Wood Trim?
Dust wood trim with a vacuum or duster. Mix warm water, vinegar, and mild soap. Wipe trim gently using a microfiber cloth. Use a Magic Eraser for tough stains carefully. Dry with a clean cloth to prevent damage. Repeat as needed for best results.
How To Properly Clean Trim?
Dust trim with a vacuum or microfiber cloth. Apply a mild cleaner or vinegar solution. Scrub gently with a soft sponge. Rinse with a damp cloth and dry thoroughly. Avoid harsh chemicals to prevent damage. Repeat regularly for best results.
Conclusion
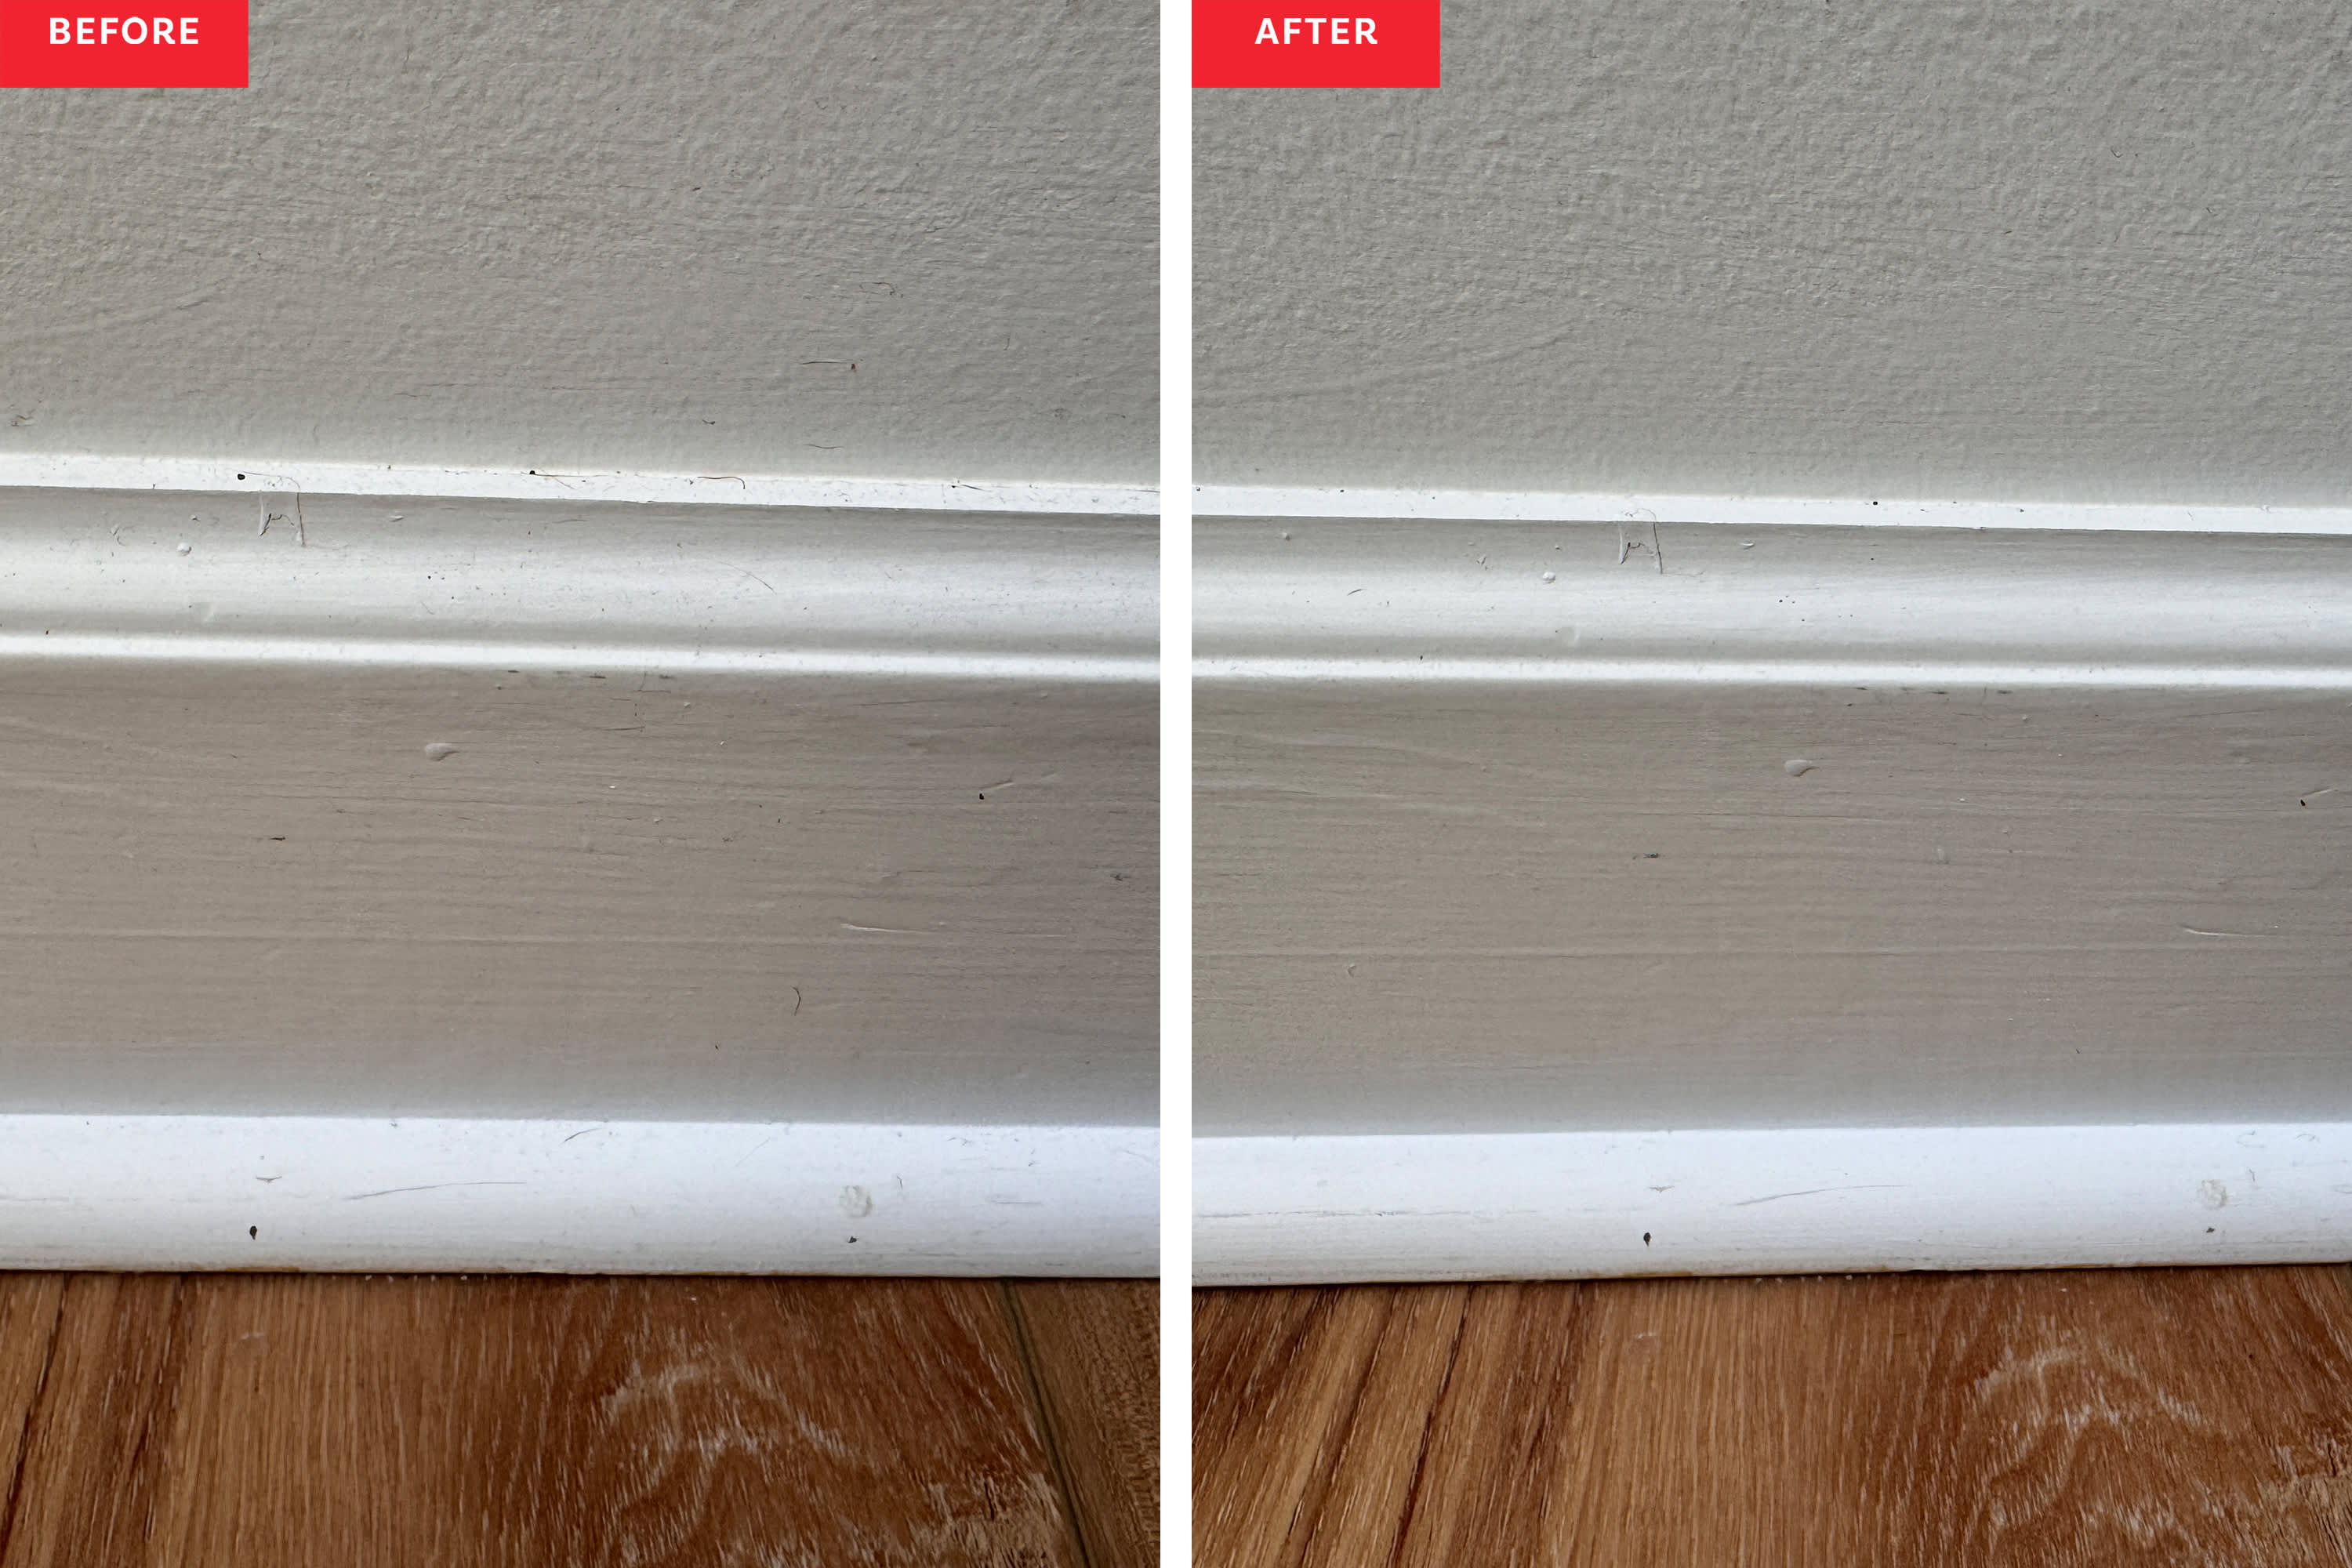
Cleaning trim does not have to be hard or time-consuming. Use simple tools and gentle cleaners for best results. Regular dusting keeps trim looking fresh longer. For tough spots, try a mild scrub or special sponge carefully. Remember, gentle care protects paint and wood surfaces.
Stay consistent, and your trim will always look neat and clean. Small efforts make a big difference in home appearance. Enjoy the satisfaction of a well-maintained, beautiful space.