Getting started with car detailing can feel exciting and a little overwhelming. You want your car to shine like new, but the range of products and tools can seem endless. If you’re just starting out, it’s easy to buy too much, waste money on unnecessary items, or miss the essentials. This guide walks you through a beginner car detailing kit checklist—not just a list, but a detailed explanation of what you need, why you need it, and how to use each item. Whether you want to keep your car looking great or plan to do detailing for friends and family, this article will help you build a smart, effective starter kit.
Why You Need A Beginner Car Detailing Kit
A dedicated detailing kit makes car cleaning easier, faster, and safer for your vehicle. When you use the right products and tools, you avoid scratches, swirls, and damage to paint, plastic, or glass. A good kit also saves you money; you buy only what you need for a thorough clean, rather than wasting cash on hype or fancy bottles.
For beginners, the right kit means less stress, more fun, and better results.
What most beginners miss: cheap or household products can actually cause damage. For example, kitchen sponges or regular towels can scratch your car’s paint. Using dish soap instead of car shampoo can strip away protective wax. The right kit prevents these mistakes.
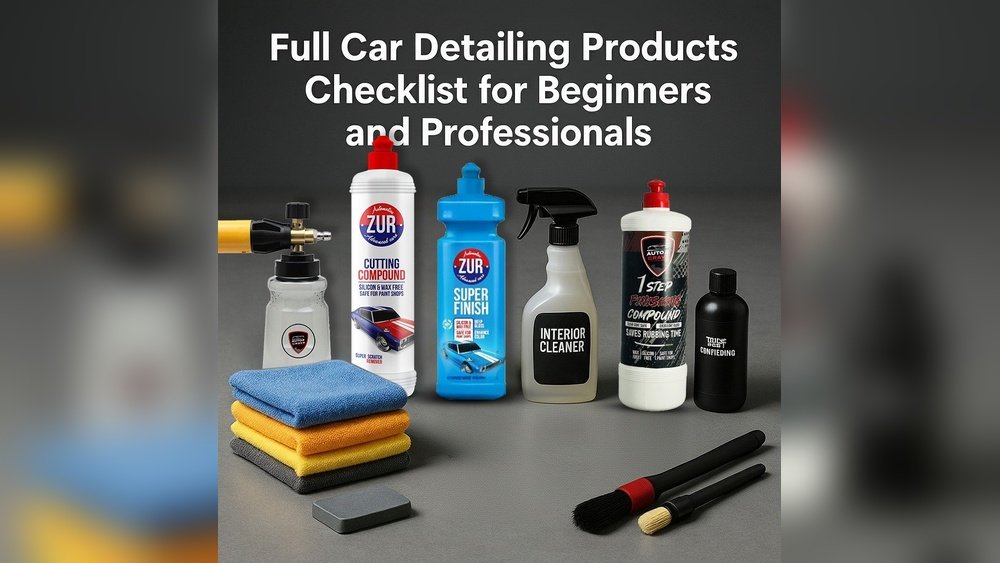
Essential Cleaning Products For Your Kit
Let’s start with the core chemicals and cleaners that do the heavy lifting.
1. Car Wash Shampoo
A car wash shampoo is safer than dish soap or household cleaners. It removes dirt, grease, and road grime without stripping wax or damaging the paint. Look for shampoos that are pH-balanced—these are gentle but effective.
Many beginners think more soap means more cleaning power. Actually, using too much shampoo can leave residue or cause streaks. Always follow the recommended amount on the bottle.
2. Wheel Cleaner
Wheels collect brake dust, road salt, and tar. A wheel cleaner is formulated to break down tough grime without harming metal or clear coat. Some are safe for all wheel types; others are specific for chrome, aluminum, or painted wheels.
Test a small spot first. Some powerful cleaners can stain if left too long on sensitive finishes.
3. Glass Cleaner
A clear view is essential for safety and appearance. Ammonia-free glass cleaners are best; ammonia can damage window tint and leave streaks. Look for a product designed for automotive glass.
Pro tip: Use two microfiber towels—one to clean, one to buff dry—to avoid streaks.
4. Interior Cleaner
Surfaces inside your car need special care. A multi-surface interior cleaner works on plastic, vinyl, leather, and fabric. Avoid products with heavy perfumes or greasy finishes.
Don’t use household cleaners inside your car. They can fade colors, leave sticky residue, or even make surfaces slippery.
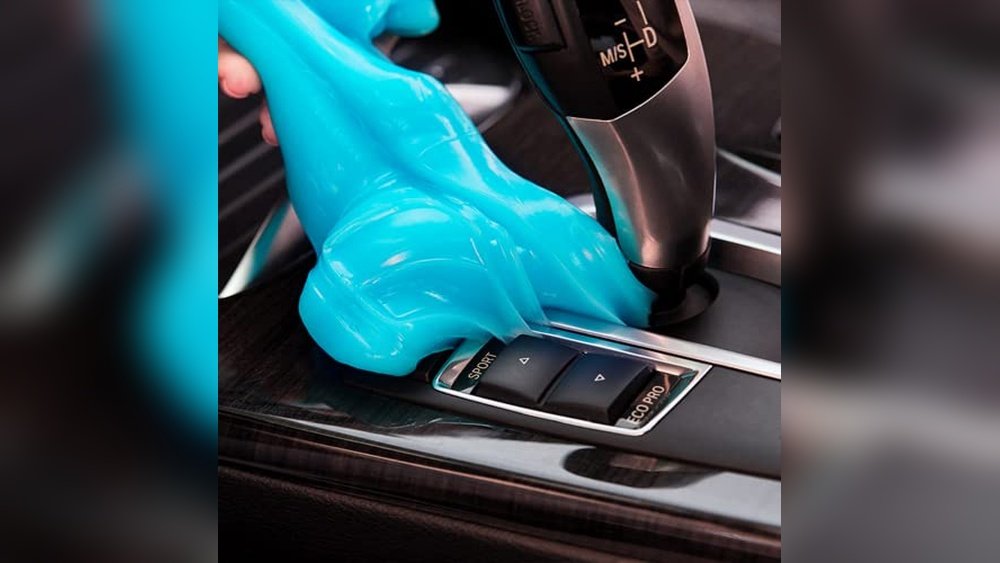
5. Clay Bar Or Clay Mitt
A clay bar removes bonded contaminants that washing can’t touch—things like tree sap, rail dust, and overspray. After claying, your paint feels smooth and clean.
Beginners often skip claying, but it’s the secret to a glassy-smooth finish. Use clay only after washing, and always with a dedicated clay lubricant.
6. Iron Remover
Modern cars pick up tiny iron particles from the road. These can cause rust spots if not removed. An iron remover sprays on, reacts with iron, and changes color as it works.
Use iron remover before claying for the cleanest results. Always wear gloves—it has a strong smell and can irritate skin.
7. Tar And Bug Remover
Stuck-on tar or dead bugs are tough to remove with regular shampoo. A tar and bug remover softens these spots so you can wipe them off gently.
Using force or scrubbing can scratch your paint. Let the remover do the work.
8. Interior Protectant
After cleaning, a good interior protectant keeps surfaces supple and blocks UV rays. Choose a non-greasy, matte finish for a natural look.
Shiny products might look good at first but can attract dust or make surfaces slippery.
9. Tire Dressing
Tires look best when clean and black, not shiny or greasy. A quality tire dressing restores the deep black color and adds UV protection. Water-based dressings are safer for tires and less likely to sling onto paint.
Avoid thick, silicone-heavy dressings—they can cause browning or make tires slippery.
10. Quick Detailer Spray
A quick detailer is a spray-on product for light cleaning, adding shine, or removing dust between washes. It’s perfect for touch-ups and safe on all surfaces.
Don’t use quick detailers to replace regular washing—they’re for maintenance, not heavy dirt.
Must-have Tools And Equipment
Products alone won’t clean your car. These tools help you work faster, safer, and better.
1. Microfiber Wash Mitt
A microfiber wash mitt traps dirt in its fibers, reducing the risk of scratches. It’s much safer than sponges or rags.
Wash mitts are easy to clean—just throw them in the laundry (no fabric softener).
2. Microfiber Towels
You’ll need several microfiber towels: some for drying, others for buffing wax or cleaning glass. Look for towels with a high GSM (grams per square meter) for better absorbency.
Separate towels by use. Don’t use the same towel for wheels and paint, or you might scratch the finish.
3. Grit Guard Insert
A grit guard sits in the bottom of your wash bucket. It traps dirt so you don’t rub grit back onto your car.
Many beginners skip this, but it’s one of the cheapest ways to prevent swirl marks.
4. Buckets (two Or More)
The two-bucket method is essential for safe washing. One bucket for soapy water, one for rinsing your mitt. This method keeps dirt out of your wash water.
A third bucket for wheels is even better. Wheels are the dirtiest part of the car.
5. Wheel Brush
A wheel brush has soft bristles and a long handle. It reaches into tight spaces and loosens brake dust. Choose a brush that fits your wheel design.
Don’t use the same brush for wheels and paint. Wheel brushes pick up heavy grit.
6. Detailing Brushes
Small, soft detailing brushes reach into vents, badges, and seams. They help clean crevices that towels can’t reach.
Natural bristles are gentle and hold cleaning products well.
7. Foam Applicator Pads
Foam applicator pads are used for applying wax, sealant, or interior protectant. They give even coverage without wasting product.
Wash applicators after each use to prevent cross-contamination.
8. Drying Towel
A large, plush drying towel absorbs water quickly and won’t scratch paint. Waffle weave or twisted loop towels are most effective.
Don’t use bath towels—they’re too rough and can leave lint.
9. Spray Bottles
Refillable spray bottles let you dilute products or apply cleaners evenly. Choose chemical-resistant bottles for long life.
Label each bottle clearly to prevent mix-ups.
10. Vacuum Cleaner
A small, powerful vacuum cleaner with crevice tools is essential for interior detailing. Cordless models are convenient but check battery life before buying.
Regular vacuuming prevents dirt from wearing out your carpets and seats.
Protection And Finishing Products
Cleaning is half the job; protecting your car is what keeps it looking great.
1. Car Wax Or Sealant
A car wax or paint sealant adds a protective layer and deep shine. Wax is natural (often carnauba); sealants are synthetic and last longer.
Apply wax every 2-3 months for best results. Sealants can last up to 6 months.
2. Paint Protection Spray
For quick protection, a spray sealant or ceramic spray is easy to use and adds hydrophobic (water-repellent) properties.
Spray sealants are perfect for beginners—they’re fast, safe, and can be applied after every wash.
3. Leather Conditioner
If your car has leather seats, a leather conditioner keeps them soft and prevents cracks. Use after cleaning, but not too often—every 2-3 months is enough.
Test on a hidden spot first, especially with light-colored leather.
4. Fabric Protector
For cloth seats or carpets, a fabric protector repels spills and stains. Spray on clean surfaces and let dry fully.
Fabric protectors make vacuuming easier and prevent permanent stains.

Credit: wdautosupply.com
Optional But Useful Extras
These items aren’t essential, but they make detailing faster and more enjoyable.
1. Detailing Clay Lube
While some clay bars include lubricant, a dedicated clay lube is slicker and safer. It prevents the clay from sticking or marring the paint.
2. All-purpose Cleaner (apc)
An all-purpose cleaner is handy for tough spots, engine bays, or wheel wells. Dilute as needed for different tasks.
Don’t use full strength on sensitive surfaces—always read the label.
3. Trim Restorer
A trim restorer brings faded plastic or rubber back to black. It works wonders on older cars or sun-damaged trim.
Apply with a foam pad and wipe off excess.
4. Odor Eliminator
A car odor eliminator neutralizes smells from pets, food, or smoke. Look for enzyme-based sprays for best results.
Air fresheners just cover up odors; true eliminators break them down.
5. Headlight Restoration Kit
Cloudy headlights reduce nighttime visibility. A headlight restoration kit includes sandpaper, polish, and sealant to restore clarity.
Most kits take 30-45 minutes and can make a dramatic difference.
6. Detailing Kneeling Pad
Detailing can be tough on your knees. A kneeling pad or small stool saves pain during lower-body work like wheels and lower panels.
7. Extension Cord Or Power Strip
If using a corded vacuum or polisher, a heavy-duty extension cord keeps you mobile. Make sure it’s rated for outdoor use.
8. Protective Gloves
Some cleaners and chemicals can irritate your skin. Nitrile gloves keep your hands safe and clean.
9. Masking Tape
For waxing or polishing, automotive masking tape protects rubber and plastic trim from staining. Remove tape as soon as you finish.
10. Compact Tool Bag Or Caddy
Organize your supplies in a detailing bag or caddy. This keeps everything handy and prevents lost items.
Sample Kit: What To Buy First
With so many options, here’s a sample starter kit for beginners. This selection covers every step, from wash to protection.
| Item | Recommended Quantity | Why It’s Needed |
|---|---|---|
| Car Wash Shampoo | 1 bottle | Safe, effective cleaning |
| Microfiber Wash Mitt | 1 | Gentle washing, reduces scratches |
| Microfiber Towels | 6-8 | Drying, buffing, glass cleaning |
| Buckets | 2-3 | Two-bucket method, separate wheels |
| Grit Guard Insert | 1 | Keeps dirt out of mitt |
| Wheel Cleaner | 1 bottle | Breaks down brake dust |
| Wheel Brush | 1 | Reaches tight spots |
| Glass Cleaner | 1 bottle | Streak-free windows |
| Interior Cleaner | 1 bottle | Safe on all surfaces |
| Vacuum Cleaner | 1 | Removes dirt from carpets/seats |
| Clay Bar | 1 kit | Removes bonded contaminants |
| Car Wax/Sealant | 1 | Protects paint, adds shine |
| Foam Applicator Pads | 2-4 | Even application of products |
| Drying Towel | 1-2 | Safe, fast drying |
This kit covers every basic need without extra cost or confusion.
What To Avoid In Your First Detailing Kit
Some products are tempting but not needed for beginners. Avoid these common mistakes:
- Automatic car wash soaps – Often too harsh, can strip wax.
- Household cleaning tools – Sponges, towels, and brushes can scratch paint.
- All-in-one products that promise to clean, wax, and protect in one step. They rarely do any job well.
- Colored tire dressings – These can stain wheels or paint if they sling.
- Random polishers or machines – Learn the basics by hand first; machines can cause damage if used incorrectly.
Common Mistakes Beginners Make
Learning from others’ errors will save you frustration:
- Using one bucket for everything—always use two or three buckets.
- Skipping the drying step—air drying can cause water spots.
- Washing in direct sunlight—products dry too fast and leave streaks.
- Not reading product labels—mixing the wrong products can cause damage.
- Using too much or too little product—more is not always better.

Credit: wdautosupply.com
How To Use Your Detailing Kit: A Simple Step-by-step
Not sure how to use your kit? Here’s a basic order for your first detail:
- Rinse the car to remove loose dirt.
- Wash with a microfiber mitt and two buckets.
- Clean wheels with dedicated brush and cleaner.
- Clay the paint if it feels rough.
- Iron remover for stubborn metal contamination.
- Dry with a microfiber towel.
- Clean glass inside and out.
- Vacuum the interior, then clean with interior cleaner.
- Apply protectant to dashboard and trim.
- Condition leather or apply fabric protector.
- Dress tires for a clean, black look.
- Wax or seal the paint for lasting shine.
- Quick detailer for final touch-ups.
For best results, work in the shade and do one section at a time.
Cost Comparison: Starter Kit Vs. Buying Separately
How much can you expect to spend? Here’s a rough breakdown.
| Product | Starter Kit Price | Individual Price |
|---|---|---|
| Car Wash Shampoo | $8 | $10 |
| Wash Mitt | $6 | $8 |
| Microfiber Towels (6) | $15 | $20 |
| Clay Bar Kit | $15 | $20 |
| Wheel Cleaner | $10 | $12 |
| Wax/Sealant | $18 | $25 |
| Total | $72 | $95 |
Starter kits often save money, but check what’s included. Some kits skip key items, or include small sizes.

Credit: invisibleglass.com
How To Store And Maintain Your Detailing Kit
Keeping your products in good shape saves money and ensures best results.
- Store chemicals in a cool, dry place—heat or sun can ruin them.
- Wash towels and mitts after every use. No fabric softener—it reduces absorbency.
- Dry brushes and pads before storing to prevent mold.
- Label all bottles, especially if you mix your own solutions.
- Replace worn-out towels or mitts; old tools can scratch your car.
Non-obvious Tips For Beginners
- Use separate towels for each task. Mark them with a colored tag or corner so you don’t use a dirty towel on your paint.
- Test new products on a small area. Every car’s finish is different—better to check before doing the whole car.
- Less is more with chemicals. Overusing products can make cleaning harder, not easier.
- Invest in quality over quantity. A few good towels and brushes will outlast cheap ones.
Frequently Asked Questions
What Is The Most Important Item In A Beginner Car Detailing Kit?
The microfiber wash mitt is one of the most important items. It prevents scratches and swirl marks that sponges can cause. Combined with a gentle car wash shampoo, you can safely remove dirt without damaging the paint.
How Often Should I Detail My Car?
A basic wash every 1-2 weeks is ideal. Full detailing (washing, waxing, interior cleaning) should be done every 2-3 months, depending on your car’s use and the climate. If you park outside, increase the frequency.
Can I Use Household Cleaning Products On My Car?
It’s best to avoid household cleaners. Many contain harsh chemicals that can damage car surfaces or strip protective layers. Always use products labeled for automotive use.
What’s The Difference Between Car Wax And Sealant?
Car wax is usually made from natural ingredients like carnauba and gives a warm shine, but lasts 1-3 months. Sealants are synthetic, last longer (up to 6 months), and provide strong protection but a more reflective shine.
Where Can I Learn More About Car Detailing Techniques?
There are many online resources, tutorials, and forums. A reliable place to start is the Autogeek Online Forum, which offers guides, videos, and advice from experienced detailers.
Keeping your car looking its best is easier when you start with the right tools and knowledge. With this beginner car detailing kit checklist, you’re ready to protect your investment, enjoy the process, and see real results every time you clean your car.