Your car’s trim and vinyl are always exposed to harsh sunlight, dirt, and weather. Over time, they lose their color, become faded, and look worn out.
But here’s the good news: you can bring back that fresh, rich look and protect your trim and vinyl with the right protectant. If you want to know exactly how to apply trim and vinyl protectant the right way, you’re in the right place.
Follow these simple steps, and you’ll keep your car looking sharp while shielding it from damage. Ready to restore that deep shine and lasting protection? Let’s dive in!
Choosing The Right Protectant
Choosing the right protectant for your trim and vinyl is essential for lasting results. The correct product preserves color and prevents damage. It also adds a fresh, clean look to your surfaces. Understanding the options helps you pick the best fit for your needs.
Types Of Trim And Vinyl Protectants
Protectants come in several forms. Silicone-based protectants provide a shiny finish and water resistance. Water-based protectants offer a natural look with UV protection. Some protectants include conditioners to restore faded trim. Others focus on deep cleaning before protection.
Factors To Consider
Check the surface type before choosing a protectant. Some products work better on rubber, others on plastic or vinyl. Consider if you want a matte or glossy finish. Also, look for UV protection to prevent fading from sun exposure. Ease of application and drying time matter for convenience.
Recommended Products
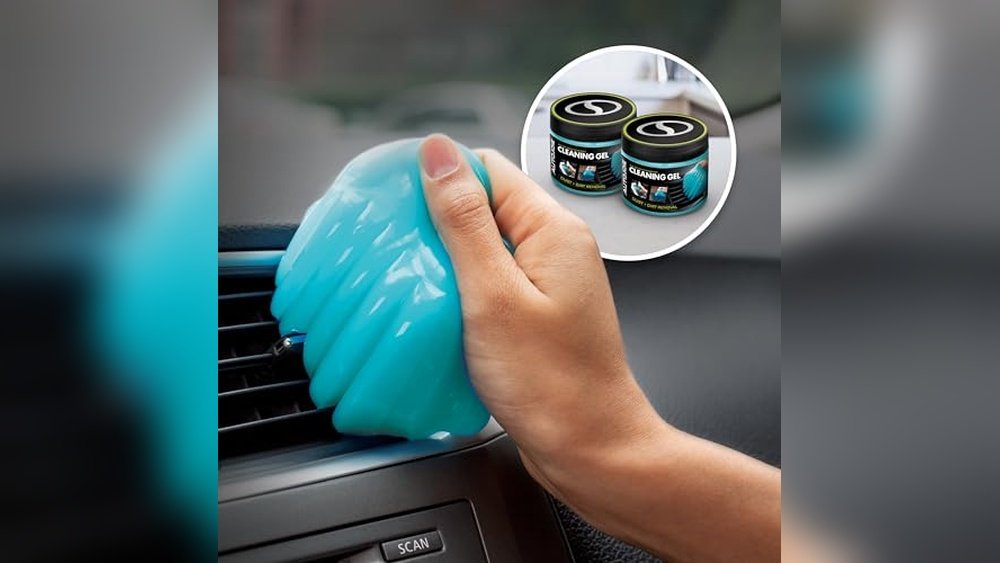
Meguiar’s Ultimate Black Plastic Restorer is popular for deep black restoration. Chemical Guys’ VRP Dressing balances shine and protection well. SONAX Trim Protectant offers strong UV defense and lasting gloss. Always test a small area before full application to avoid unwanted effects.

Credit: skwol.us
Preparing The Surface
Preparing the surface is the first important step before applying trim and vinyl protectant. A clean and dry surface helps the protectant stick better. Dirt, old residues, and moisture can stop the product from working well. Taking time to prepare the trim or vinyl ensures a smooth and lasting finish.
Cleaning Trim And Vinyl
Start by washing the trim and vinyl with soap and water. Use a soft brush or cloth to remove dirt and grime. Clean every corner and crevice for the best results. Avoid harsh chemicals that may damage the surface. Rinse thoroughly to remove all soap residue.
Removing Old Residue
Old protectant or wax can block the new product from bonding. Use a gentle cleaner or dedicated residue remover to take off old layers. Apply the cleaner with a microfiber cloth and rub gently. Repeat until the surface feels smooth and clean. This step helps the new protectant work effectively.
Drying Techniques
Dry the surface completely before applying protectant. Use a clean, dry microfiber towel to absorb all moisture. Air drying in shade works well too. Avoid direct sunlight to prevent water spots. A dry surface allows the protectant to spread evenly and last longer.
Application Tools
Choosing the right tools makes applying trim and vinyl protectant easier and more effective. Proper tools help spread the product evenly and reach all surfaces. This ensures better protection and a smooth finish. Here are the key tools you need for a perfect application.
Applicator Sponges And Cloths
Soft applicator sponges work well for large areas of trim and vinyl. They hold the protectant without soaking it up. Use smooth, circular motions to spread the product evenly. Microfiber cloths are great for wiping off excess protectant. They prevent streaks and provide a clean, polished look.
Using Brushes For Detailed Areas
Small brushes help reach cracks and textured surfaces. Use a soft-bristle brush to apply the protectant in tight spots. It ensures full coverage on intricate trim parts. A brush also helps work the product into grooves for better protection.
Protective Gear
Wear gloves to keep your hands clean and safe. Some protectants may cause skin irritation. Use old clothes or a protective apron to avoid stains. Safety glasses protect your eyes from accidental splashes. These simple steps keep the process safe and mess-free.
Step-by-step Application
Applying trim and vinyl protectant correctly helps keep surfaces looking fresh and new. Follow these simple steps for the best results. The process is easy and improves the life of your car’s trim and vinyl parts.
Applying Protectant Evenly
Start with a clean, dry surface. Use a soft cloth or applicator pad. Dab a small amount of protectant onto the cloth. Spread it evenly across the trim or vinyl. Avoid putting too much product in one spot. Work in small sections to cover all areas smoothly.
Massaging Into Surface
Rub the protectant gently into the material. Use circular motions for better absorption. This helps the product penetrate and bond with the surface. Massaging also prevents streaks and buildup. Take your time to ensure full coverage.
Handling Edges And Corners
Edges and corners need special care. Use a smaller applicator or a cotton swab. Apply protectant carefully to avoid excess pooling. These areas dry slower and attract dirt easily. Make sure the product reaches all tight spots for uniform protection.
Drying And Buffing
Drying and buffing are key steps after applying trim and vinyl protectant. They help the product set properly and bring out the best look. Taking time to dry and buff ensures the protectant works well and lasts longer.
Patience in this phase improves the finish. Proper drying avoids streaks and buildup. Buffing removes excess and enhances shine. Follow these simple steps to get a smooth, clean result on your trim and vinyl surfaces.
Allowing Proper Dry Time
Let the protectant dry fully before touching it. Dry time varies by product and weather. Usually, 5 to 10 minutes is enough. Avoid applying more product while the first layer is still wet. Proper drying helps the protectant bond to the surface.
Removing Excess Product
Use a clean microfiber cloth to remove extra protectant. Gently wipe the surface to avoid streaks. Excess product can attract dirt and dust. Removing it creates a smooth, even layer. This step helps maintain a natural look without greasiness.
Achieving Desired Shine
Buff the surface with a soft cloth for a polished finish. Use circular motions to spread the product evenly. Buffing enhances color depth and adds a subtle gloss. Stop once you reach the shine you want. The right shine protects and improves the trim’s appearance.

Credit: globalbean.eu
Maintenance Tips
Maintaining your trim and vinyl protectant keeps surfaces looking fresh and new. Proper care extends the life of the protectant and shields your vehicle’s plastic and vinyl parts. Follow these simple maintenance tips to keep the protectant effective and your trim vibrant.
Frequency Of Reapplication
Reapply the protectant every four to six weeks. This schedule helps maintain a strong protective layer on the trim. Heavy exposure to sun or rain may require more frequent applications. Watch for signs like fading or dryness to know when to reapply.
Cleaning Without Stripping Protectant
Use mild soap and water to clean trim surfaces. Avoid harsh chemicals or strong detergents that can remove the protectant. Gently wipe the area with a soft cloth or sponge. This method keeps dirt away without damaging the protective coating.
Protecting Against Uv Damage
UV rays cause fading and cracking in trim and vinyl. A quality protectant shields surfaces from harmful sunlight. Park in shaded areas when possible to reduce UV exposure. Regular application of protectant strengthens the barrier against sun damage.
Common Mistakes To Avoid
Applying trim and vinyl protectant is simple but easy to mess up. Avoiding common mistakes helps your trim look great and last longer. These errors can reduce protection and cause uneven finish. Follow these tips to get the best results.
Applying On Dirty Surfaces
Never apply protectant on dirty trim or vinyl. Dirt and dust block the product from bonding well. This causes blotches and uneven shine. Always clean the surface first with soap and water. Let it dry fully before applying protectant.
Using Too Much Product
Using too much protectant does not mean better protection. Thick layers take longer to dry and may drip or streak. A thin, even coat gives the best finish and protection. Apply a small amount and spread it evenly with a clean cloth or applicator pad.
Ignoring Manufacturer Instructions
Each product has specific instructions for best use. Ignoring these can cause poor results or damage. Check the label for recommended amount, drying time, and application tools. Follow instructions closely to keep trim and vinyl safe and looking fresh.
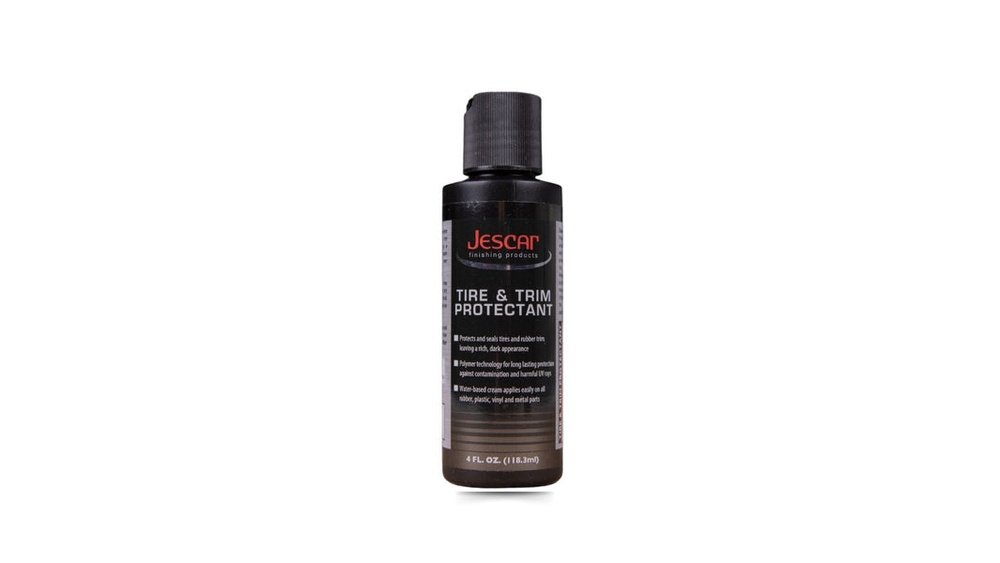
Credit: jescarfinishing.com
Frequently Asked Questions
What’s The Best Way To Apply Ecstar Protectant?
Apply Ecstar protectant on clean, dry surfaces using a soft applicator pad. Spread evenly in circular motions. Let it absorb for a few minutes, then buff off any excess with a microfiber cloth for a smooth, protective finish.
What Is Trim Protectant Used For?
Trim protectant cleans, restores, and shields plastic, rubber, and vinyl surfaces from UV damage, fading, dirt, and weathering.
How To Apply Plastic Trim Restorer?
Clean the plastic trim thoroughly. Apply the restorer using a microfiber cloth or applicator pad. Rub gently in circular motions. Let it absorb for a few minutes. Wipe off any excess to avoid streaks. Repeat for best results and long-lasting protection.
How To Apply Vinyl To Window Trim?
Measure and cut vinyl to fit window trim. Clean the trim surface thoroughly. Peel backing and carefully apply vinyl. Smooth out air bubbles. Trim excess vinyl for a clean finish.
Conclusion
Applying trim and vinyl protectant keeps your surfaces looking fresh. Clean the area well before starting. Use a soft cloth or applicator for even coverage. Work in small sections to avoid streaks or spots. Let the protectant dry completely for best results.
Regular application extends the life and color of your trim. Protecting your trim helps maintain your vehicle’s value. Simple steps can make a big difference in appearance. Keep your trim safe from sun, dirt, and wear. A little care goes a long way in protection.