Building your own car detailing kit is a smart move for anyone who wants to keep their vehicle looking its best. Many car owners rely on professional services to get that “new car” shine. But with the right tools and products, you can achieve excellent results at home—often saving time and money.
Plus, there’s real satisfaction in caring for your car yourself and knowing exactly what goes onto your paint, glass, and interior.
If you’re just starting out, building a car detailing kit can feel overwhelming. There are hundreds of products out there, each claiming to be the best. You might wonder: What do I really need? What works, and what’s just marketing? This guide breaks everything down into clear steps. You’ll learn exactly what to buy, how to choose the best items for your needs, and how to avoid common mistakes beginners make. By the end, you’ll be ready to detail your car confidently, without wasting money or effort.
Understanding Car Detailing: The Basics
Car detailing means more than just a wash. It’s a process that cleans, restores, and protects your car’s surfaces, inside and out. Detailing goes deeper than regular cleaning. It removes contaminants, polishes surfaces, and adds protective layers. The goal: make your car look as close to new as possible—and keep it that way.
There are two main parts:
- Exterior detailing: Cleaning and protecting paint, wheels, glass, and trim.
- Interior detailing: Cleaning and caring for seats, carpets, dashboard, and other surfaces.
A good detailing kit covers both areas. It also includes the right tools to avoid scratches and damage. Many beginners miss how important tools like microfiber towels are; using the wrong cloth can actually make your paint look worse.
The Essential Components Of A Car Detailing Kit
Let’s break down the main categories you’ll need in your kit. Each item serves a specific purpose, and skipping any can lead to poor results.
1. Car Wash Soap
Never use dish soap or household cleaners on your car’s paint—they strip away protective wax and can leave the surface dull. Look for a pH-balanced car wash soap. These are gentle on wax and sealants but strong enough to lift dirt. Popular options include Meguiar’s Gold Class or Chemical Guys Mr. Pink.
2. Wash Mitts And Sponges
A soft, high-quality microfiber wash mitt is best. It traps dirt away from the paint, reducing scratches. Lamb’s wool mitts are also good but usually cost more. Avoid cheap sponges or old towels—they can cause swirl marks.
3. Buckets (two-bucket Method)
Using two buckets reduces the risk of scratching your paint. One bucket holds soapy water; the other, clean water for rinsing your mitt. If your budget allows, add grit guards at the bottom to trap dirt.
4. Drying Towels
Air drying leaves water spots. Use a large, plush microfiber drying towel. It absorbs water fast and won’t scratch your paint. Waffle weave towels are especially effective.
5. Wheel And Tire Cleaners
Wheels pick up brake dust and grime that regular soap won’t remove. Dedicated wheel cleaners break down tough contaminants. Make sure the cleaner matches your wheel type—some chemicals can damage chrome or aluminum. Tire cleaners remove old dressings and dirt.
6. Wheel Brushes
You’ll need at least two types:
- Barrel brush for inside the wheel
- Detailing brush for lug nuts and tight spots
Soft bristles prevent scratching. Some kits include small, cone-shaped brushes for tricky areas.
7. Glass Cleaner
A streak-free glass cleaner keeps your windows clear and safe. Avoid household glass cleaners with ammonia—they can damage tint and plastic. Choose an automotive formula.
8. Clay Bar Kit
A clay bar removes embedded contaminants from paint that washing leaves behind. It’s essential before polishing or waxing. Most kits include lubricant; you need this to keep the clay from sticking.
9. Paint Polish
Polishing restores shine and removes minor swirls or scratches. You can use a hand polish for small areas or invest in a dual-action polisher for better results. Choose a polish suited to your paint’s condition.
10. Wax Or Paint Sealant
Car wax protects your paint from UV rays, dirt, and water. Natural carnauba wax gives a warm shine but doesn’t last as long as synthetic sealants. Sealants provide longer-lasting protection but sometimes look less “deep.”
11. Applicator Pads
Use foam or microfiber applicator pads for applying polish, wax, and dressings. Never use your bare hands—pads spread products evenly and prevent waste.
12. Interior Cleaner
Choose a safe, all-purpose interior cleaner for plastic, vinyl, and fabric. Some surfaces (like leather) need specific products, so read labels carefully.
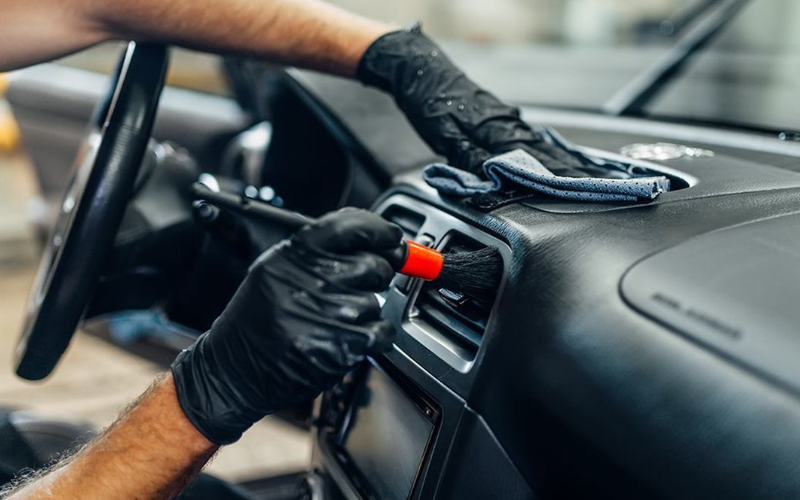
13. Interior Brushes
A set of soft interior brushes helps clean vents, buttons, and seams. Toothbrushes are too rough—look for dedicated detailing brushes.
14. Vacuum Cleaner
A compact car vacuum with attachments gets into tight areas like between seats. Cordless models are handy, but corded versions usually have more power.
15. Carpet And Upholstery Cleaner
Spills and stains need a carpet cleaner. Foaming sprays work well for small spots. For deep cleaning, a portable extractor pulls dirt and moisture from fabric.
16. Leather Cleaner And Conditioner (if Applicable)
If your car has leather seats, use a leather cleaner followed by a conditioner. This keeps the leather soft and prevents cracking.
17. Detailing Towels
Stock up on various microfiber towels—some for paint, others for interior or glass. Different colors can help you avoid cross-contamination (for example, never use a wheel towel on paint).
18. Detailing Sprays
Quick detailer sprays boost shine or remove light dust between washes. Some sprays also add protection. These are handy for last-minute touch-ups.
19. Tire Dressing
Tire dressings restore a deep black look to your tires. Water-based dressings are safer for rubber, while solvent-based options last longer but may cause browning if overused.
20. Storage Bag Or Organizer
Keep your kit organized with a dedicated storage bag or caddy. This protects your tools from dirt and damage and saves time looking for what you need.
Credit: www.carwash.com
Choosing The Right Products: What Really Matters
With so many brands and types, picking the right items can be confusing. Here’s what to consider before you buy:
- Paint type: Some cars have soft or hard paint. Softer paint scratches more easily and may need gentler products.
- Climate: If you live in a hot, sunny area, look for waxes with strong UV protection.
- Time: If you want fast results, focus on spray waxes and all-in-one products. For the best finish, use separate, dedicated products.
- Budget: Quality matters more than quantity. Start with basics, then add specialty items as your skills grow.
Many beginners waste money on “miracle” products or kits with too many items. Start with the essentials—expand as you see what you actually use.
Example: Starter Kit Vs. Advanced Kit
Here’s how a simple starter kit compares to an advanced setup:
| Starter Kit | Advanced Kit |
|---|---|
| pH-balanced car wash soap | pH-balanced car wash soap (premium) |
| Microfiber wash mitt | Microfiber wash mitt (multiple types) |
| Two buckets | Two buckets with grit guards |
| Drying towel | Drying towel (waffle weave + plush) |
| Wheel & tire cleaner | Specialty cleaners for each wheel type |
| Wheel brush | Barrel, lug nut, and fine detail brushes |
| Glass cleaner | Glass cleaner + anti-fog treatment |
| Clay bar kit | Clay bar kit + synthetic clay pads |
| Wax or sealant | Wax, sealant, and ceramic coating |
| Microfiber towels | Multiple towel types, color-coded |
Start simple. Upgrade as you gain experience and see the benefits of advanced tools.
How To Build Your Car Detailing Kit: Step-by-step
Let’s walk through the process. Building your kit is more than shopping—think about your specific car, your time, and your goals.
Step 1: Assess Your Car’s Needs
- Paint condition: Is it new, or does it have scratches and swirls?
- Interior material: Do you have leather, cloth, or both?
- Wheel type: Painted, chrome, aluminum, or alloy? Choose cleaners and brushes that match.
Take a walk around your car and make notes. This saves you from buying the wrong products.
Step 2: Buy Core Supplies First
Start with these basics for a solid kit:
- Car wash soap
- Microfiber wash mitt
- Two buckets (plus grit guards if possible)
- Microfiber drying towel
- Wheel cleaner and brush
- Glass cleaner
- All-purpose interior cleaner
- Microfiber towels
These cover 90% of cleaning tasks.
Step 3: Add Specialty Products
Once you’re comfortable, add items like:
- Clay bar kit
- Polish and wax
- Tire dressing
- Interior detail brushes
- Carpet or upholstery cleaner
- Leather care products (if needed)
Don’t buy everything at once—you’ll end up with unused items.
Step 4: Organize Your Kit
A messy kit leads to mistakes. Use a bag, crate, or shelf. Keep products upright and tools clean. Label towels for different uses (paint, glass, wheels, interior).
Step 5: Maintain Your Tools
- Wash microfiber towels separately—never with fabric softener or regular laundry.
- Rinse brushes after each use.
- Store chemicals in a cool, dry place.
Well-cared-for tools last longer and work better.
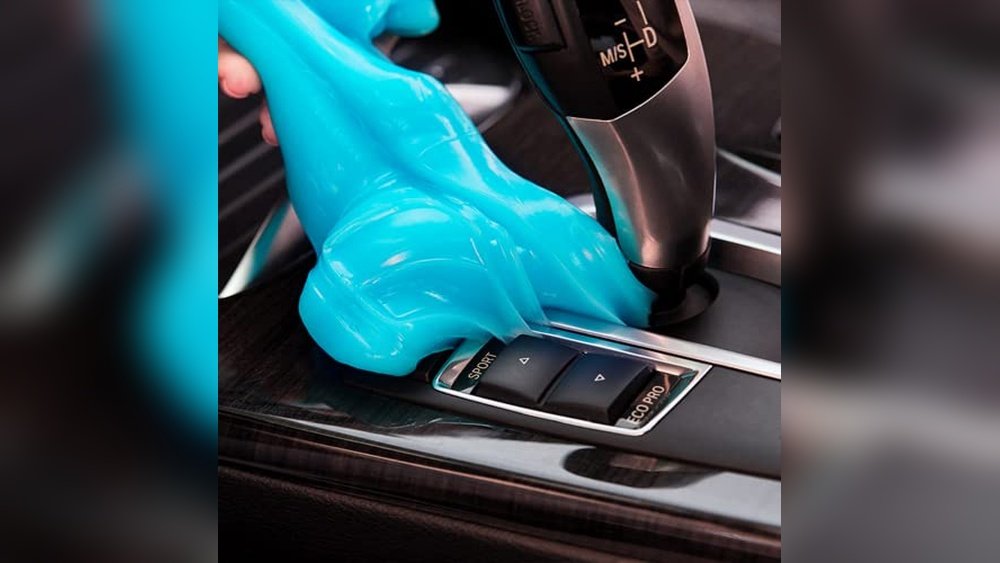
Common Mistakes Beginners Make
Avoid these pitfalls:
- Using household cleaners: They can strip wax and damage surfaces.
- Washing in direct sunlight: Water and soap dry too fast, causing spots.
- Reusing dirty towels: This causes scratches and swirls.
- Skipping clay bar treatment: Polishing or waxing over contaminants locks in dirt.
- Not reading labels: Some products are not safe for all surfaces—check before applying.
Many new detailers also forget to protect themselves. Wear gloves when handling strong chemicals, and avoid breathing in dust from polishing.
Credit: blog.mobilecarwash.com
Detailed Comparison: Popular Car Detailing Products
To help you choose, here’s a quick comparison of some top-rated items in each category:
| Product | Strengths | Weaknesses |
|---|---|---|
| Meguiar’s Gold Class Car Wash | Gentle, great foam, affordable | Not as concentrated as premium soaps |
| Chemical Guys Mr. Pink | Excellent suds, safe for wax | Scent is strong for some users |
| Griot’s Garage Microfiber Wash Mitt | Very soft, durable | Higher price |
| Mothers Foaming Wheel & Tire Cleaner | Good for all wheels, foaming action | Needs agitation for heavy brake dust |
| Stoner Invisible Glass Cleaner | No streaks, ammonia-free | Spray bottle can leak if tipped |
| Turtle Wax Hybrid Solutions Ceramic Spray | Long-lasting protection, easy to use | Higher price than traditional wax |
Choose based on your budget, preferences, and car’s needs. Sometimes, testing a sample size is smarter than buying a large bottle right away.
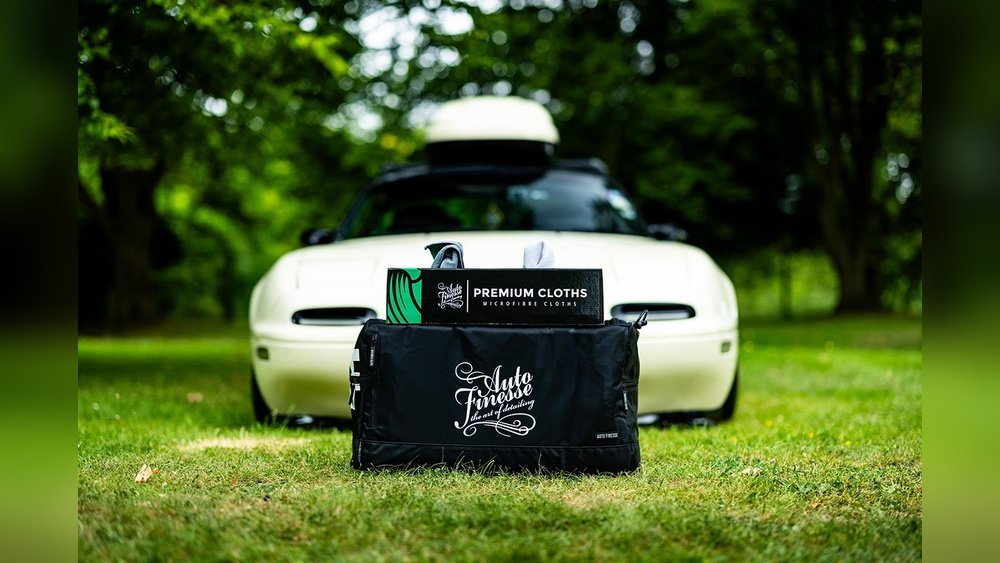
Practical Tips For Car Detailing Success
- Detail in shade: Sunlight dries products too quickly.
- Work from top to bottom: Dirt flows down, so start with the roof and end with the wheels.
- Use separate towels: Never use the same towel for paint and wheels.
- Don’t rush: Good results take time. Spend extra minutes on prep for a better finish.
- Inspect your work: Check with a flashlight or under different light to catch missed spots.
A big insight many miss: less is more. Use the right amount of product, not more. Overusing wax, polish, or cleaner can make removal harder and waste money.

Credit: www.autofinesse.com
How Often Should You Detail Your Car?
Here’s a general guideline:
- Wash: Once every 1-2 weeks
- Wax or sealant: Every 2-3 months (or as recommended)
- Interior cleaning: Once a month or as needed
- Deep cleaning (clay, polish): 2-3 times a year
Adjust for your climate and driving habits. City driving and harsh weather may require more frequent detailing.
Should You Buy A Pre-made Kit?
Pre-made kits are tempting, but they often include items you don’t need or skip important tools. Building your own kit means you get exactly what’s right for your car. You’ll also learn what works best for you as you go.
If you prefer a pre-made kit, read reviews and check the contents carefully. Look for kits from trusted brands and avoid those with “one-size-fits-all” marketing.
For more on car care basics, you can also check resources like Consumer Reports.
Frequently Asked Questions
What’s The Difference Between Car Wash Soap And Household Soap?
Car wash soap is made to clean without stripping wax or harming your car’s paint. Household soap (like dish detergent) is harsher and can remove protective coatings, leaving your paint dull and unprotected.
How Many Microfiber Towels Do I Need In My Detailing Kit?
You should have at least 6-10 microfiber towels: some for paint, others for glass, wheels, and interior. Color-coding helps avoid using a dirty towel on clean surfaces.
Is A Clay Bar Really Necessary?
Yes. A clay bar removes tiny, stuck-on contaminants that washing leaves behind. If you skip this step, polish and wax won’t bond as well, and your paint won’t feel as smooth.
Can I Use The Same Cleaner For Both Wheels And Paint?
No. Wheel cleaners are often stronger and can damage paint or clear coat. Always use products specifically labeled for paint or wheels.
How Can I Tell If I Need To Wax My Car?
After washing and drying, spray a little water on your paint. If the water beads up, your wax is still working. If it lays flat or spreads out, it’s time to apply new wax or sealant.
Building your own car detailing kit is an investment in your car’s appearance and value. With the right supplies and a bit of practice, you’ll not only save money but also enjoy the process. Start with the essentials, learn as you go, and soon you’ll have a kit that rivals the pros.
Your car will thank you—and so will your wallet.