Your engine works hard every day, and over time, dirt, grease, and grime build up in the engine bay. This not only looks bad but can affect your car’s performance and even cause damage.
So, how do you clean your engine and engine bay safely and effectively without risking harm to delicate parts? You’ll discover simple, step-by-step methods to get your engine bay sparkling clean. Whether you’re a beginner or just want some expert tips, you’ll learn how to protect your engine while removing years of buildup.
Keep reading, and your car will thank you with better looks and smoother runs.
Preparing The Engine Bay
Cleaning the engine bay starts with good preparation. This step helps protect your car’s parts. It also makes the cleaning easier and safer.
Before you begin, take time to gather tools and protect sensitive parts. Cooling down the engine is very important too. These steps prevent damage and save time later.
Gathering Necessary Tools And Materials
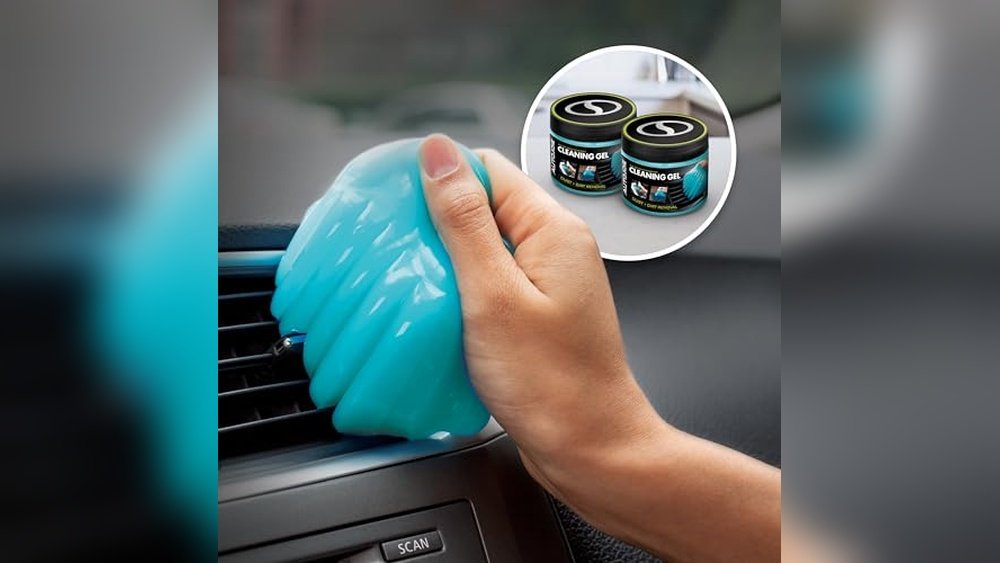
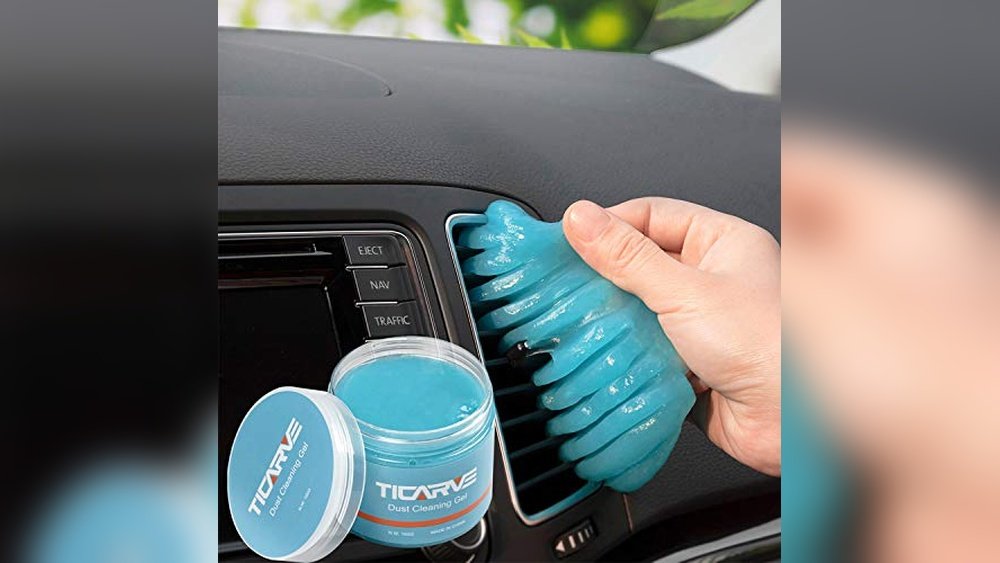
Collect all tools before starting. You will need a degreaser, brushes, and microfiber cloths. Use a plastic scraper for tough dirt. A garden hose with low pressure works well for rinsing. Don’t forget gloves and safety glasses to protect yourself.
Ensuring Engine Cool-down
Never clean a hot engine. Wait until it is cool to the touch. This prevents burns and avoids damage to engine parts. Cooling down also stops water from evaporating too fast. This helps the degreaser work better.
Protecting Sensitive Components
Cover electrical parts with plastic bags or wrap. Protect the battery, fuse box, and air intake. Avoid water getting inside these areas. Seal any exposed wires or sensors carefully. This step prevents shorts and costly repairs.
Credit: gunk.com
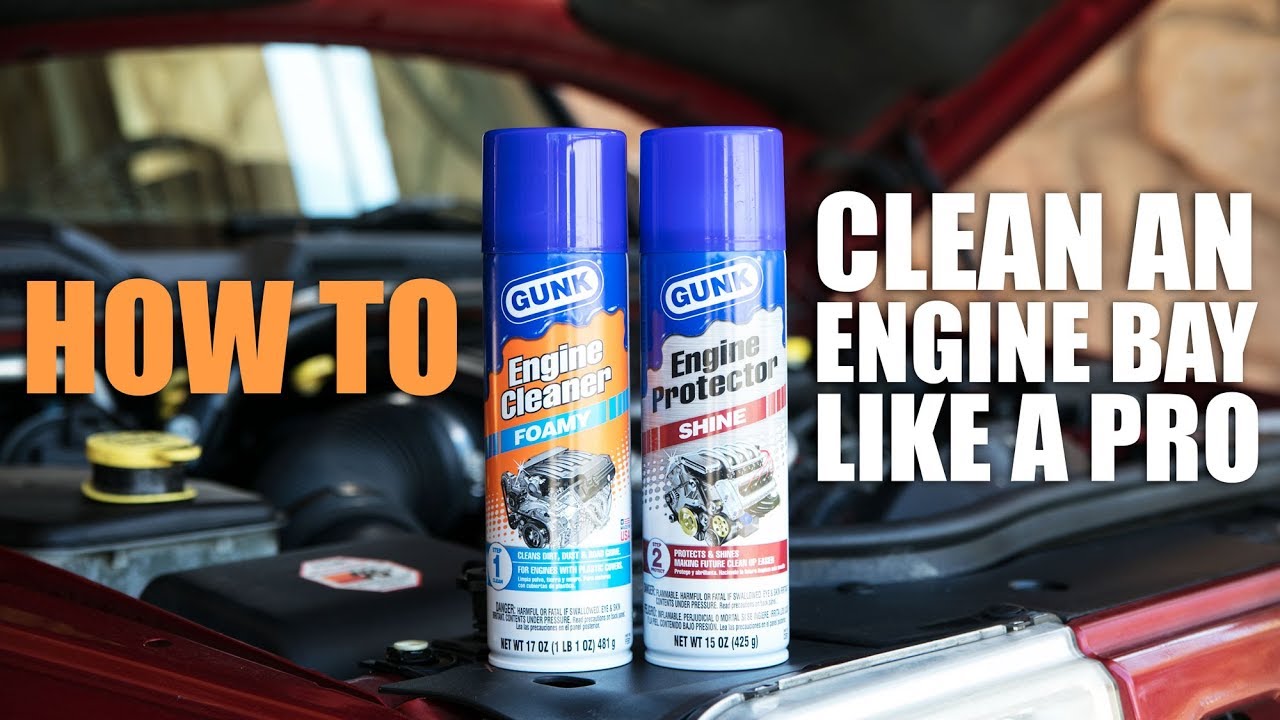
Choosing The Right Cleaner
Choosing the right cleaner is key to a safe and effective engine bay cleaning. The engine area has many delicate parts. A wrong cleaner can cause damage or leave residues. Picking a product that suits your engine type and dirt level is important. This guide helps you find the best cleaner for your needs.
Types Of Degreasers
Degreasers come in many forms. Some are water-based, others solvent-based. Water-based degreasers are gentle and eco-friendly. They break down grease without harsh chemicals. Solvent-based degreasers work faster on tough grime. But they can harm paint and rubber parts. Choose a degreaser labeled safe for engines. Avoid using heavy-duty industrial cleaners. They may be too strong for your vehicle.
Diy Cleaning Solutions
Homemade cleaners can be effective and safe. A simple mix of dish soap and warm water works well. Dish soap cuts grease and is gentle on surfaces. Baking soda and vinegar can help remove stubborn stains. Always test a small area first. Avoid mixing chemicals that can create harmful fumes. DIY solutions save money and reduce chemical exposure.
Avoiding Harmful Chemicals
Some cleaners contain harsh chemicals that damage engine parts. Avoid products with acids, bleach, or ammonia. These can corrode metal and degrade plastic. Strong solvents may harm electrical connections. Look for non-toxic and biodegradable labels. Use protective gloves and work in a well-ventilated area. Taking these steps protects your engine and health.
Initial Dirt And Debris Removal
Cleaning the engine and engine bay begins with removing loose dirt and debris. This step clears the surface and makes deeper cleaning easier. Removing dirt early prevents grime from spreading during washing. It also protects delicate engine parts from damage caused by stuck particles.
Start with gentle tools and techniques to avoid harming sensitive components. Taking time here improves the overall cleaning result. Focus on all visible areas, including corners and crevices where dirt hides.
Using Compressed Air Or Brush
Compressed air blows away dust and dry debris fast. It reaches tight spaces that brushes cannot. Use a low-pressure setting to avoid damaging wires or connectors. Hold the nozzle a few inches from the surface for safe cleaning.
A soft brush works well on stubborn dirt. Choose one with nylon bristles to protect delicate parts. Gently sweep the engine bay, focusing on crevices and corners. Avoid hard scrubbing that may scratch or loosen components.
Wiping Loose Grime
After brushing or blowing, wipe remaining grime with a microfiber cloth. Microfiber traps dust and prevents scratches. Use light pressure to pick up dirt without spreading it.
Check all surfaces for leftover dust or particles. Repeat wiping as needed until the engine bay looks clean. This step prepares the area for deeper washing and degreasing. Clean surfaces allow cleaning solutions to work better.

Credit: www.crcindustries.com
Applying Degreaser
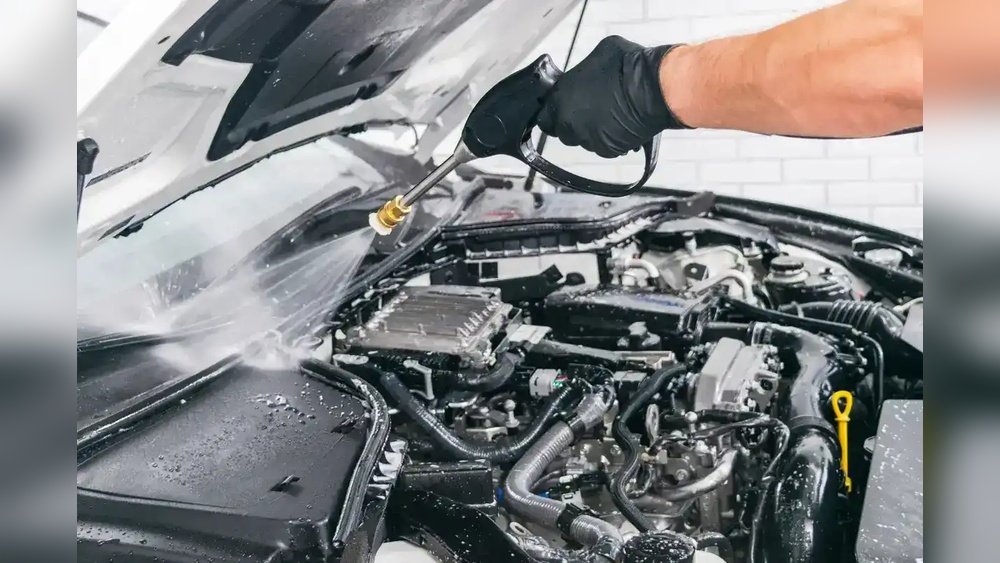
Applying degreaser is a key step in cleaning your engine and engine bay. It helps break down grease, grime, and dirt, making the cleaning process easier. Using the right method ensures the degreaser works effectively without damaging engine parts.
Proper Spraying Techniques
Hold the spray bottle about 6 to 12 inches from the surface. Spray evenly to cover all greasy areas. Avoid soaking electrical components directly. Use a controlled spray to prevent oversaturation. Target areas with heavy buildup first. Lightly mist less dirty spots to save product.
Allowing Dwell Time
After spraying, let the degreaser sit for 5 to 10 minutes. This time allows it to break down tough grease. Do not let it dry completely on the engine. Keep an eye on the surface and re-spray if needed. Proper dwell time improves cleaning power and reduces scrubbing effort.
Scrubbing And Agitation
Scrubbing and agitation play a key role in cleaning the engine and engine bay. Dirt and grease stick tightly to many surfaces. Gentle but firm scrubbing loosens and lifts grime effectively. Agitation helps break down built-up oils and deposits for easier removal.
Choosing the right tools and techniques ensures thorough cleaning without damage. This step requires patience and attention to detail. Every area benefits from the correct brush and method to reach all corners and crevices.
Selecting Brushes For Different Surfaces
Use soft-bristle brushes on delicate plastic and rubber parts. They prevent scratches and keep surfaces intact. Medium-bristle brushes work well on metal and painted areas. They remove dirt without harming the finish. Stiff-bristle brushes suit heavy grime on metal components. Avoid using harsh brushes on fragile parts to stop damage.
Small brushes reach tight spots and crevices. Larger brushes cover broad areas quickly. A mix of sizes and stiffness provides full coverage. Always rinse brushes often to keep them clean and effective during scrubbing.
Targeting Stubborn Spots
Stubborn grease and grime need focused scrubbing. Apply degreaser directly on tough spots before scrubbing. Let it sit briefly to soften the dirt. Use a stiff brush or a toothbrush for small, hard-to-reach areas. Work in circular motions to break the grime loose.
Repeat scrubbing on problem areas if necessary. Avoid harsh scrubbing that can damage surfaces. After agitation, rinse the engine bay to clear loosened dirt. This step prepares the area for final cleaning and drying.
Rinsing The Engine Bay
Rinsing the engine bay is a key step to remove loosened dirt and grime. It prepares the surface for a thorough clean without leaving residue behind. Proper rinsing also helps protect sensitive components from damage.
Using careful techniques during this phase ensures the engine bay looks fresh and clean. Simple precautions prevent costly issues while maintaining your vehicle’s performance and appearance.
Using Low-pressure Water
Use a gentle flow of water to rinse the engine bay. A garden hose with low pressure works best. Avoid high-pressure sprays that can force water into tight spots. Direct the water away from delicate parts.
Move the hose slowly and evenly over the surfaces. This prevents dirt from spreading or settling deeper. Low-pressure water rinses away cleaning agents safely without damaging paint or seals.
Avoiding Electrical Damage
Cover exposed electrical parts before rinsing to prevent short circuits. Use plastic bags or wrap connectors with cling film. Secure coverings tightly so water cannot seep through.
Never spray water directly at the battery, fuse box, or sensors. Instead, rinse around these areas carefully. Let the engine cool down before rinsing to avoid sudden temperature changes.
Drying The Engine Bay
Drying the engine bay is a crucial step after cleaning. Excess water can cause electrical problems or rust. Taking time to dry the area well protects your engine and parts. Proper drying keeps your engine bay looking fresh and safe.
Using Microfiber Towels
Microfiber towels absorb water quickly without scratching surfaces. Use several clean towels for better results. Gently press the towels on wet spots to soak up water. Avoid rubbing hard to prevent damage. Focus on tight spaces and crevices where water hides. Replace towels when saturated to speed up drying.
Air Drying Tips
Let the engine bay air dry after towel drying. Open the hood in a dry, shaded area to avoid direct sunlight. Sunlight can cause fast drying spots and leave stains. Use a leaf blower or compressed air to push water from hard-to-reach areas. Do not start the engine immediately. Wait at least 30 minutes to ensure all moisture evaporates.
Detailing And Protecting
Detailing and protecting your engine and engine bay is essential after cleaning. It enhances the look and helps prevent damage. A clean engine bay also makes it easier to spot leaks or worn parts early. Proper protection keeps plastic, rubber, and metal parts from aging quickly. This section explains how to apply protectants and restore plastic and rubber components.
Applying Protectants
Start by choosing a quality engine bay protectant. These products shield surfaces from dirt, dust, and moisture. Use a soft cloth or applicator pad to spread the protectant evenly. Avoid spraying directly on electrical parts. Instead, apply on the cloth first and then wipe the surfaces.
Protectants also help reduce cracking and fading of plastic and rubber parts. Let the product dry completely before closing the hood. Regular application keeps the engine bay looking fresh and reduces wear over time.
Restoring Plastic And Rubber Parts
Plastic and rubber parts can lose color and become dull after exposure to heat and chemicals. Use a dedicated restorer or conditioner made for these materials. Clean the parts thoroughly before applying the product to remove dirt and grime.
Apply the restorer with a microfiber cloth or sponge. Work in small sections to ensure full coverage. This treatment brings back the original color and adds a protective layer. It also helps to prevent cracking and brittleness. Repeat this process every few months for best results.
Safety Tips And Precautions
Cleaning your engine and engine bay requires careful attention to safety. Protecting yourself and your vehicle from damage is important. Following simple safety steps helps prevent accidents and costly repairs. Read these tips before starting your cleaning process.
Avoiding Water On Hot Engines
Never spray water on a hot engine. Sudden cooling can crack parts. Wait until the engine cools completely. This prevents warping and damage. Use a thermometer if unsure about the engine temperature. Always work in a shaded, cool area.
Handling Electrical Components Safely
Cover electrical parts with plastic bags or wrap. Avoid direct water contact on wires and connectors. Disconnect the battery for extra safety. Use gentle sprays and avoid high-pressure water near electrical areas. Dry these parts carefully after cleaning to stop corrosion.

Credit: www.youtube.com
Maintenance Tips For Clean Engine Bay
Keeping the engine bay clean helps your vehicle run better and last longer. Dirt and grime can build up quickly in this area. Regular care prevents damage and improves engine performance. Follow simple maintenance tips to keep the engine bay neat and tidy.
Regular Cleaning Schedule
Set a routine to clean the engine bay every few months. This keeps dirt from sticking and becoming hard to remove. Choose a cool day and a shaded area for cleaning. Avoid cleaning right after driving to prevent damage from hot parts. Use gentle cleaners and tools to protect wires and sensitive components.
Spot Cleaning Techniques
Focus on dirty or oily spots as soon as you see them. Use a soft brush or cloth to scrub these areas gently. Apply a mild degreaser or soap to break down grease. Rinse carefully with low-pressure water to avoid harming electrical parts. Dry the area with a clean towel to stop rust and corrosion.
Frequently Asked Questions
How To Safely Clean An Engine And Engine Bay?
Use a low-pressure hose to rinse the engine bay. Cover sensitive parts with plastic. Apply degreaser and scrub gently. Rinse carefully and dry thoroughly. Avoid spraying electrical components directly.
What Is The Best Thing To Clean The Engine Bay With?
Use a quality automotive degreaser and a soft brush to clean the engine bay. Rinse gently with low-pressure water. Avoid soaking electrical parts.
Is It Okay To Pour Water Over An Engine?
Pouring water directly on a hot engine can cause damage. Always let the engine cool before cleaning. Use a low-pressure hose and degreaser for safe cleaning. Avoid soaking electrical parts to prevent issues.
Is It Okay To Spray Wd-40 On A Car Engine?
Spraying WD-40 on a car engine is not recommended. It can attract dirt and damage electrical components. Use proper engine cleaners instead.
Conclusion
Cleaning your engine and engine bay keeps your car running smoothly. Regular cleaning helps spot leaks and prevents damage. Use gentle tools and avoid high-pressure water on sensitive parts. Let the engine cool before starting to clean. A clean engine bay looks better and lasts longer.
Follow simple steps for safe, effective cleaning. Keep your car’s heart healthy with regular care.