Your car’s ride comfort and safety depend heavily on your shock absorbers. When they wear out, you might notice bumpy rides, poor handling, or even unusual noises.
But here’s the good news—you don’t always need to pay a mechanic to replace or remove them. With some basic tools and a clear step-by-step guide, you can tackle this job yourself, save money, and gain confidence in your car maintenance skills.
You’ll learn exactly how to replace and remove shock absorbers safely and effectively. Stick with me, and by the end, you’ll know what to do, what to watch out for, and how to keep your ride smooth and secure. Ready to get started? Let’s dive in!

Credit: www.wikihow.com
Tools And Materials Needed
Replacing or removing shock absorbers requires specific tools and materials. Having these ready makes the job easier and safer. This section lists all essential items for a smooth process.
Basic Hand Tools
Wrenches and sockets of various sizes help loosen and tighten bolts. A ratchet set speeds up the work. A breaker bar may be needed for stubborn bolts.
Jack And Jack Stands
Use a hydraulic jack to lift the vehicle safely. Jack stands hold the car securely while you work underneath. Never rely on the jack alone for support.
Penetrating Oil
Penetrating oil loosens rusted or stuck bolts. Apply it before starting to avoid damage and save time.
Replacement Shock Absorbers
Buy the correct shock absorbers for your vehicle model. Check parts compatibility to ensure proper fit and function.
Torque Wrench
A torque wrench ensures bolts are tightened to the manufacturer’s specifications. Proper torque prevents damage and ensures safety.
Safety Gear
Wear gloves to protect your hands from sharp edges and dirt. Safety glasses shield your eyes from debris.
Spring Compressors (if Needed)
For some vehicles, spring compressors are needed to safely remove coil springs. Use them carefully to avoid accidents.

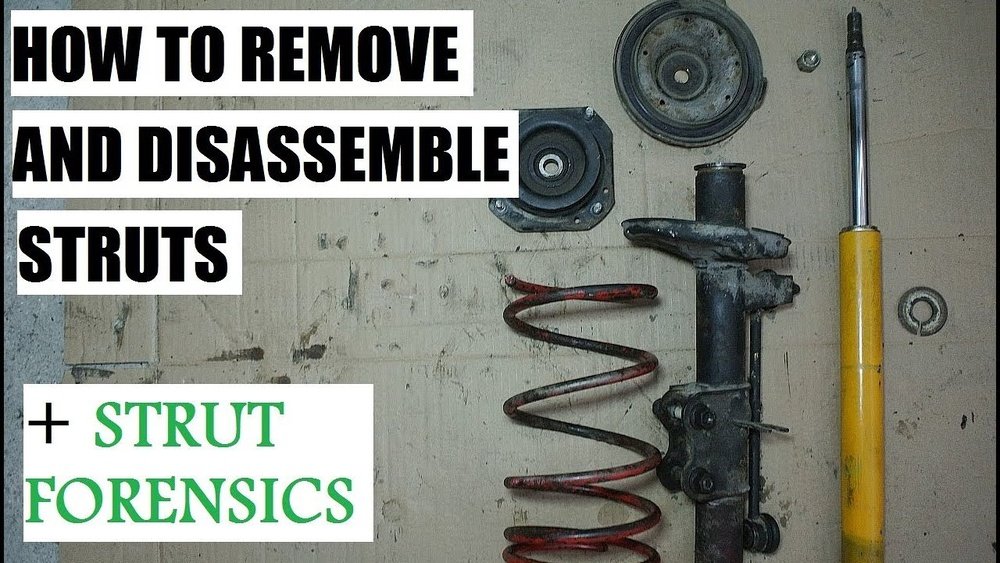
Credit: www.youtube.com
Safety Precautions
Working on your vehicle’s shock absorbers requires caution. Safety must be the top priority. Following safety steps prevents accidents and injuries.
Shock absorbers are under pressure. Mishandling can cause sudden movements or parts to release.
Wear Proper Protective Gear
Always wear safety glasses to protect your eyes. Gloves protect your hands from sharp parts and chemicals. Use sturdy shoes to protect your feet from heavy parts.
Secure The Vehicle Correctly
Park on a flat, solid surface. Use wheel chocks to stop the vehicle from rolling. Always lift the car with a quality jack. Support the car with jack stands before working underneath.
Release Pressure Safely
Shock absorbers can hold tension. Do not remove bolts quickly. Loosen nuts slowly to avoid sudden releases. Use spring compressors for coil spring shocks only.
Keep Tools Organized
Use the right tools for the job. Keep tools close and organized. This reduces the risk of slips or accidents.
Work In A Well-lit Area
Good lighting helps you see all parts clearly. It reduces mistakes and hazards during removal and replacement.
Follow Manufacturer Instructions
Check your vehicle’s manual for specific safety advice. Follow all guidelines to avoid damage or injury.
Locating Shock Absorbers
Locating the shock absorbers is the first step to replacing or removing them. Shock absorbers are part of your vehicle’s suspension system. They control the impact and rebound movement of your car’s springs and suspension. Knowing where to find them makes the job easier and safer. Shock absorbers are found at the front and rear of the vehicle. Each position has a slightly different setup. Understanding these differences helps in identifying and handling them properly.
Front Shocks
Front shocks are usually attached near the wheels and the vehicle’s frame. They connect the lower control arm to the car’s body or frame. Often, front shocks are part of a strut assembly. This means they include a coil spring wrapped around the shock. You can find them by looking behind the front wheels. The shock absorber is a cylindrical part running vertically. It absorbs bumps and keeps the front wheels in contact with the road. In many cars, the top of the front shock is mounted inside the engine bay or just above the wheel well.
Rear Shocks
Rear shocks are found near the rear wheels. They attach the rear axle or suspension arm to the car’s frame. Unlike front shocks, rear shocks usually do not have coil springs around them. They are often simpler in design and smaller in size. Look behind the rear wheels to spot them. Rear shocks run vertically or at a slight angle. They help control the movement of the rear suspension. Rear shocks play a key role in stabilizing the vehicle during turns and over bumps.
Preparing The Vehicle
Preparing the vehicle is the first step in replacing or removing shock absorbers. Proper preparation ensures safety and makes the job easier. It involves lifting the vehicle correctly and removing the wheels. These steps give you clear access to the shock absorbers and prevent accidents during the process.
Lifting And Securing
Park the vehicle on a flat, stable surface. Engage the parking brake to stop any movement. Use a reliable jack to lift the car at the recommended lift points. Place jack stands under the vehicle to support it securely. Never rely only on the jack. Double-check the stability before starting work.
Removing Wheels
Loosen the lug nuts slightly before lifting the vehicle. After lifting and securing, fully remove the lug nuts. Pull the wheels off carefully and set them aside. Keep the lug nuts in a safe place for reinstallation. Removing the wheels gives full access to the shock absorbers and suspension parts.
Removing Old Shock Absorbers
Removing old shock absorbers is an important step before installing new ones. It requires care and the right tools to avoid damage. Start by preparing your workspace and ensuring the vehicle is securely lifted. This process clears the way for smooth removal and replacement.
Loosening Mounting Bolts
Locate the mounting bolts that secure the shock absorber to the vehicle. Use a wrench or socket set to loosen these bolts. Sometimes, bolts can be tight or rusted. Applying some penetrating oil helps loosen stuck bolts.
Turn the bolts counterclockwise to loosen. Do not fully remove them yet. Loosening both top and bottom bolts allows the shock absorber to move freely. This step makes detaching easier and safer.
Detaching The Shock
After loosening, remove the mounting bolts completely. Hold the shock absorber firmly while doing this. Pull the shock absorber out of its mount carefully. Sometimes, it may need gentle twisting or tapping to free it.
Inspect the mounting points for damage or rust. Clean the area before installing the new shock absorber. Removing the old shock prepares the vehicle for better ride quality and safety.
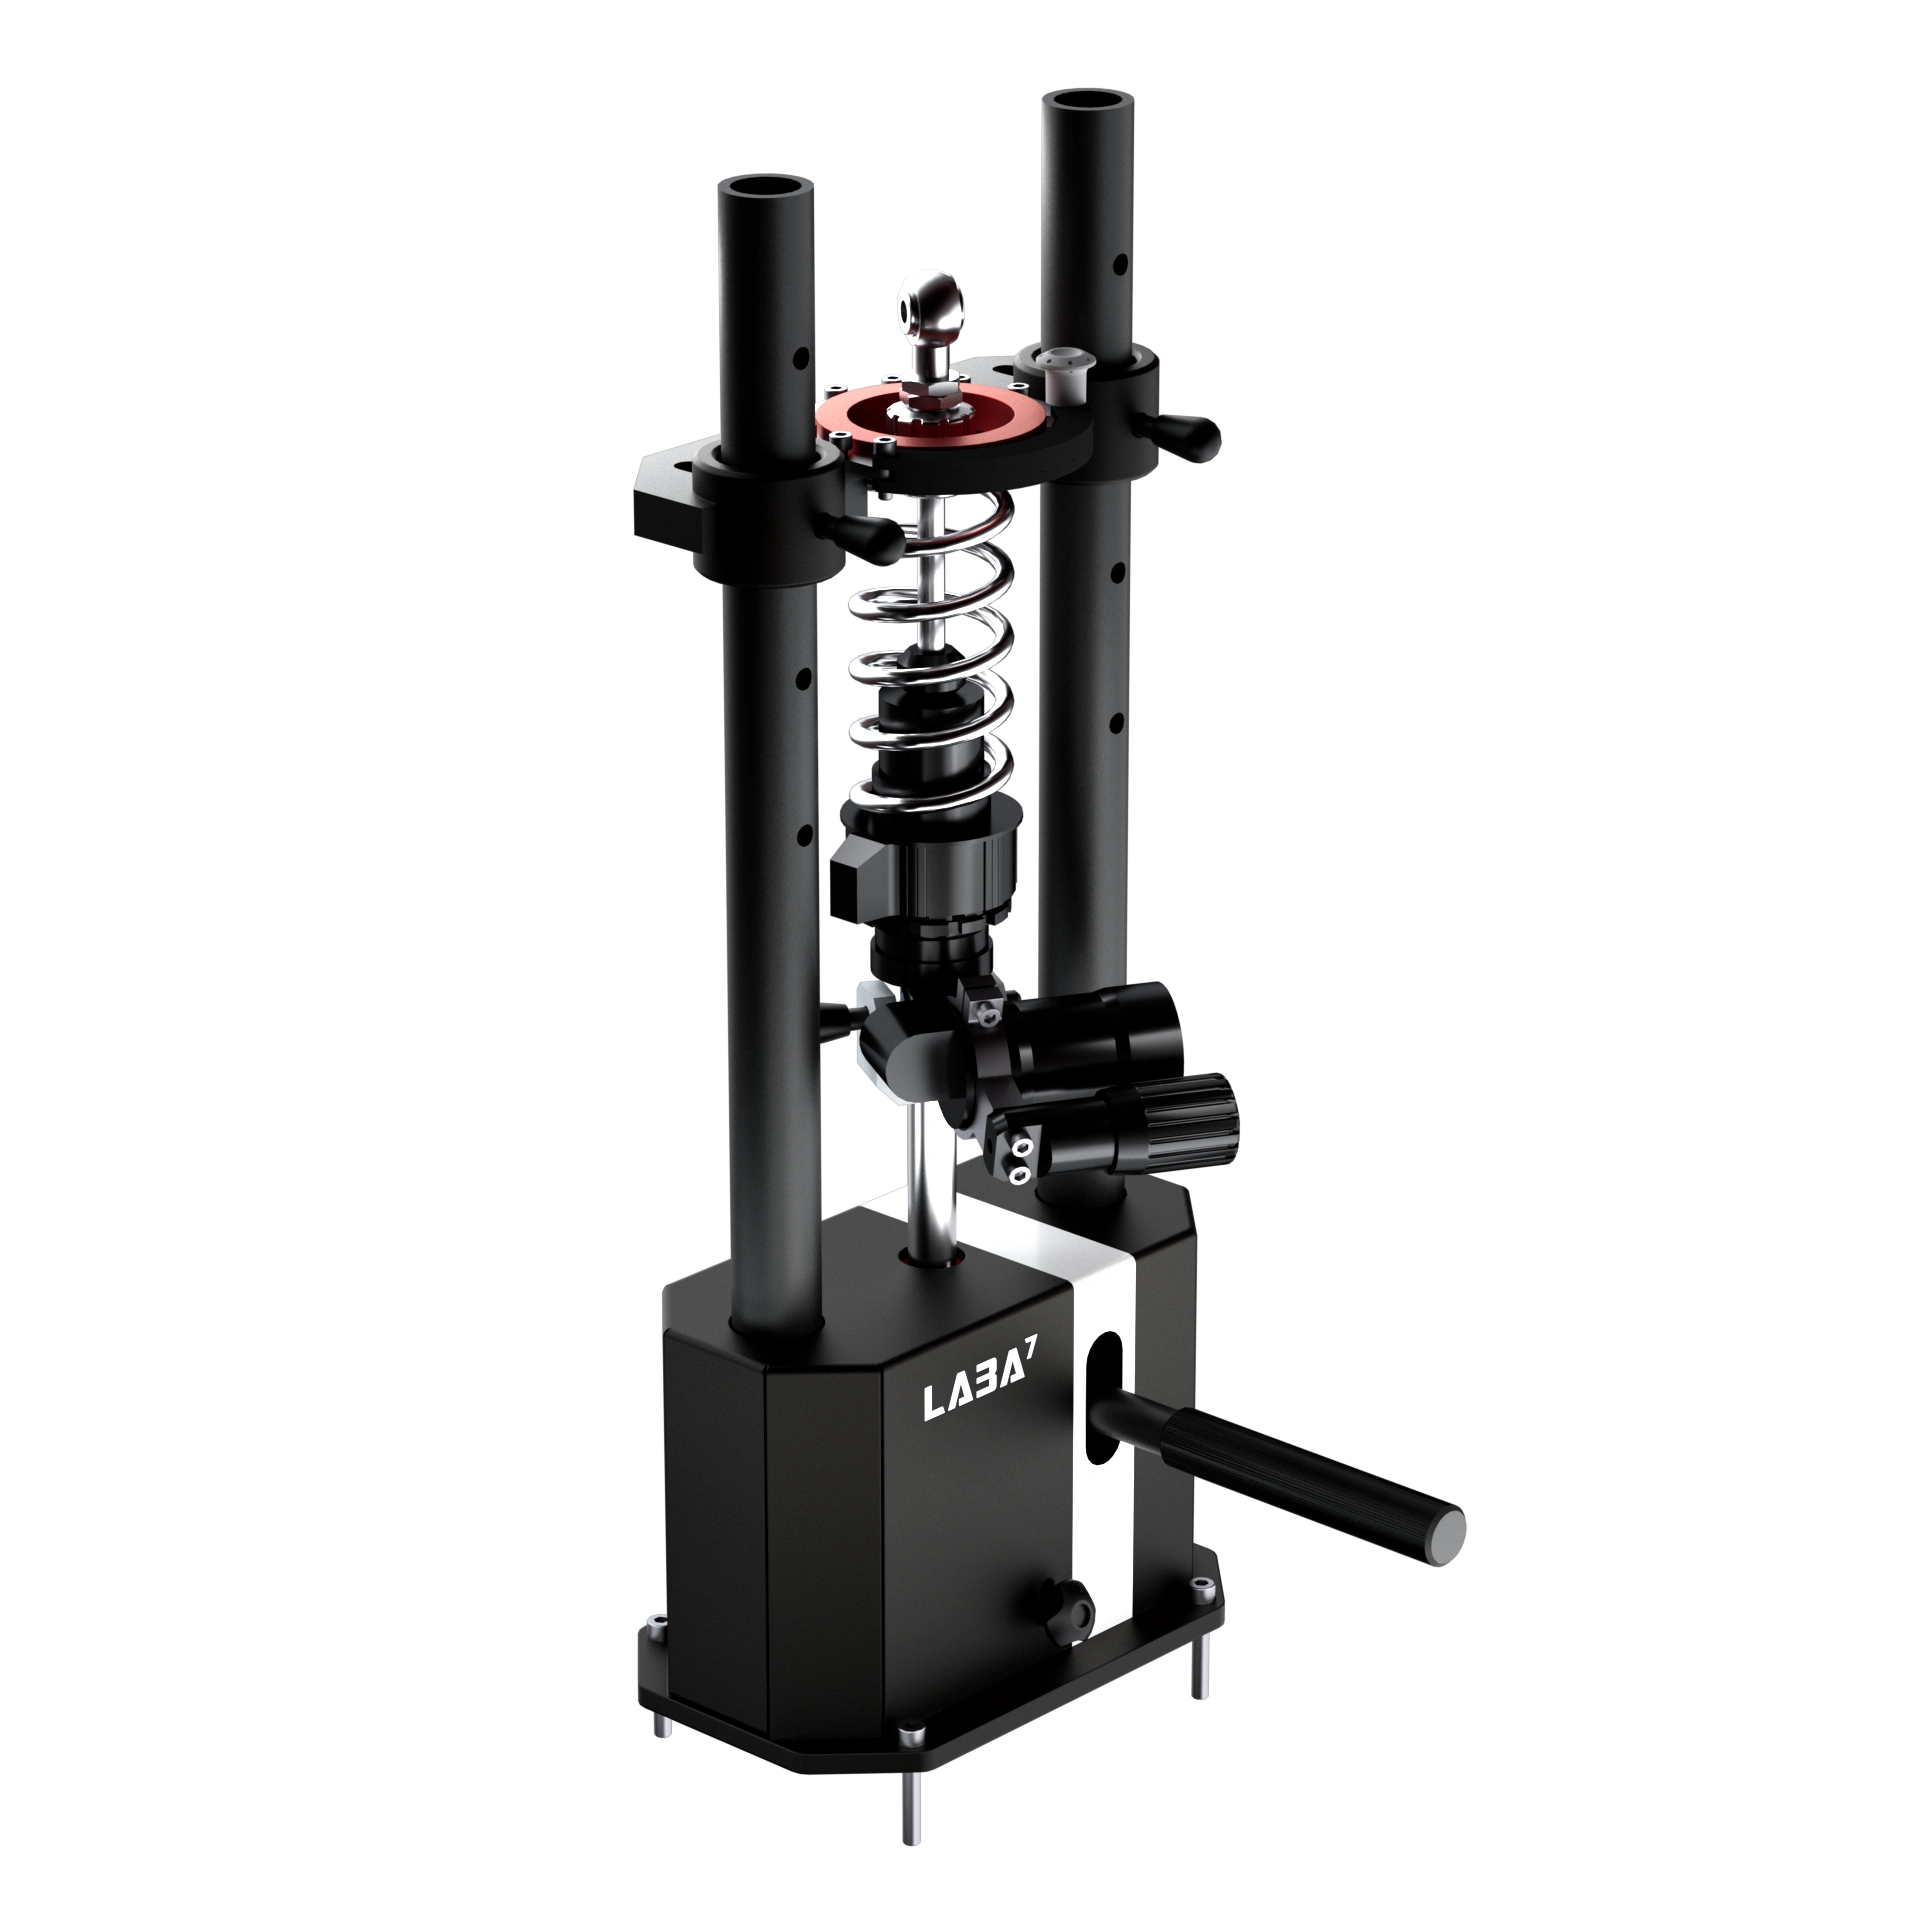
Credit: laba7.com
Inspecting Suspension Components
Inspecting suspension components is a crucial step before replacing or removing shock absorbers. It helps identify worn or damaged parts that affect vehicle safety and ride comfort. A thorough inspection ensures the new shocks work correctly with the rest of the suspension system.
Check each part carefully. Look for cracks, rust, leaks, and loose connections. Replacing shocks alone will not fix problems caused by other faulty suspension parts.
Visual Check For Leaks And Damage
Start by examining the shock absorber body for oil leaks. Oil stains indicate a broken seal inside the shock. Also, look for dents or bends on the shock. Any visible damage means the shock needs replacement.
Inspecting Bushings And Mounts
Check the rubber bushings at the shock mounts. They should be intact and free of cracks. Worn bushings cause noise and poor shock performance. Tighten any loose bolts or replace damaged mounts.
Checking Springs And Struts
Examine coil springs for breaks or sagging. Broken springs affect vehicle height and suspension movement. Inspect struts for leaks or damage similar to shocks. Strut problems require replacement along with shocks.
Testing Suspension Travel And Movement
Push down on the vehicle corners to test suspension bounce. The car should return smoothly without excessive bouncing. Unusual movement or noise signals worn shocks or suspension parts. This simple test helps confirm the condition of the shocks.
Installing New Shock Absorbers
Installing new shock absorbers is a critical step in restoring your vehicle’s smooth ride. Proper installation ensures safety and optimal performance. This process requires careful positioning and securing of the shocks.
Positioning The Shock
Start by aligning the new shock absorber with the mounting points. Make sure the shock is oriented correctly, matching the old part’s direction. Hold it steady to avoid any misalignment. Check that the rubber bushings fit snugly between the shock and the frame. This positioning helps absorb road bumps effectively and prevents damage.
Tightening Bolts
Once positioned, insert the bolts through the mounting holes. Hand-tighten them first to hold the shock in place. Use a torque wrench to tighten the bolts to the manufacturer’s specifications. Avoid over-tightening, which can damage threads or the shock itself. Secure bolts firmly to prevent loosening during driving. Proper torque ensures the shock absorber works correctly and lasts longer.
Reassembling The Vehicle
After successfully removing and replacing the shock absorbers, the next step is to reassemble the vehicle. This stage ensures your car is ready for the road and functions properly. Take your time to follow each step carefully for safety and performance.
Reattaching Wheels
Begin by placing the wheels back onto the wheel hubs. Align the holes on the wheel with the wheel studs. Hand-tighten the lug nuts to hold the wheel in place. Use a lug wrench to tighten the nuts in a crisscross pattern. This method helps the wheel sit evenly on the hub.
Do not fully tighten the lug nuts while the vehicle is still lifted. This prevents the wheel from spinning and allows for proper torque application later.
Lowering The Vehicle
Carefully lower the vehicle using the jack until the wheels touch the ground. Remove the jack stands if used. Once the vehicle is fully on the ground, use a torque wrench to tighten the lug nuts to the manufacturer’s specifications. This step secures the wheels and ensures safe driving.
Double-check all bolts and nuts around the shock absorbers. Confirm everything is tight and properly installed before driving.
Testing Shock Performance
Testing shock performance is a crucial step before replacing or removing shock absorbers. It helps you understand if the shocks are worn out or still working properly. Proper shock absorbers keep your vehicle stable and comfortable on the road. You can perform simple tests at home to check their condition without special tools.
These tests give a quick idea about the shock’s ability to absorb bumps and keep the tires on the ground. Poor shocks can cause unsafe driving conditions and uneven tire wear. Below are two easy tests to check your shocks’ performance.
Bounce Test
Press down hard on one corner of the car. Use your hand to push the bumper or fender down firmly. Release it quickly and watch how the car responds.
If the car bounces more than two or three times, the shock absorber is likely worn out. Good shocks absorb the force and stop the bouncing quickly. This test is fast and effective to spot failing shocks.
Road Test
Drive your car on a rough or uneven road at a slow speed. Pay attention to how the car handles bumps and turns. Notice if the vehicle feels unstable or if it sways excessively.
Worn shocks cause the car to bounce, lean, or sway more than usual. If you feel a rough or shaky ride, the shocks may need replacement. This test helps confirm the results from the bounce test.
Alignment Considerations
Replacing shock absorbers affects your vehicle’s suspension system. Alignment checks help maintain proper tire contact with the road. This ensures safe handling and extends tire life. Understanding when alignment is necessary will save money and prevent uneven tire wear.
When Alignment Is Required
Alignment is necessary after replacing front shock absorbers or struts. These parts influence steering and suspension geometry directly. Changes in camber, toe, or caster angles can occur. These changes cause uneven tire wear and poor handling. Always get a professional alignment after front shock or strut replacement. Rear shock replacement may not always require alignment. However, if the suspension feels off, it is best to check alignment.
Optional Alignment Cases
Sometimes alignment is optional after rear shock absorber replacement. If the vehicle shows no pulling or uneven tire wear, it might be fine. Minor adjustments in suspension may not affect alignment significantly. For older vehicles or those with worn suspension parts, alignment checks improve performance. It is wise to monitor tire wear and steering feel after any suspension work. Getting an alignment is a safe choice when unsure.
Benefits Of Proper Alignment
Proper alignment improves tire life by preventing uneven wear. It enhances vehicle stability and steering response. Alignment reduces strain on suspension components. The vehicle drives straighter and feels safer on the road. Fuel efficiency can improve slightly with correct alignment. Overall, proper alignment maintains your car’s performance and safety. It is a small cost for long-term benefits after shock absorber replacement.
Conclusion
Replacing and removing shock absorbers can improve your vehicle’s ride and safety. Follow the steps carefully and use the right tools. Take your time to avoid mistakes and ensure proper installation. Remember to check if your car needs an alignment after the job.
Regular maintenance helps your shocks last longer and keeps your drive smooth. With patience and care, you can handle this task confidently. Safe driving starts with good shock absorbers.