Are your headlights fogging up or letting in moisture? Sealing your headlights properly can save you from costly replacements and keep your vision clear while driving.
If you want to protect your headlights from water damage, dirt, and wear, learning how to seal them the right way is essential. In this guide, you’ll discover simple, effective methods and the best sealants to use—whether you’re resealing an opened headlight or adding a protective layer after restoration.
Keep reading, and you’ll gain the confidence to seal your headlights like a pro, ensuring they stay bright and durable for miles to come.
Sealant Types
Choosing the right sealant is key to keeping headlights clear and dry. Different sealants serve different purposes. Some sealants are best for resealing inside the headlight assembly. Others protect the outer lens from damage and UV rays. Understanding these sealant types helps you pick the best one for your needs.
Butyl Rubber
Butyl rubber sealant is popular among professionals. It forms a strong, waterproof seal. This sealant lasts for years without cracking. It is perfect for resealing headlight assemblies. Butyl rubber stays sticky for easy application. It prevents moisture and dust from entering headlights.
Polyurethane
Polyurethane offers high strength and excellent adhesion. It sticks well to glass and plastic surfaces. This sealant resists moisture and road chemicals. Polyurethane provides a durable, long-lasting bond. It can be a bit sticky to handle. Use gloves to avoid mess during application.
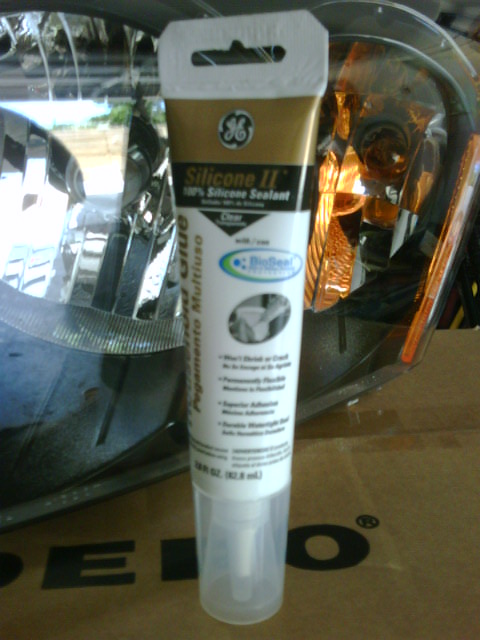
Silicone
Silicone sealant is flexible and easy to use. It handles temperature changes and water well. Many DIYers prefer silicone for its smooth application. Choose a high-quality silicone for the best results. It seals gaps effectively and prevents fogging inside headlights.
Ceramic Coating
Ceramic coatings protect headlights from UV damage and yellowing. They add a shiny, clear layer on top of the lens. These coatings often come in restoration kits. Ceramic coatings improve clarity and extend headlight life. Apply them after cleaning and polishing the lens.
Protective Film
Protective films, also called paint protection films (PPF), shield the headlight lens. They protect against stone chips, scratches, and UV rays. Films like WeatherTech and XPEL are popular choices. These films are transparent and thin. They keep headlights looking new for longer.
Credit: blog.modernperformance.com
Choosing Sealant
Choosing the right sealant is crucial for effective headlight sealing. The sealant you pick must match your specific needs. Different sealants serve different purposes. Understanding these can save time and improve results.
For Moisture And Fogging
Sealants that block moisture prevent fog inside headlights. Butyl rubber sealants are excellent for this. They create a strong, waterproof bond. Polyurethane also works well, offering durability and moisture resistance. Silicone is flexible and easy to use but choose high-quality types. These sealants keep headlights dry and clear.
For Lens Protection
Protecting the lens from UV rays and scratches extends headlight life. Ceramic coatings add a clear, hard layer to block UV damage. These coatings improve shine and clarity. Another option is a clear protective film, also called paint protection film (PPF). It guards against minor scratches and discoloration. Both options maintain lens appearance longer.
For Physical Impact
Headlights face impacts from stones and debris on the road. Protective films absorb and reduce damage from these hits. High-quality PPF films are tough and resist chips and cracks. Some polyurethane sealants also add a layer of impact resistance. These sealants help keep headlights intact during daily driving.
Preparation Steps
Proper preparation is essential before sealing headlights. It ensures the sealant sticks well and lasts long. Skipping these steps may cause moisture or dirt to enter the headlight. Follow each step carefully for the best results.
Cleaning The Headlight
Start by washing the headlight with soap and water. Remove all dirt, grease, and grime. Use a soft cloth or sponge to avoid scratches. Dry the surface completely with a clean towel or air dry. Clean headlights help the sealant bond better.
Sanding The Surface
Lightly sand the headlight’s edges where the sealant will go. Use fine-grit sandpaper, around 400 to 600 grit. Sanding roughens the surface to improve adhesion. Wipe away sanding dust with a damp cloth. Let the area dry before applying sealant.
Removing Old Sealant
Carefully scrape off any old sealant using a plastic scraper. Avoid metal tools that may scratch the headlight. Use rubbing alcohol or a sealant remover to clean leftover residue. Removing old sealant prevents leaks and ensures a tight seal. Finish by drying the surface fully.
Application Process
Sealing headlights correctly extends their life and keeps them clear. The application process involves careful steps to ensure a tight seal. Each method targets different parts of the headlight for optimal protection. Follow these steps to protect your headlights from moisture and damage.
Applying Sealant Inside
Start by cleaning the inside edges of the headlight lens. Use a high-quality butyl rubber or polyurethane sealant. Apply the sealant evenly along the seam where the lens meets the housing. Press the lens firmly to ensure the sealant spreads and fills gaps. Let it cure as per the product instructions. This method prevents water and dust from entering the headlight assembly.
Using Protective Film
Protective film acts as a barrier on the outer surface of headlights. Clean the lens thoroughly before application. Cut the film to fit the headlight shape carefully. Peel off the backing and apply the film starting from one edge. Use a squeegee to remove bubbles and wrinkles. Protective film guards against scratches, chips, and UV damage. Replace the film if it becomes damaged over time.
Applying Ceramic Coating
Ceramic coating adds a strong, clear layer on top of the headlight lens. Clean and dry the surface completely before application. Apply a small amount of ceramic coating with a microfiber cloth. Spread it evenly in circular motions for full coverage. Let it bond and cure according to product guidelines. This coating protects against UV rays and keeps the lens looking shiny longer.
Tools And Materials
Before sealing your headlights, gather the right tools and materials. Proper preparation makes the process smooth and effective. Each item plays a key role in achieving a long-lasting seal.
Sealant Products
Choose a sealant designed for headlights. Butyl rubber sealant offers strong, waterproof protection. Polyurethane sealants provide durable adhesion but can be sticky. Silicone sealants are flexible and easy to use, ideal for DIY projects. For added UV protection, consider ceramic coatings or clear protective films. These products shield the lens from sun damage and scratches.
Application Tools
Use a caulking gun for butyl or polyurethane sealants. It helps apply the sealant evenly and cleanly. Soft brushes or foam applicators work well for ceramic coatings. Clean cloths are essential to wipe off excess sealant. A plastic scraper helps remove old sealant without damaging the headlight.
Safety Gear
Wear gloves to protect your skin from chemicals. Safety glasses prevent sealant or debris from entering your eyes. A mask helps avoid inhaling fumes from sealants. Proper ventilation is important during application. Use these safety measures to keep the work environment safe and comfortable.

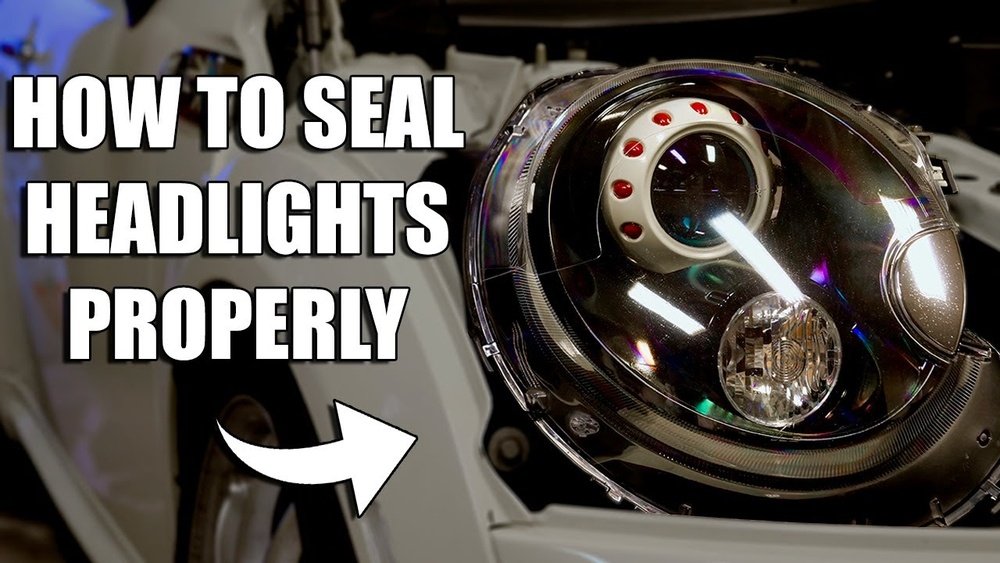
Credit: www.youtube.com
Common Mistakes
Sealing headlights might seem simple but many make avoidable errors. These mistakes reduce sealant effectiveness and allow moisture inside. Avoid these common pitfalls to ensure a proper seal and long-lasting protection.
Skipping Surface Prep
Surface preparation is essential before applying sealant. Dirt, grease, or old sealant prevents proper adhesion. Clean the headlight thoroughly with alcohol or a cleaner. Remove all residues and dry the surface completely. Skipping this step leads to peeling or gaps where water can enter.
Using Low-quality Sealant
Not all sealants perform equally. Cheap or unsuitable products dry too fast or crack over time. Choose a sealant designed for headlights, like butyl rubber or polyurethane. These provide strong, waterproof seals that resist heat and weather. Low-quality sealants often fail quickly, wasting time and money.
Rushing Application
Sealant needs careful, steady application for a tight seal. Applying too quickly causes uneven layers or missed spots. Take your time to spread the sealant evenly around all edges. Let it cure fully before driving or exposing to water. Rushing risks leaks and reduces seal life.
Maintenance Tips
Proper maintenance keeps your headlights clear and sealed. Regular care extends the life of your seal and protects your lenses. Follow these simple tips to maintain sealed headlights effectively.
Regular Cleaning
Clean headlights often to remove dirt and grime. Use a soft cloth with mild soap and water. Avoid harsh chemicals that can break down the seal. Keeping headlights clean prevents buildup that damages the sealant.
Reapplying Sealant
Reapply sealant every 1-2 years or after deep cleaning. Check for cracks or peeling in the old sealant. Remove old sealant carefully before applying a new layer. A fresh sealant layer keeps moisture and dust out.
Protecting From Uv Damage
UV rays can weaken sealants and cause yellowing. Use UV-resistant coatings or films to shield headlights. Park in shaded areas or use a car cover to reduce sun exposure. Protecting from UV extends sealant life and keeps headlights bright.
Faqs
Many people have questions about sealing headlights. This section answers common concerns. Clear answers help you seal headlights correctly and safely. Read on for simple, useful tips.
How Long Does Sealant Last?
Sealant usually lasts from one to five years. The duration depends on the sealant type and weather conditions. High-quality butyl rubber lasts longer. Silicone sealants may need reapplication sooner. Check your headlights regularly for cracks or leaks.
Can I Seal Without Removing Headlight?
Sealing without removal is possible but less effective. Dirt and old sealant can stop new sealant from sticking well. Removing the headlight allows a thorough clean and better sealing. For best results, remove the headlight before sealing.
Best Sealant For Diyers
Silicone sealant is the easiest for DIY projects. It is flexible, water-resistant, and easy to apply. Choose a high-quality brand to avoid mess and poor adhesion. Butyl rubber sealants work well but can be harder to handle. Pick the one that fits your skill level and tools.
Credit: www.reddit.com
Frequently Asked Questions
What Is The Best Thing To Seal Headlights With?
The best sealant for headlights is automotive-grade butyl rubber for strong, waterproof resealing. Polyurethane and high-quality silicone work well too. For lens protection, use clear UV-resistant film or ceramic coating to prevent damage and UV fading.
Do Headlights Need To Be Sealed?
Yes, headlights need to be sealed to prevent moisture, fogging, and damage. Use automotive-grade butyl, polyurethane, or silicone sealants for effective waterproofing. Proper sealing ensures longevity and clear visibility.
Can You Get Headlights Resealed?
Yes, you can reseal headlights using automotive-grade butyl, polyurethane, or silicone sealants. Proper cleaning and application ensure a waterproof, long-lasting seal.
How To Seal Led Headlights?
Clean the headlight thoroughly. Apply automotive-grade butyl rubber or silicone sealant evenly. Press the parts firmly together. Let it cure as per product instructions. Use UV-resistant clear coat or protective film for extra lens protection.
Conclusion
Sealing headlights keeps them clear and safe from moisture. Use the right sealant for lasting results. Clean the surfaces well before applying any product. Take your time to avoid gaps or bubbles. Proper sealing helps prevent fogging and damage. Regular checks ensure your headlights stay sealed tight.
A simple step that improves your car’s look and safety. Try sealing headlights yourself and enjoy better night driving.