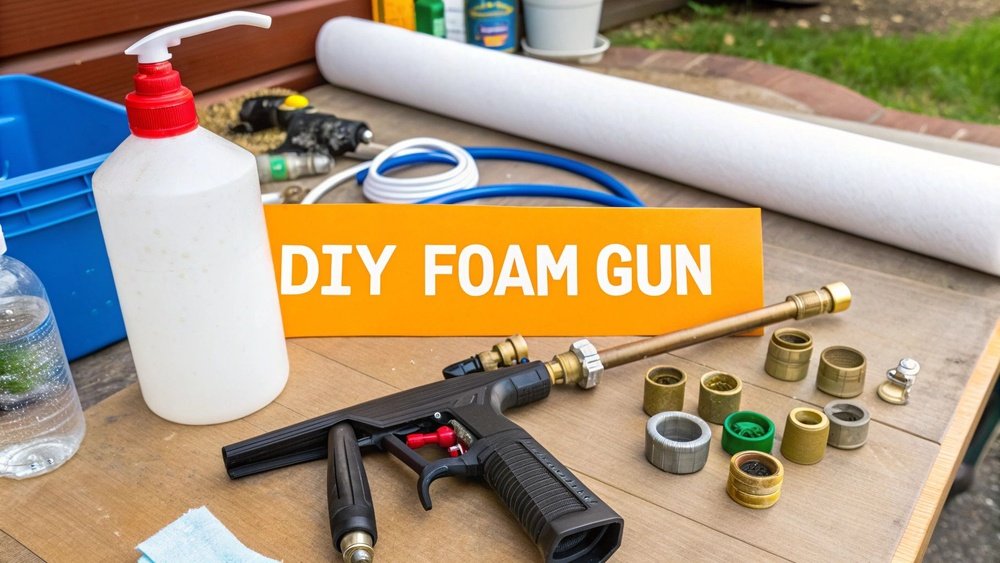
If you want to give your car wash a professional touch, setting up a foam cannon with your pressure washer is the way to go. Imagine covering your vehicle in thick, rich foam that loosens dirt and grime effortlessly before you even touch a sponge.
This not only makes cleaning easier but also helps protect your paint from scratches. In this guide, you’ll learn exactly how to connect and use a foam cannon with your pressure washer step-by-step, so you get the best results every time.
Ready to transform your car wash routine and enjoy that satisfying foam blast? Let’s dive in and get started!

Credit: www.torquedetail.com
Choosing The Right Foam Cannon
Choosing the right foam cannon is key for effective car washing with a pressure washer. The foam cannon controls the amount and thickness of foam. This foam helps loosen dirt and grime safely from the car surface. Picking the wrong foam cannon can waste soap or damage paint. Consider important factors before buying a foam cannon for the best results.
Types Of Foam Cannons
Foam cannons come in several types. Some use air to create thick foam. Others rely on soap dilution for lighter foam. There are foam lances and foam cannons with adjustable spray nozzles. Choose a type that matches your cleaning needs. Thick foam works well for heavy dirt. Light foam suits quick washes. Adjustable foam cannons offer more control over foam density.
Compatibility With Pressure Washers
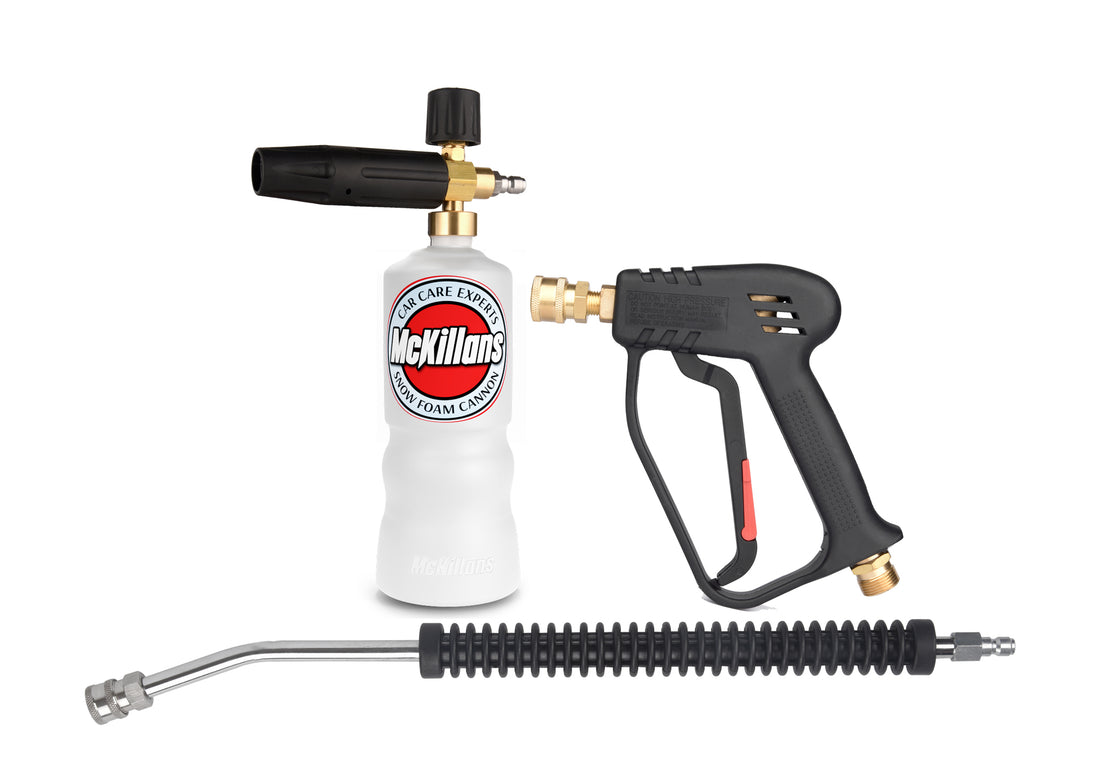
Not all foam cannons fit every pressure washer. Check the connection type of your pressure washer first. Most foam cannons use a quick-connect fitting or a screw thread. Match the fitting size to avoid leaks or poor performance. Also, check the water pressure range the foam cannon supports. Use a foam cannon rated for your pressure washer’s PSI and GPM. This ensures proper foam production and prevents damage.
Material And Build Quality
Strong materials last longer and handle pressure better. Look for foam cannons made from durable plastics or metals like aluminum. The soap container should be sturdy and leak-proof. Quality seals and nozzles prevent clogging and leaks. A well-built foam cannon resists wear from chemicals and weather. This saves money over time by avoiding frequent replacements.
Selecting A Pressure Washer
Selecting the right pressure washer is essential for an effective foam cannon setup. The pressure washer powers the foam cannon and determines the quality of foam and cleaning. Choosing the correct type and specifications improves performance and protects your equipment. Consider your needs and the environment before making a choice.
Electric Vs Gas Pressure Washers
Electric pressure washers are lighter and easier to use. They work well for small to medium tasks, like washing cars and patios. They run quietly and need less maintenance.
Gas pressure washers offer more power and mobility. They suit heavy-duty cleaning and large areas. These washers produce stronger water pressure but are noisier and need fuel and upkeep.
Pressure And Flow Rate Considerations
Pressure is measured in PSI (pounds per square inch). Higher PSI means more cleaning power. For foam cannons, 1200 to 2000 PSI is usually enough.
Flow rate is measured in GPM (gallons per minute). It affects how much water flows through the foam cannon. A good flow rate helps create thick foam. Look for 1.5 to 2.5 GPM for best results.
Nozzle Types And Their Uses
Nozzles control the spray pattern and intensity. A 25-degree nozzle spreads water widely and is good for foam application.
A 40-degree nozzle covers a larger area with less pressure. Use it for gentle rinsing. A 0-degree nozzle creates a strong, focused jet. It is best for tough dirt but not for foam.
Choosing the right nozzle helps balance foam thickness and cleaning power.
Preparing The Foam Cannon
Preparing the foam cannon is an essential step to ensure a smooth car wash experience. Taking time to set it up correctly improves foam quality and cleaning power. Proper preparation helps you avoid clogs and uneven spray patterns.
Focus on three key tasks: cleaning the foam cannon, filling it with the right soap solution, and using the correct soap-to-water ratio. Follow these steps to get ready for effective foam application.
Cleaning Before Use
Rinse the foam cannon with clean water before each use. This removes leftover soap or dirt inside the container and nozzle. Check for any blockages in the nozzle and spray tip.
Clean parts with a soft brush if needed. Make sure all connections are tight and free of debris. Keeping the cannon clean prevents clogs and ensures a steady foam flow.
Filling With Soap Solution
Fill the foam cannon bottle with water first. Use warm water to help dissolve the soap better. Pour the soap concentrate into the water slowly to avoid foaming inside the bottle.
Close the lid tightly and gently swirl the bottle to mix the solution. Avoid shaking hard, which can create bubbles inside the bottle. Proper mixing ensures consistent foam output.
Recommended Soap To Water Ratios
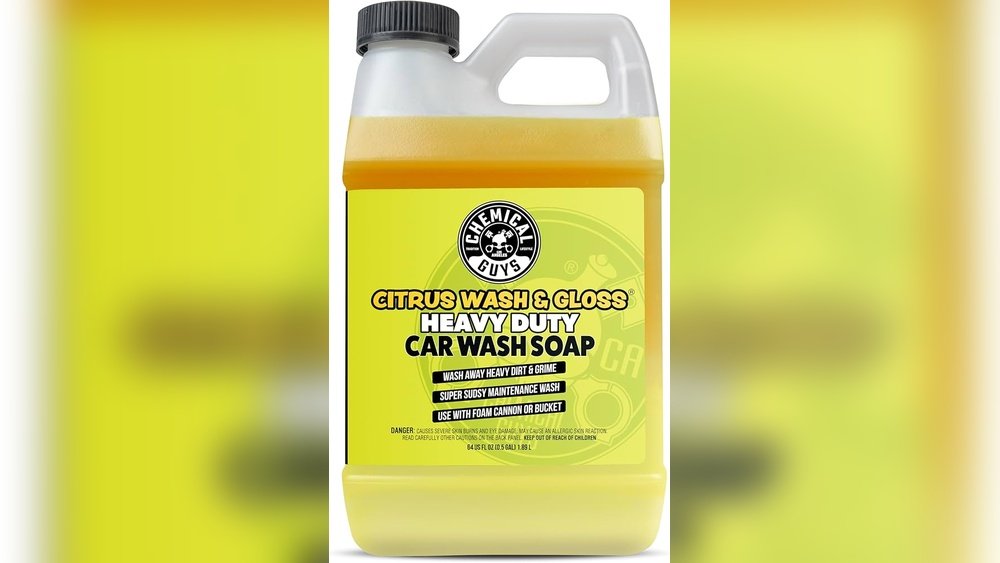
Use the soap manufacturer’s recommended dilution ratio. A common mix is one part soap to ten parts water (1:10). This ratio creates thick, rich foam without wasting soap.
Adjust the ratio based on foam thickness and cleaning needs. More soap gives thicker foam but may cause streaking. Less soap produces thinner foam but saves product.
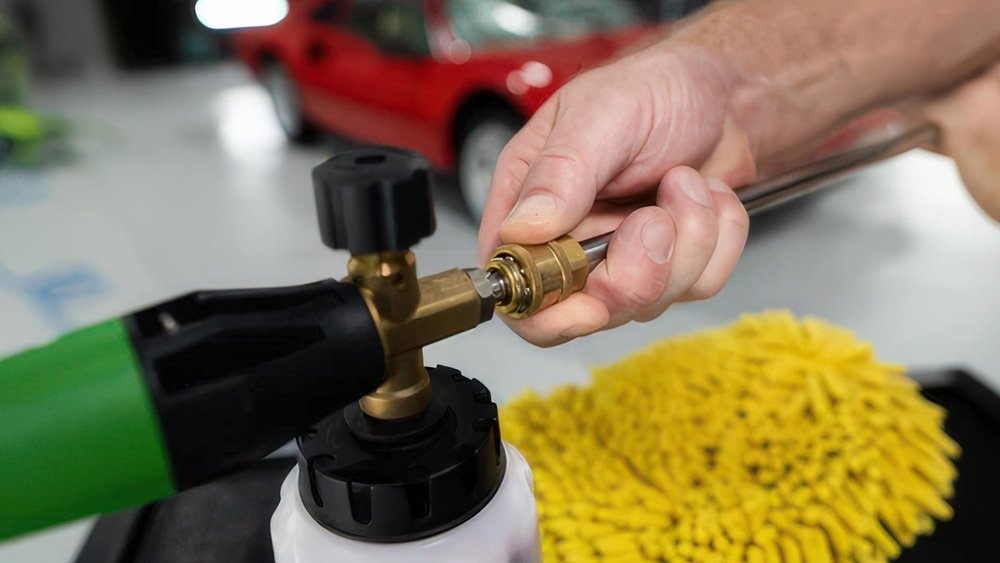
Connecting To The Pressure Washer
Connecting the foam cannon to your pressure washer is a simple but crucial step. It ensures the foam cannon sprays the soap mixture evenly and effectively. A proper connection also prevents leaks and maintains pressure for a thick foam layer. Follow these steps to connect your foam cannon correctly and safely.
Attaching The Foam Cannon
First, check the end of your pressure washer lance or wand. Most foam cannons use a quick-connect fitting. Pull back the collar on the fitting, then insert the foam cannon’s connector. Release the collar to lock the foam cannon in place. Make sure it clicks securely. Avoid forcing the connection to prevent damage.
Using The Correct Nozzle
Select a nozzle that matches the foam cannon’s requirements. Many foam cannons work best with a 40-degree or 25-degree nozzle. These angles provide the right pressure and spray pattern for foam application. Attach the nozzle to your pressure washer lance before connecting the foam cannon. This step helps create a proper foam mixture and coverage.
Checking For Secure Fit And Leaks
After attaching, gently pull the foam cannon to confirm it is locked. Turn on the pressure washer briefly to test for leaks. Watch around the connection point for water spray or soap drips. Tighten the connection if needed. A secure fit ensures efficient foam spraying and saves soap from wasting.
Adjusting Foam Settings
Adjusting foam settings is key to getting the best results with your foam cannon. Small changes can affect foam thickness, coverage, and cleaning power. Understanding how to control soap concentration, spray pattern, and pressure helps you customize your wash for different surfaces and dirt levels.
Controlling Soap Concentration
Soap concentration controls how thick and rich the foam will be. Most foam cannons have a soap adjustment knob. Turn it clockwise to increase soap and create thicker foam. Turn it counterclockwise to reduce soap for lighter foam. Always follow the soap manufacturer’s dilution guide. Using too much soap can leave residue. Too little soap may not clean well.
Adjusting Spray Pattern
The spray pattern affects how the foam covers the surface. Foam cannons usually allow you to change the spray shape from wide to narrow. A wide spray covers more area quickly but with thinner foam. A narrow spray creates thicker foam in one spot. Rotate the spray nozzle to find the best pattern for your cleaning job. Test different patterns on a small area first.
Modifying Pressure Levels
Pressure affects how well the foam sticks and cleans. Higher pressure pushes foam deeper into dirt but can be harsh on delicate surfaces. Lower pressure is gentler but may need more time. Most pressure washers have a pressure control setting. Adjust it to balance cleaning power and surface safety. Always start with lower pressure and increase as needed.
Credit: www.mckillans.com
Using The Foam Cannon Safely
Using a foam cannon safely is important for both your protection and the care of your vehicle. Proper handling prevents accidents and damage. It also helps achieve the best cleaning results. Follow safety tips to enjoy a smooth washing experience.
Personal Protective Equipment
Wear safety goggles to protect your eyes from soap and water spray. Use gloves to shield your hands from chemicals. Closed-toe shoes keep your feet safe from slipping or falling objects. Long sleeves can prevent skin irritation from cleaning solutions. Always prepare before starting your foam cannon work.
Avoiding Damage To Surfaces
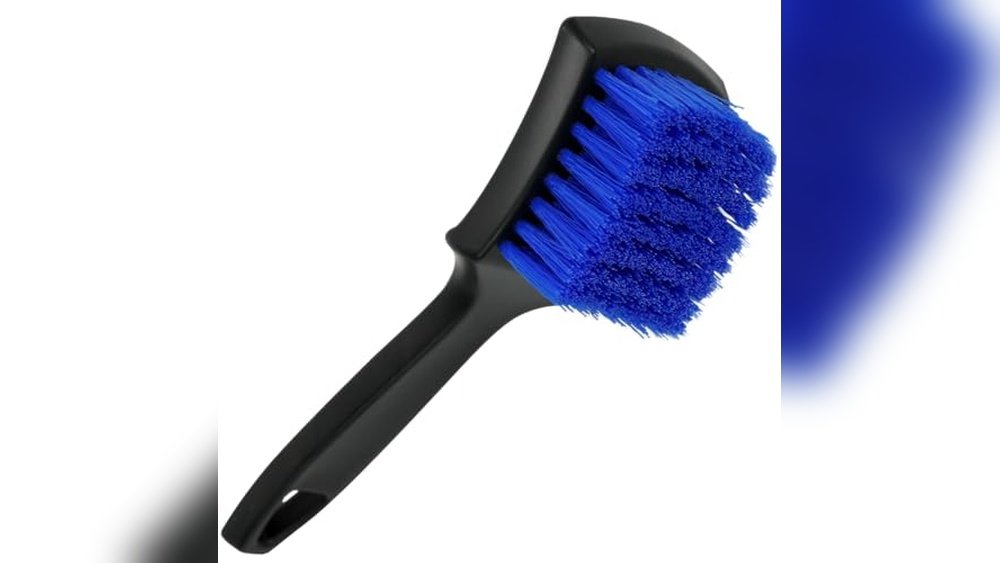
Test the foam on a small hidden area first. This avoids unexpected damage to paint or plastic. Keep the foam cannon nozzle at least 12 inches from the surface. Avoid using high pressure on delicate parts to prevent scratches. Do not spray foam on hot surfaces to stop soap from drying too fast.
Best Practices For Even Coverage
Hold the foam cannon steady and move it slowly across the surface. Apply foam in a sweeping motion for consistent coverage. Adjust the soap mixture to create thick foam that sticks well. Overlapping passes help cover all areas without missing spots. Rinse foam off before it dries to avoid streaks and spots.
Troubleshooting Common Issues
Setting up a foam cannon with a pressure washer is simple. Yet, some common problems might occur. Knowing how to solve these issues saves time and frustration. Below are some frequent troubles and quick fixes.
Foam Cannon Not Producing Foam
Check if the soap solution is mixed correctly. Too little soap or water can stop foam from forming. Clean the foam cannon nozzle; dirt can block foam flow. Make sure the foam cannon is tightly connected to the pressure washer. Low water pressure might also reduce foam output.
Soap Injector Problems
Soap injectors can clog from thick or old soap. Rinse the injector with warm water to clear blockages. Use only soaps designed for foam cannons to avoid clogs. Inspect the injector for cracks or damage that could cause leaks. Replace faulty parts to maintain proper soap flow.
Pressure Washer Performance Drops
A drop in pressure affects foam quality. Check the pressure washer’s water supply for restrictions or kinks. Clean the pressure washer filter to keep water flow steady. Inspect the hose and connectors for leaks or damage. Run the pressure washer without the foam cannon to test its normal operation.
Maintaining Your Equipment
Maintaining your foam cannon and pressure washer ensures they work well for a long time. Proper care prevents damage and keeps performance high. Simple steps after each use protect your investment and save repair costs.
Cleaning After Use
Rinse the foam cannon thoroughly with clean water. Remove all soap residue inside the bottle and nozzle. Flush the pressure washer wand to clear any detergent. Dry all parts before storing. Clean tools last longer and avoid clogs.
Storing The Foam Cannon
Store the foam cannon in a cool, dry place. Avoid direct sunlight or freezing temperatures. Keep it away from dust and dirt to prevent damage. Detach the foam cannon from the pressure washer before storage. Proper storage stops cracks and keeps seals tight.
Regular Pressure Washer Maintenance
Check the pressure washer hoses and fittings for leaks. Inspect the spray gun and lance for wear or cracks. Clean the water inlet filter regularly to avoid blockages. Change oil and other fluids as the manufacturer suggests. Regular checks improve safety and extend machine life.
Tips For Optimal Results
Getting the best results from your foam cannon requires a few simple but important steps. These tips help you create thick foam that clings well to surfaces. They also reduce soap waste and improve cleaning power. Follow these guidelines to make your pressure washer and foam cannon work efficiently together.
Using Warm Water For Better Mixing
Warm water helps soap dissolve faster. This creates a smoother mixture inside the foam cannon. Cold water may cause clumps or uneven foam. Use water that is warm, but not hot, to protect your foam cannon parts. This step ensures the soap blends well and produces rich foam.
Adjusting For Water Quality
Water hardness affects foam quality. Hard water contains minerals that reduce soap effectiveness. Use a water softener or filter if your water is hard. Soft water helps create thicker foam and cleans better. Check your local water quality and adjust your soap mixture accordingly.
Avoiding Soap Waste
Pour water into the foam cannon first. Then add the soap concentrate. This method prevents soap from sticking to the sides. Mix gently by swirling, not shaking, to avoid bubbles inside the container. Use the recommended soap-to-water ratio to avoid overuse. Proper mixing saves soap and improves foam consistency.

Credit: www.amazon.com
Frequently Asked Questions
How To Connect A Foam Cannon To A Pressure Washer?
Attach the foam cannon to the pressure washer’s spray gun using the quick-connect fitting. Fill the cannon with water and soap mixture. Tighten securely. Turn on the pressure washer and spray to apply foam. Adjust the soap-to-water ratio for desired foam thickness.
What Is The Ratio Of Soap To Water For A Foam Cannon?
The ideal soap-to-water ratio for a foam cannon is typically 1:10. Use one part soap to ten parts water. Adjust ratio based on soap type and desired foam thickness. Always check the soap manufacturer’s instructions for best results.
How Do I Get My Soap Dispenser To Work On My Pressure Washer?
Attach the soap dispenser to the pressure washer’s low-pressure nozzle. Use warm water and the correct soap ratio. Turn on the washer and open the soap valve. Adjust settings to ensure soap flows properly. Clean the dispenser if clogged.
Do You Wet The Car Before Using A Foam Cannon?
Yes, wet the car with water before using a foam cannon. This helps loosen dirt and prevents scratches during washing.
Conclusion
Setting up a foam cannon with your pressure washer is simple and effective. Follow the steps carefully to ensure proper connections and correct soap dilution. Using the right ratio creates thick foam that cleans well without wasting detergent. Adjust settings based on your pressure washer’s power and the surface you clean.
Regular maintenance keeps your foam cannon working smoothly. Enjoy a cleaner vehicle or outdoor area with less effort and time. Practice a few times, and you will get comfortable using your foam cannon. It makes washing easier and more enjoyable.