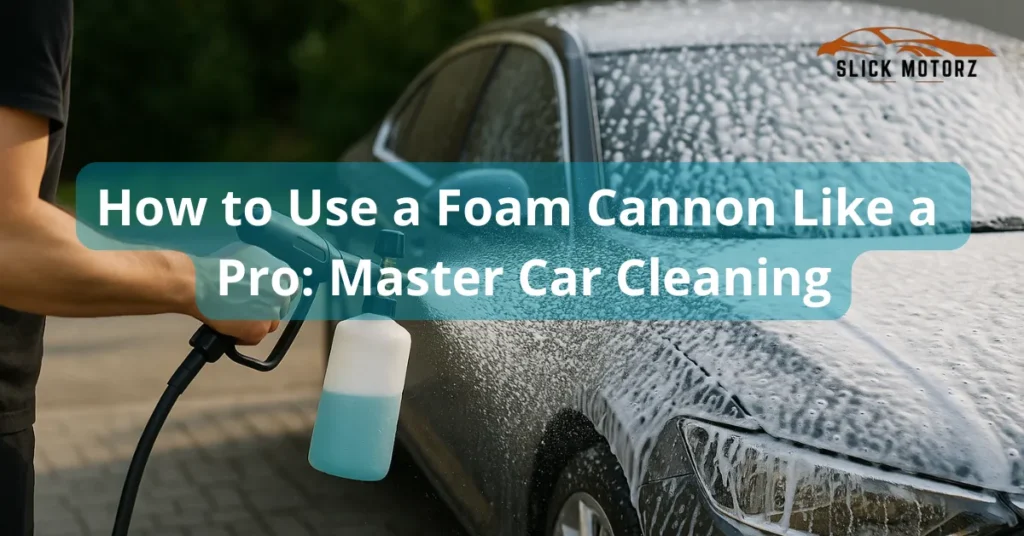
Picture this: your car gleaming in the sunlight, spotless and shining just like it did the day you first drove it home. Sounds appealing, right?
That’s the magic a foam cannon can bring to your car washing routine. If you’ve ever felt overwhelmed by the endless cleaning products and techniques out there, you’re not alone. But here’s the good news: using a foam cannon isn’t just for the pros.
With the right guidance, you can master it too. Imagine transforming a chore into a satisfying ritual, where every wash delivers professional results. This guide will show you how to wield a foam cannon like an expert, making your car cleaning process not only efficient but also enjoyable. Stick with us, and you’ll discover tips that could save you time, effort, and even money. Ready to learn how to use a foam cannon like a pro? Let’s get started!
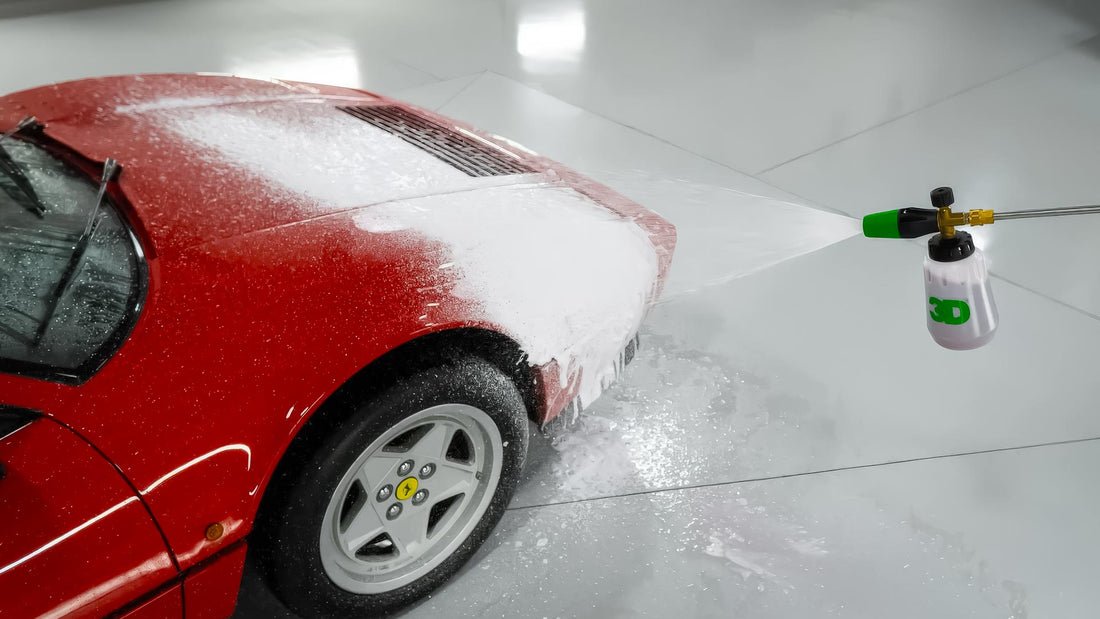
Credit: 3dproducts.com
Choosing The Right Foam Cannon
Choosing the right foam cannon can elevate your car washing experience. The correct foam cannon produces thick foam, ensuring a thorough clean. But how do you decide which one suits your needs? Let’s explore the factors that matter.
Types Of Foam Cannons
Foam cannons come in different styles and designs. Some are simple and budget-friendly. Others are high-end with advanced features. Basic foam cannons offer essential functionality. They are easy to use and maintain. High-end models provide adjustable settings. This allows for more control over foam thickness. Consider your needs and budget before deciding.
Compatibility With Pressure Washers
Not all foam cannons fit every pressure washer. It’s crucial to check compatibility. Look at the connector type of your pressure washer. Ensure it matches the foam cannon’s connector. Some foam cannons come with adapters. These adapters help fit different pressure washers. Always read the product description carefully. This ensures you pick the right match for your equipment.
Selecting The Best Foam Soap
Choosing the right foam soap is crucial for effective car cleaning. The soap you select can make a big difference in your results. It affects both the foam quality and the cleaning power. A good foam soap will create thick, rich suds that cling to your car’s surface. This helps in breaking down dirt and grime more effectively. Let’s explore how to select the best foam soap.
Understanding Ph Levels
pH levels play a big role in soap selection. A neutral pH is often best for car surfaces. It prevents damage to the paint and wax. Soaps with a pH level of 7 are generally safe and effective. They provide good cleaning power without harming your car’s finish. Always check the label for pH information before buying.
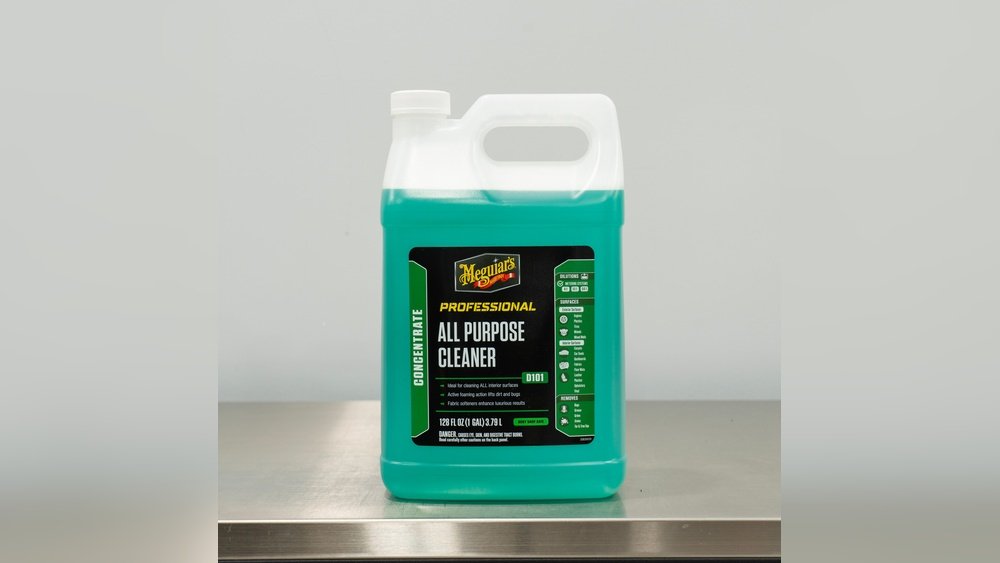
Concentrates Vs. Ready-to-use Solutions
Foam soaps come in two main types: concentrates and ready-to-use solutions. Concentrates are more economical. They require dilution before use. This allows you to adjust the strength of the solution as needed. Ready-to-use solutions offer convenience. No mixing is required. They save time but may cost more in the long run. Choose based on your needs and preferences.
Setting Up Your Foam Cannon
Setting up your foam cannon correctly ensures a smooth car wash process. Proper setup leads to effective foam coverage and cleaner results. Follow these steps to set up your foam cannon like a pro.
Connecting To the Pressure Washer
Start by attaching the foam cannon to the pressure washer. Ensure the connection is tight to prevent leaks. Use a compatible pressure washer for optimal performance. Check the manufacturer’s guidelines for compatibility.
Adjusting The Foam Settings
Adjust the foam settings for the desired thickness. Use the knob on the foam cannon to control the soap mixture. Turn the knob clockwise for thicker foam. Counter-clockwise for a thinner spray. Test the settings on a small area first. Ensure the foam covers the surface evenly.
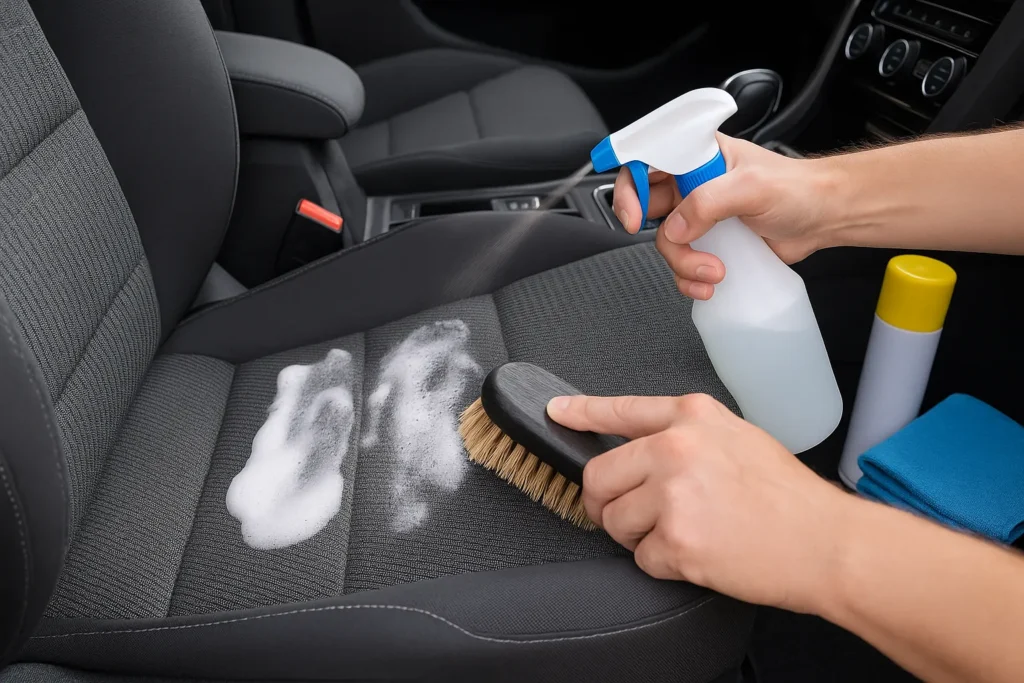
Preparing Your Vehicle
Preparing your vehicle is crucial before using a foam cannon. Proper prep ensures the foam works effectively and cleans thoroughly. Start with a clean surface to get the best results from your foam cannon.
Pre-rinsing Techniques
Pre-rinsing removes loose dirt and debris. Use a hose with a spray nozzle to rinse your car. This helps prevent scratches during the wash. Spray water evenly across all surfaces. Don’t forget the wheels and undercarriage.
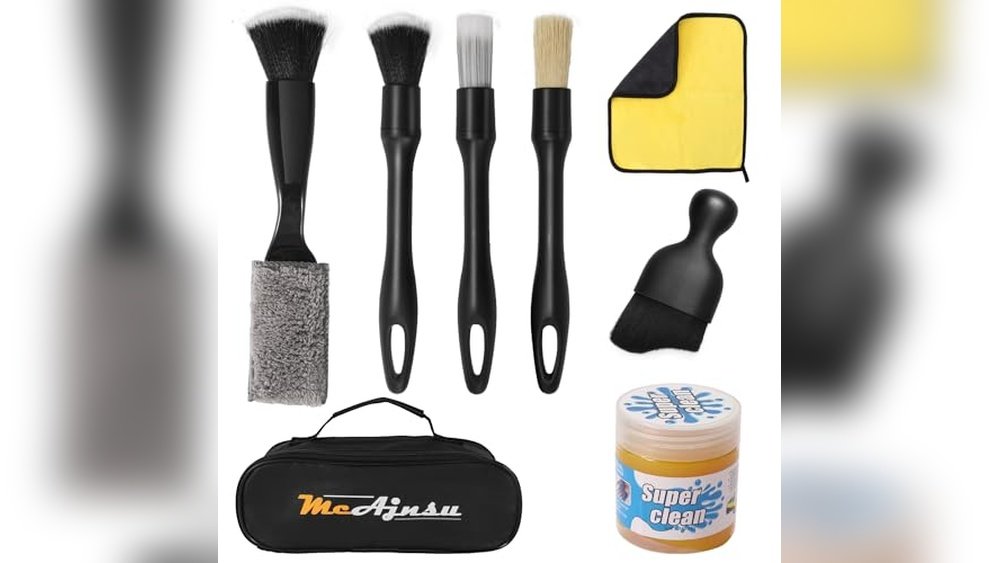
Spot Cleaning Stubborn Dirt
Stubborn dirt requires extra attention. Use a microfiber cloth for spot cleaning. Focus on areas with visible grime or mud. Apply a gentle cleaner on these spots. Rub gently to lift the dirt without damaging the paint.
Applying Foam Like A Pro
Applying foam like a pro can transform your car washing routine from a mundane task to an efficient and satisfying experience. Achieving the perfect foam consistency not only enhances cleaning but also protects your car’s paint. Whether you’re a seasoned detailer or a weekend washer, mastering the foam application can make all the difference. Ready to elevate your foam game? Let’s dive into the essentials.
Proper Distance And Angles
Getting the right distance and angle is crucial for effective foam application. Stand about five feet away from your car. This distance ensures that the foam spreads evenly across the surface without dripping excessively.
Hold the foam cannon at a 45-degree angle to the car’s surface. This angle helps the foam adhere better and ensures thorough coverage. Have you ever noticed streaks or uneven patches? Adjusting your angle might be the solution.
Take a moment to practice on different parts of your car. You’ll soon find the sweet spot that delivers consistent results every time.
Layering Foam For Best Results
Layering foam is more than just spraying and walking away. Begin with a light, even coat across the entire vehicle. This initial layer works as a primer, loosening dirt and grime.
After the first layer, wait a few minutes. Let the foam sit and penetrate the dirt. Then, apply a second coat. This technique ensures deeper cleaning and richer foam consistency.
Have you experimented with layering? It might surprise you how much cleaner your car looks with this simple trick.
Foam cannon usage can be an art form. What other techniques have you tried that improved your car washing routine? Share your experiences below and let’s learn together!
Credit: www.wikihow.com
Letting The Foam Work
Foam cannons make washing cars fun and effective. Spray evenly for the best coverage. Let it sit for a bit. Then rinse thoroughly for a clean finish.
Letting the foam work its magic is a crucial step in achieving that pristine shine on your vehicle. You might be tempted to rinse it off immediately, but patience is key. Allowing the foam to sit on the car’s surface is essential for breaking down dirt, grime, and other debris. This wait not only ensures effective cleaning but also saves you from unnecessary scrubbing. So, how long should you let the foam stay, and what mistakes should you avoid during this process?
Optimal Waiting Times
A common question is, “How long should I let the foam sit?” Typically, waiting around 5 to 10 minutes is ideal. This gives the foam ample time to penetrate and loosen dirt particles. Remember, weather plays a role. On a sunny day, the foam might dry quicker, reducing its effectiveness. Aim for a cloudy day, or work in the shade if possible. During a recent wash, I waited a bit longer, about 15 minutes, and was amazed at how easily the dirt slid off. It felt like the foam was doing all the work for me.
Avoiding Common Mistakes
One common mistake is rinsing off the foam too soon. This might leave stubborn dirt behind, defeating the purpose. Another pitfall is letting the foam dry completely. Dry foam can be hard to rinse and might leave streaks. Keep an eye on it to avoid this. A friend once rushed through the process, only to realize that he had to wash his car again. Taking your time can save you effort in the long run. Are you guilty of scrubbing too hard after foaming? Excessive scrubbing can damage the paint. Let the foam do its job, and use gentle motions instead. As you refine your foam cannon technique, remember: patience and observation are your allies. Letting the foam work effectively can transform your car wash routine. What changes might you make to your process today?
Rinsing And Drying Techniques
Mastering rinsing and drying techniques is crucial to achieving that spotless finish when using a foam cannon. After you’ve applied the foam and let it do its magic, what’s the next step? Proper rinsing and drying can make all the difference between a gleaming car and a streaky one. Let’s dive into how you can refine these techniques to get pro-level results.
Effective Rinsing Methods
Rinsing your car is more than just spraying water haphazardly. Start from the top and work your way down. Gravity is your ally here, helping the dirt and foam slide off naturally.
Use a high-pressure rinse to ensure that all the foam and grime are thoroughly removed. Pay special attention to crevices and edges where dirt tends to hide.
Don’t rush. Take your time to go over each section. Missing a spot can lead to unwanted streaks or water spots. How do you know you’re done? When the water runs clear and there’s no hint of soap left.
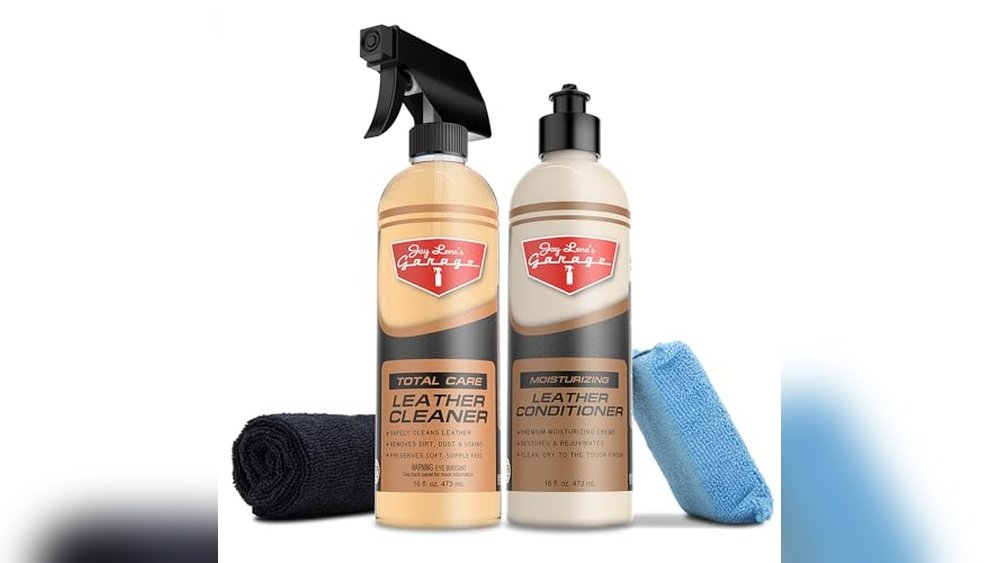
Choosing The Right Drying Cloth
The drying cloth you choose can make or break your car’s finish. Opt for a microfiber cloth, which is known for its absorbency and soft texture. Microfiber cloths prevent scratching and make sure you don’t leave lint behind.
Have multiple clothes on hand. One for the initial wipe to soak up most of the water and another for the final polish. This helps in achieving a streak-free shine.
Personal experience tip: I once used a regular towel and ended up with swirl marks all over. Microfiber cloths are worth the investment for that flawless finish. Have you ever thought about how a simple cloth choice can impact your car’s appearance?

Credit: ethoscarcare.com
Maintaining Your Foam Cannon
Proper maintenance ensures your foam cannon works effectively every time. Rinse after each use to prevent clogs. Store in a dry place to avoid rust. Regular care keeps your foam cannon ready for action.
Maintaining your foam cannon is crucial for ensuring it delivers top-notch performance every time you wash your car. Proper care not only extends the life of the equipment but also ensures a consistent, thick foam application. As someone who once neglected the maintenance of my foam cannon, I can tell you firsthand how frustrating it can be when it stops working efficiently. Let’s dive into some practical tips to keep your foam cannon in peak condition.
Cleaning And Storage Tips
After each use, rinse the foam cannon thoroughly with warm water. This prevents soap residue from drying and clogging the nozzle. Remove the nozzle and soak it in a mixture of water and vinegar to dissolve any soap build-up. A simple toothbrush can be used to scrub away stubborn residue. Store your foam cannon in a dry place, away from direct sunlight. Exposure to harsh conditions can cause wear and tear, reducing its lifespan.
Troubleshooting Common Issues
Is your foam cannon not producing enough foam? Check the soap-to-water ratio. Too little soap can lead to a thin foam; adjust your mixture accordingly. If the foam cannon leaks, inspect the O-ring for damage. Replacing a worn O-ring can often solve leak problems. Does the nozzle seem blocked? Try using a pin to clear out debris. Sometimes, tiny particles can obstruct the flow. Keeping your foam cannon in top shape doesn’t have to be a chore. With regular cleaning and mindful storage, you can avoid many common issues. Have you ever noticed a difference in foam thickness when you tweak the soap ratio? It’s amazing how small changes can make a big impact on your car wash experience!
Want to explore the best car detailing tools? Visit our Top Car Detailing Products page for product reviews.
Frequently Asked Questions
How Do You Get The Best Results From A Foam Cannon?
Use a pressure washer with 2,000 PSI or more. Adjust foam cannon settings for optimal suds. Apply foam evenly on a dry vehicle. Allow foam to dwell for 5 minutes, then rinse thoroughly. Use quality car shampoo for better results.
How To Use A Professional Foam Cannon?
Fill the foam cannon with soap and water. Connect it to a pressure washer. Adjust the nozzle for the desired spray pattern. Apply foam evenly on the vehicle. Let it sit for a few minutes, then rinse off thoroughly with clean water.
Ensure proper maintenance for optimal performance.
Do You Wet A Car Before a Foam Cannon?
Yes, wetting the car before using a foam cannon is recommended. Wetting helps the foam adhere better and ensures even coverage. This pre-rinse removes loose dirt, preventing scratches during washing. Proper preparation enhances the effectiveness of the foam cannon, resulting in a cleaner, shinier vehicle.
How To Make Your Foam Cannon More Foamy?
Use a higher concentration of soap, adjust the nozzle for thicker foam, and ensure proper water pressure. Clean the foam cannon regularly and use warm water if possible. Choose high-quality foam cannon soap for best results.
Conclusion
Using a foam cannon can make car washing fun. It’s not just about spraying soap. It’s a way to clean more efficiently. Remember to adjust the nozzle for the right foam. Practice makes perfect, so try different techniques. Always rinse well to avoid soap spots.
Keep your car looking fresh and clean. Enjoy the process and take your time. Your car will shine bright, and you’ll enjoy the results. Happy washing!