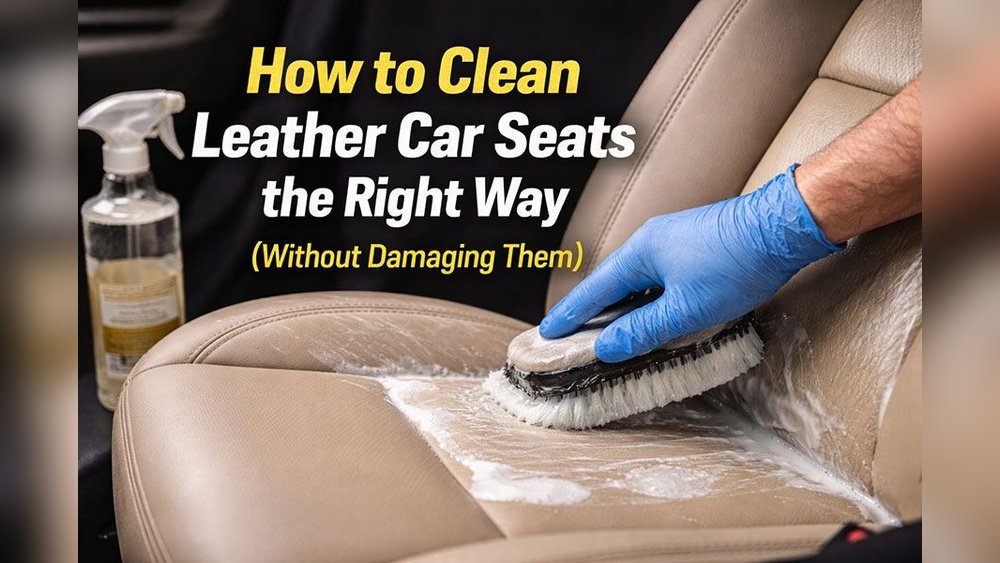
Leather seats make a car feel luxurious and comfortable. But they can easily suffer from dye transfer, especially from jeans, clothes, or bags. This problem is common and frustrating for car owners. The stains can change the look of your seats and, if not treated quickly, may become permanent. You might wonder if you can fix it yourself or if you need professional help. The good news is that with the right methods, you can remove dye transfer and restore your leather seats.
This article gives you clear, practical advice to tackle dye stains. You’ll learn why dye transfer happens, how to identify it, and step-by-step ways to remove it. We’ll cover safe cleaning products, home remedies, and professional tips. You’ll also discover how to prevent future stains and keep your leather looking fresh.
Whether you’re a beginner or have some experience, this guide will help you maintain your car’s interior with confidence.
Understanding Dye Transfer On Leather Seats
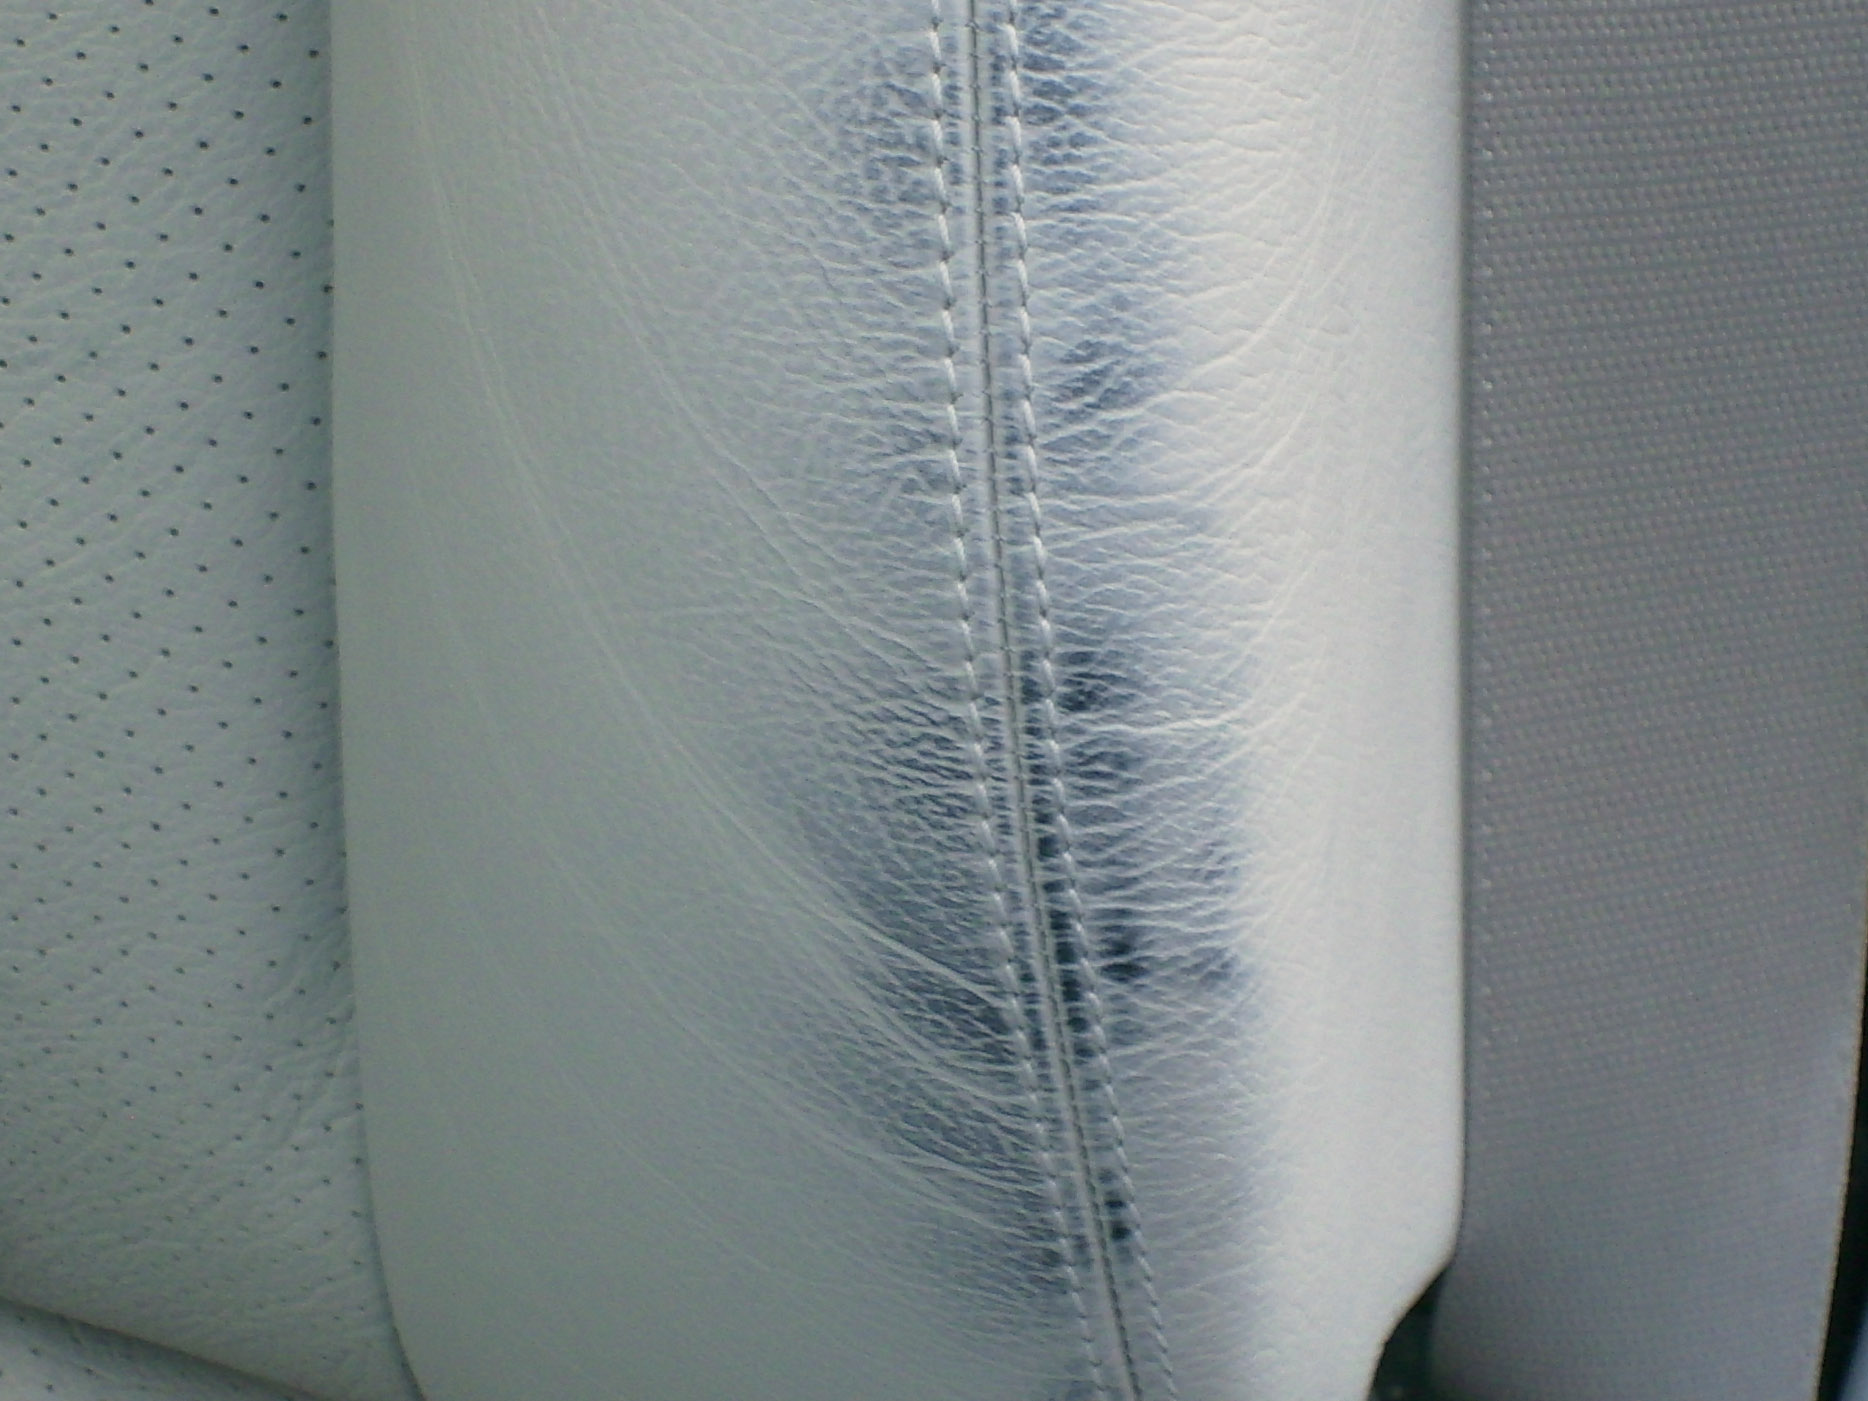
Many people confuse dye transfer with other stains. But dye transfer is unique. It happens when color from clothing or objects rubs off onto leather. This is most common with dark denim jeans, colored jackets, or handbags. Leather is porous, so it absorbs dyes easily. The stains may look blue, black, or even red, depending on the source.
A key insight: new leather and light-colored seats are more vulnerable. The protective coating on leather wears off with time, making dye transfer easier. Also, heat and friction speed up the process. For example, sitting on leather in hot weather or moving around often can increase staining.
Some beginners think regular cleaning will prevent dye transfer. But most standard cleaners don’t remove dye stains. The right method depends on the leather type and how deep the stain is.
Types Of Leather Used In Car Seats
To remove dye transfer, you need to know your leather type. Different types react differently to cleaning products.
| Leather Type | Description | Cleaning Sensitivity |
|---|---|---|
| Full-Grain Leather | Highest quality, natural surface | Very sensitive |
| Top-Grain Leather | Sanded, smooth finish | Moderately sensitive |
| Corrected-Grain Leather | Artificial grain, coated | Less sensitive |
| Bonded Leather | Mixed with polyurethane | Least sensitive |
Full-grain and top-grain leather are most common in luxury cars. They require gentle cleaning. Corrected-grain and bonded leather are found in more affordable models and are usually more robust.
Check your car manual or ask your dealer to confirm the leather type. If you’re unsure, treat your seats as if they’re full-grain—better safe than sorry.
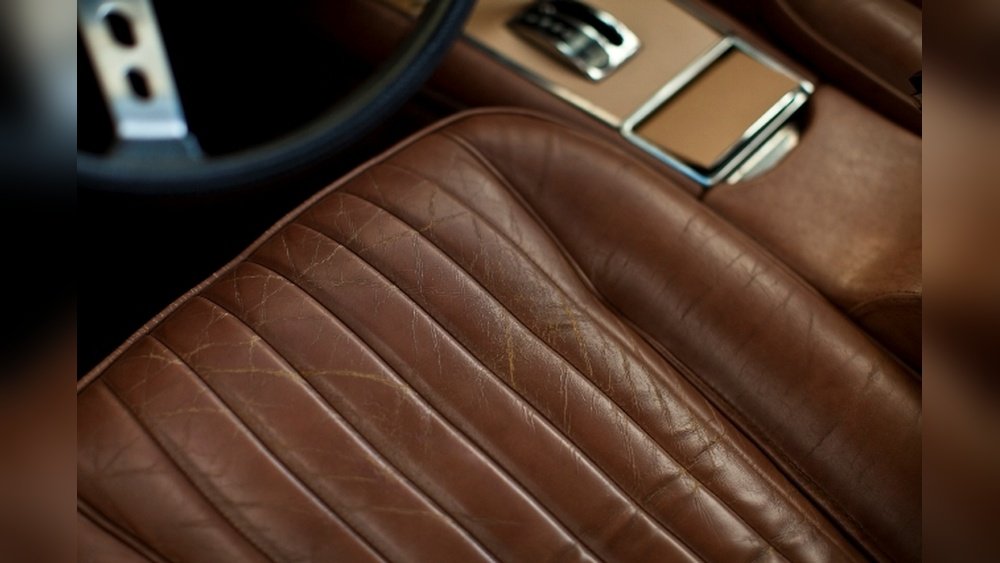
Credit: www.detailedimage.com
Why Dye Transfer Is A Problem
Dye stains are not just cosmetic. They can weaken the leather and damage the protective coating. Over time, dye can seep deep into the material. This causes:
- Permanent discoloration
- Drying and cracking
- Unpleasant odors
- Decreased resale value
A study from the International Leather Institute showed that regular dye transfer can shorten leather lifespan by up to 30%. It’s easier to prevent than to repair. But even if you already have stains, quick action can reduce damage.
Immediate Steps When You Notice Dye Transfer
Acting fast is critical. The longer a stain sits, the harder it is to remove. Here’s what to do right away:
- Blot, don’t rub: Use a clean, dry cloth to gently blot the stain. Rubbing spreads the dye and makes things worse.
- Avoid water: Many people try to wash leather with water. This can push the dye deeper into the pores.
- Check for surface coating: If your leather has a shiny finish, you may have a protective coating. This can help stop dye from penetrating deeply.
Begin cleaning as soon as possible. Even waiting a few hours can make removal much harder.

Credit: www.reddit.com
Preparing Your Leather Seats For Cleaning
Before you use any cleaning product, you need to prepare your seats:
- Vacuum the seats: Remove dust and debris. Use a soft brush attachment.
- Test in an inconspicuous area: Always test your cleaning solution on a hidden spot. Leather reacts differently to chemicals.
- Gather supplies: You’ll need microfiber cloths, leather cleaner, gloves, and possibly a soft brush.
- Read the car manual: Some cars have special instructions. Follow them to avoid voiding your warranty.
Never skip the patch test. Even professional cleaners test products first.
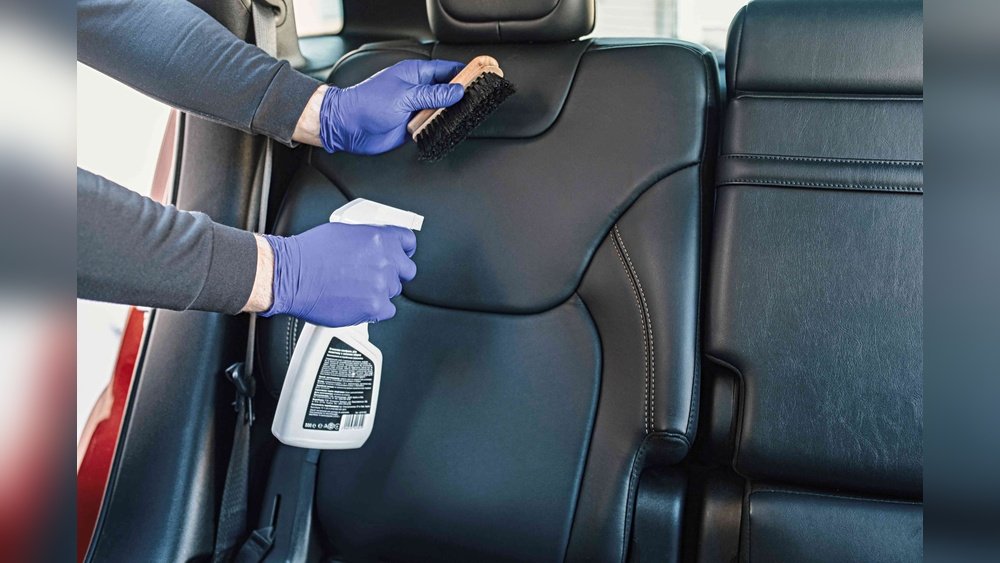
Safe Cleaning Methods For Dye Transfer
Using Commercial Leather Cleaners
Many brands offer leather cleaners designed for cars. Look for products labeled “safe for automotive leather.” Avoid harsh chemicals like bleach, ammonia, or alcohol—they can ruin your seats.
Steps:
- Apply a small amount of cleaner to a microfiber cloth.
- Gently wipe the stained area. Use circular motions.
- Let the product sit for a minute (follow label instructions).
- Wipe away residue with a clean, damp cloth.
- Dry with another microfiber towel.
Repeat as needed. Don’t saturate the leather.
Home Remedies For Dye Removal
If you don’t have a commercial cleaner, you can try safe home remedies. Two popular options:
1. Mild Soap Solution
- Mix a few drops of mild dish soap in a cup of lukewarm water.
- Dampen a microfiber cloth (never soak).
- Blot the stain gently.
- Rinse with a slightly damp clean cloth.
- Dry with a towel.
2. White Vinegar and Water
- Mix equal parts white vinegar and water.
- Dampen a cloth and blot the stain.
- Rinse with water and dry.
These are gentle methods. They work best for fresh stains. Never use baking soda, lemon, or abrasive pads—they scratch leather.
Specialized Leather Stain Removers
Some stains won’t budge with regular cleaners. You may need a leather stain remover. These products use safe solvents to dissolve dye.
Choose a remover designed for automotive leather. Follow instructions carefully. Most require you to:
- Apply with a cotton swab or cloth.
- Let sit for several minutes.
- Wipe off with a clean cloth.
- Repeat if needed.
Do not use paint thinner or nail polish remover. These damage leather and cause discoloration.
Deep Cleaning: When Stains Are Set
If your stain is old or severe, you may need to deep clean. Here’s how:
- Leather cleaner gel: Gel formulas penetrate deeper. Use sparingly.
- Soft brush: Gently work the cleaner into the pores. Avoid scrubbing hard.
- Wipe and dry: Remove all residue and moisture.
For tough stains, repeat the process. Don’t rush—patience is key. If the stain remains after two or three rounds, you may need professional help.
Professional Cleaning Vs. Diy
Sometimes, home methods aren’t enough. Professional cleaners have tools and products you can’t buy easily.
| Method | Effectiveness | Cost | Risk |
|---|---|---|---|
| DIY Cleaning | Good for fresh stains | Low ($10-$50) | Medium (if wrong products used) |
| Professional Cleaning | Best for deep stains | High ($75-$200) | Low (experts know leather types) |
If your seats are expensive or the stain is large, consider professional cleaning. Experts use pH-balanced products and can sometimes re-dye or repair leather.
Conditioning And Protecting Leather After Cleaning
Cleaning removes dirt and stains, but it can also strip natural oils. Conditioning restores softness and adds protection.
Leather conditioner should be applied after cleaning. Choose one made for automotive leather. Here’s how:
- Put a small amount of conditioner on a microfiber cloth.
- Rub gently into the leather.
- Let it absorb for 10–15 minutes.
- Buff with a dry cloth.
Conditioning prevents drying, cracking, and future dye transfer. Many people skip this step, but it’s essential for long-lasting seats.
Preventing Dye Transfer In The Future
Prevention is easier than cleaning. Here are proven ways to reduce dye transfer:
- Use seat covers: High-quality covers protect from stains.
- Avoid dark jeans/clothing: Especially on light seats.
- Clean seats regularly: Weekly wiping removes early stains.
- Apply leather protectant: Many brands offer sprays or creams that block dye.
- Check humidity and temperature: Heat increases dye transfer. Park in shade when possible.
A non-obvious tip: leather protection films are available for luxury cars. These are thin, invisible layers applied professionally.
Common Mistakes And How To Avoid Them
Beginners often make errors that worsen dye transfer. Avoid these mistakes:
- Using too much water: Water swells leather and pushes dye deeper.
- Skipping conditioner: Leather dries out and cracks.
- Using household cleaners: Many contain chemicals that damage leather.
- Scrubbing hard: This removes the protective coating.
- Ignoring regular maintenance: Stains build up over time.
Always use products labeled safe for automotive leather. If unsure, ask an expert or visit your dealership.
How Long Does Dye Removal Take?
The process depends on stain age and depth. Fresh stains can be removed in 15–30 minutes. Older stains may take 1–2 hours or more, especially with deep cleaning and conditioning.
Professional cleaning may require leaving your car for a day. DIY methods are faster but sometimes less effective.
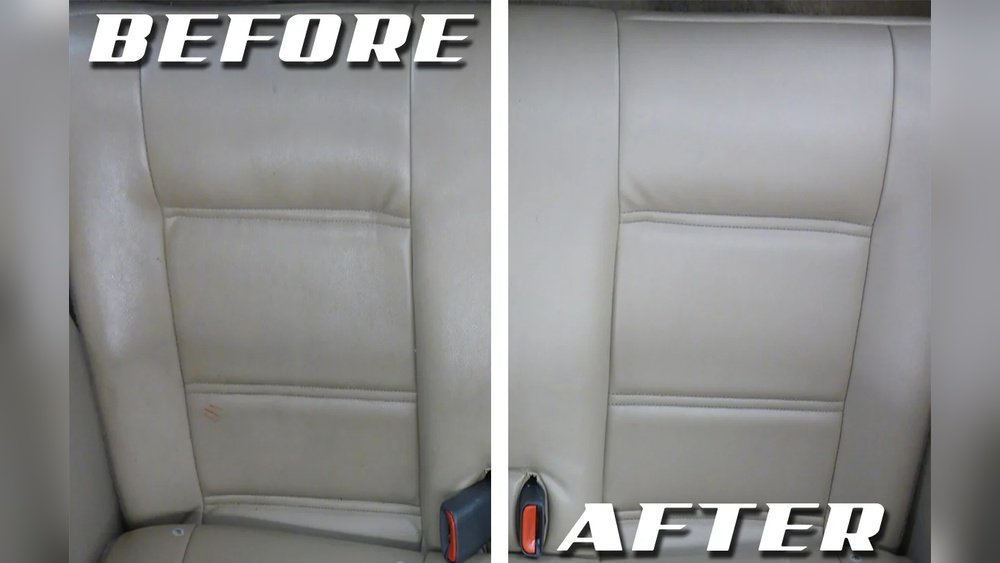
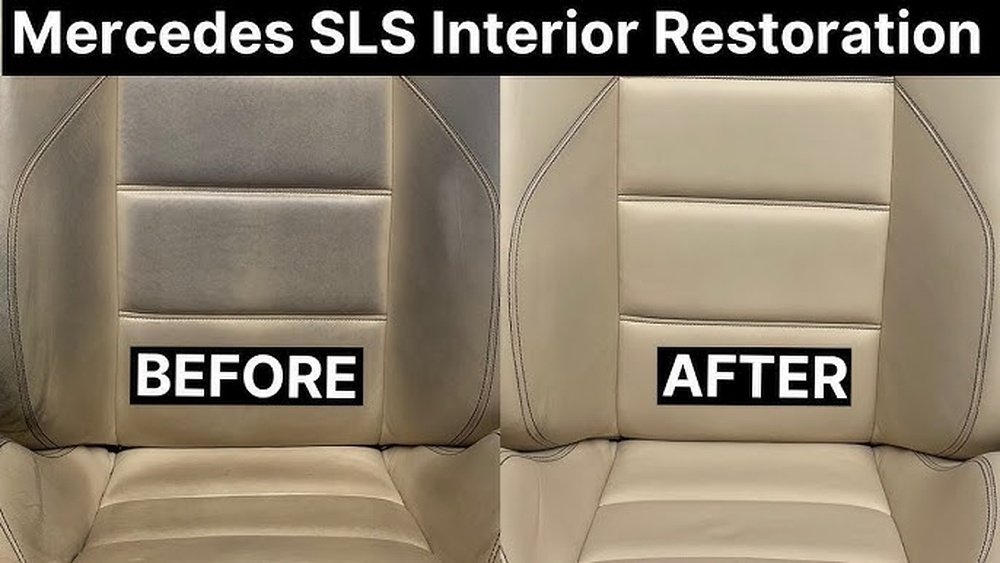
Real-world Example: Removing Dye Transfer From Light Leather
Let’s look at a practical case:
A car owner noticed blue stains on their beige leather seats after wearing new jeans. The stain was fresh, so they acted fast.
- Vacuumed the seat to remove dust.
- Used a mild soap solution to blot the stain.
- Applied a commercial leather cleaner for deeper cleaning.
- Conditioned the seat afterward.
Result: Most of the stain was gone after two rounds. The seat looked almost new. The owner now uses seat covers and wipes seats weekly.
When To Seek Professional Help
If you’ve tried home methods and the stain remains, it’s time for expert help. Signs you need a professional:
- The stain is large or dark.
- The leather feels rough or dry after cleaning.
- Discoloration spreads.
- You’re unsure about the leather type.
Professionals can repair damage and even re-dye seats if needed. This is especially important for luxury vehicles.
Recommended Products For Dye Removal
Here are some trusted brands:
- Lexol Leather Cleaner
- Chemical Guys Leather Cleaner
- Meguiar’s Gold Class Leather Cleaner
- Leather Honey Leather Cleaner
Choose products made for automotive leather. Avoid generic cleaners.
Data: How Often Dye Transfer Occurs
A recent survey found that 27% of car owners with leather seats reported dye transfer within the first year. Light-colored leather was affected three times more than dark leather.
Regular cleaning and protection can cut your risk by more than half.

Credit: colourlock.myshopify.com
Comparison: Leather Vs. Fabric Seats
Some people wonder if fabric seats have the same problem. Here’s a quick comparison:
| Seat Type | Dye Transfer Risk | Ease of Cleaning | Durability |
|---|---|---|---|
| Leather | High | Medium | Long-lasting if cared for |
| Fabric | Low | High | Shorter lifespan |
Leather seats are more prone to dye transfer but last longer if maintained. Fabric is easier to clean but wears out faster.
Expert Tips For Best Results
Some advanced tips that beginners often miss:
- Use distilled water for cleaning—tap water can leave mineral stains.
- Clean seams and creases carefully; dye hides in these areas.
- Avoid cleaning in direct sunlight. Heat dries leather too fast.
- Store cleaning supplies in your car for emergencies.
These small details make a big difference.
Frequently Asked Questions
How Do I Know If The Stain Is Dye Transfer Or Something Else?
Dye transfer stains usually match the color of clothing or bags you’ve used recently. They often appear as blue or black smudges. Other stains, like food or ink, have different colors and may feel sticky or rough. If you’re unsure, try cleaning with a mild soap solution.
Dye stains respond well, while other stains may not.
Can I Use Baby Wipes To Clean Dye Stains From Leather?
Most baby wipes contain chemicals that are not safe for leather. They can strip oils and damage the protective coating. It’s better to use a dedicated leather cleaner or mild soap solution. Always test on a hidden area first.
What Should I Do If The Stain Doesn’t Come Out After Cleaning?
If the stain remains after two or three cleaning rounds, stop and seek professional help. Forcing removal can damage the leather. Professionals have special products and techniques for deep stains.
Is It Safe To Use Alcohol Or Bleach On Leather Seats?
No, alcohol and bleach are too harsh for leather. They cause discoloration, drying, and cracking. Stick to products labeled safe for automotive leather. If you need strong cleaners, consult a specialist.
How Often Should I Clean And Condition My Leather Seats?
Clean your seats at least once a week if you use your car daily. Condition every 2–3 months, or more often if your seats are exposed to heat and sunlight. Regular maintenance prevents stains and keeps leather soft.
Taking care of your leather seats saves money and keeps your car looking new. With the right steps, you can remove dye transfer and prevent future stains. If you need more detailed information, check resources like Leather.org for expert advice. Your seats deserve attention, and the effort pays off every time you drive.