Are you tired of struggling to clean those hard-to-reach spots in your car? Dust and crumbs seem to hide everywhere—from air vents to dashboard crevices.
What if you could make a simple, effective cleaning gel right at home to tackle these tricky areas? DIY car cleaning gel is not only affordable but also super easy to make with everyday ingredients you probably already have. Keep reading, and you’ll discover how to whip up your own gel that grabs dirt and grime effortlessly, saving you time and money while keeping your car spotless.
Ready to transform your car cleaning routine? Let’s dive in!
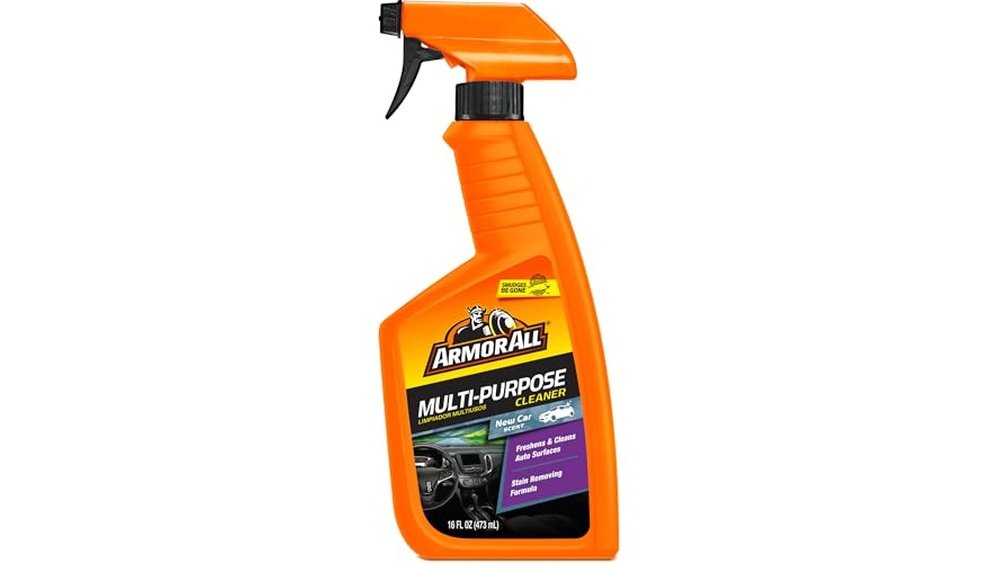
Benefits Of Car Cleaning Gel
Car cleaning gel offers several advantages that make it a popular choice for maintaining vehicle interiors. This gel can tackle dirt and dust effectively, especially in hard-to-reach areas. It is gentle on surfaces, making it safe for use on dashboards, vents, and other delicate parts. Using car cleaning gel reduces the need for harsh chemicals and extensive scrubbing, saving time and effort.
Reach Tight Spaces
The gel easily molds to fit into small gaps and crevices. It picks up dust and crumbs from air vents, buttons, and seams. Traditional cloths cannot access these narrow spaces effectively. The gel’s sticky texture traps dirt without leaving residue behind. It is perfect for cleaning intricate parts of the car interior.
Non-toxic And Safe
Many car cleaning gels are made from non-toxic ingredients. They do not release harmful fumes or chemicals. This makes them safe for use around children and pets. The gel is gentle on plastic, rubber, and fabric surfaces. It reduces the risk of damage compared to strong cleaning agents.
Cost-effective Solution
Making car cleaning gel at home is affordable. It uses simple ingredients like glue, starch, and water. Homemade gel saves money compared to buying commercial products. The gel lasts through multiple uses before needing replacement. This makes it a budget-friendly option for regular car cleaning.
Credit: thesimplescrub.com
Essential Ingredients
Making your own DIY car cleaning gel at home is simple and budget-friendly. The key lies in using the right ingredients. These ingredients create a gel that picks up dirt, dust, and crumbs from hard-to-reach places in your car. Understanding each component helps you mix the perfect cleaning gel with ease.
Baking Soda
Baking soda is a gentle cleaner and deodorizer. It helps absorb odors inside your car. It also gives the gel a slightly gritty texture. This texture helps lift dirt and grime from surfaces.
White Glue
White glue acts as the base of the cleaning gel. It holds all ingredients together. The glue makes the gel sticky enough to trap dust and particles. Use a non-toxic white glue for safe handling.
Contact Lens Solution
Contact lens solution contains boric acid, which helps the gel firm up. It transforms the sticky glue and baking soda mix into a moldable gel. Add it slowly to reach the right consistency. Too much will make the gel too runny.
Optional Additives
You can add essential oils for a fresh scent. A few drops of lemon or lavender oil work well. Food coloring can make your gel colorful and fun. Some people add a small amount of salt to boost cleaning power. These extras are not necessary but can enhance your gel.
Step-by-step Gel Recipe
Making your own car cleaning gel at home is simple and cost-effective. This gel works well to pick up dust and dirt from hard-to-reach spots. Follow this step-by-step gel recipe to create your own cleaning putty. It uses common household ingredients that you likely already have.
Mixing The Ingredients
Start with 1/4 cup of white glue in a bowl. Add 1 tablespoon of baking soda and mix well. Slowly pour in 1-2 tablespoons of contact lens solution. Stir the mixture until it starts to thicken. The glue and baking soda create the base, while the contact solution helps form the gel.
Achieving The Right Consistency
Knead the gel with your hands for about 2 minutes. It should feel stretchy but not sticky. If it sticks to your fingers, add a few drops of contact lens solution. The gel must be firm enough to pick up dirt but soft enough to press into small crevices.
Storage Tips
Store the cleaning gel in an airtight container. Keep it at room temperature away from direct sunlight. This will help the gel stay fresh and stretchy for weeks. If it dries out, add a few drops of water and knead again before use.
How To Use The Gel Effectively
Using DIY car cleaning gel properly ensures a thorough and safe clean. The gel picks up dust and dirt from tight spots. It works best on areas that are hard to reach with a cloth or brush. Press the gel gently on surfaces and pull it away slowly. This method traps grime without scratching your car’s interior.
Cleaning Car Vents
Press the gel into the car vents. Let it seep into the small holes and grooves. Slowly pull the gel out to remove dust and debris. Repeat this step until the vents look clean. The gel reaches places a cloth cannot touch. It keeps vents dust-free and improves air quality inside.
Dashboard And Console
Use the gel on the dashboard and console surfaces. Press the gel lightly on buttons and crevices. It picks up dirt from tiny gaps and textured surfaces. Avoid pressing too hard to prevent damage. Pull the gel away carefully to lift dust and crumbs. This keeps your dashboard shiny and fresh.
Seats And Upholstery
Apply the gel on fabric or leather seats gently. The gel removes dust, crumbs, and pet hair easily. Test a small area first to check for any residue. Press the gel lightly and peel it off slowly. Do not rub, as it may damage the fabric. Use the gel regularly to maintain clean seats and upholstery.
Troubleshooting Common Issues
Making your own DIY car cleaning gel can be fun and effective. Sometimes, though, problems happen with the gel’s texture or performance. Fixing these common issues helps keep the gel useful and easy to work with. Follow these tips to troubleshoot and improve your homemade car cleaning gel.
Sticky Gel Fixes
Sticky gel can leave unwanted marks or stick to surfaces too much. This usually means the gel has too much glue or not enough activator. Add a small amount of baking soda or cornstarch to reduce stickiness. Knead the gel well after adding to mix evenly. Keep adding tiny amounts until the gel feels less sticky but still soft.
Gel Drying Out
Dry gel loses its softness and becomes hard or crumbly. This happens if the gel is left exposed to air for too long. Store the gel in an airtight container after each use. If it dries out, add a few drops of water or lotion. Knead the gel until it regains its softness and stretchiness.
Removing Residue
Sometimes, the gel can leave a thin residue on car surfaces. This usually occurs when the gel is overused or too sticky. Wipe the surface with a clean, damp cloth to remove leftover gel. Using a gentle cleaner or microfiber cloth can help remove stubborn residue. Avoid pressing too hard with the gel to prevent residue buildup.

Credit: www.youtube.com
Safety And Precautions
Making DIY car cleaning gel at home can be fun and cost-effective. It helps remove dust and dirt from small car spaces. Still, safety is very important. Using the right materials and methods keeps you and your car safe. This section explains key safety tips to follow.
Avoiding Damage
Test the gel on a small hidden area first. Some materials can harm car surfaces. Avoid using too much pressure when applying the gel. Do not use gel on delicate or painted parts. Check ingredients to ensure they are safe for car interiors.
Safe Handling
Wear gloves to protect your skin from irritants. Keep the gel away from your eyes and mouth. Avoid touching your face while handling the gel. Wash hands thoroughly after use. Keep children and pets away from the gel during use.
Storage Safety
Store the gel in a sealed container to keep it fresh. Keep the container in a cool, dry place. Avoid direct sunlight or heat sources. Label the container clearly to prevent accidental misuse. Dispose of old or spoiled gel safely according to local rules.
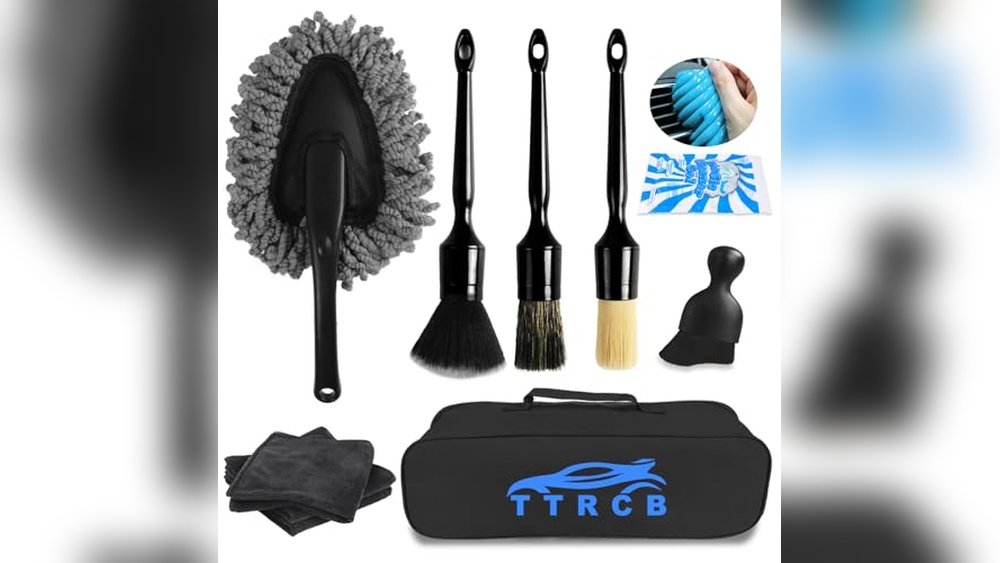
Alternative Diy Cleaning Tools
Alternative DIY cleaning tools offer simple ways to keep your car spotless. These items are easy to find and work well in different cleaning tasks. They help remove dirt, dust, and stains from various car surfaces. Using these tools can save money and reduce the need for harsh chemicals.
Melamine Sponges
Melamine sponges clean without extra soap or chemicals. They act like very fine sandpaper to scrub off grime and stains. Use them gently on dashboards and door panels. Avoid rough use on painted surfaces to prevent scratches. These sponges are great for removing scuff marks and sticky residue.
Lint Rollers
Lint rollers pick up dust, hair, and small debris quickly. They work well on car seats and carpets. Roll them over fabric surfaces to lift pet hair and crumbs. Lint rollers also help clean hard-to-reach places like air vents. They are cheap, easy to use, and disposable for quick cleanup.
Pumice Stones
Pumice stones remove tough stains like water spots and mineral buildup. Use them lightly on glass and plastic surfaces. Wet the stone and the surface before scrubbing to avoid damage. Pumice stones work well on rubber seals and trim to restore their look. Test on a small area first to ensure safety.

Credit: www.youtube.com
Tips For Maintaining A Clean Car Interior
Keeping your car interior clean improves comfort and protects its value. Simple habits help maintain a tidy space without much effort. Consistency is key to prevent dust and clutter from building up. Follow these practical tips to enjoy a fresh and inviting car interior every day.
Regular Cleaning Routine
Set a weekly schedule to clean your car interior. Vacuum seats, floors, and mats to remove dirt and crumbs. Wipe down surfaces using a soft cloth and mild cleaner. Pay attention to the dashboard, steering wheel, and door panels. This routine stops dirt from settling and becoming harder to remove later.
Preventing Dust Build-up
Keep windows closed as much as possible to limit dust entry. Use sunshades to reduce dust settling on the dashboard. Clean air vents regularly with a soft brush or compressed air. Use a DIY car cleaning gel or putty to pick up dust from small crevices. These steps reduce dust and keep the interior looking fresh longer.
Quick Daily Habits
Remove trash daily to avoid clutter and bad smells. Wipe spills immediately to prevent stains and sticky spots. Use a small handheld vacuum or lint roller for quick pickups. Keep a microfiber cloth in the car for fast dusting. These simple habits keep your car neat with minimal time.
Frequently Asked Questions
How To Make Car Cleaning Gel At Home?
Mix white glue, baking soda, and contact lens solution until gel forms. Knead, then use to clean car vents and crevices.
What Is The Best Homemade Solution For Cleaning Cars?
A best homemade car cleaner mixes dish soap, baking soda, and water. Use a microfiber cloth to scrub dirt and grime effectively.
How To Make Car Cleaning Slime Without Borax?
Mix white school glue, baking soda, and contact lens solution. Knead until slime forms. Use to clean car vents and dashboard.
How Do You Make Your Own Car Putty Cleaner?
Mix white school glue, baking soda, and contact lens solution to make DIY car putty cleaner. Knead until firm and non-sticky. Use it to pick up dust and debris from car surfaces.
Conclusion
Making DIY car cleaning gel at home is simple and cost-effective. You only need a few common ingredients found in most households. This gel helps reach tight spaces and removes dust and dirt easily. It saves money compared to store-bought products.
Plus, you control the ingredients for safer cleaning. Give it a try and enjoy a cleaner car with less effort. Small steps like this keep your vehicle looking fresh every day.