Leather car seats can make your vehicle feel luxurious and comfortable. But over time, daily use, sun exposure, and spills can cause cracks in the leather. These cracks not only look bad but can also get worse if ignored. Many car owners worry about replacing seats, but fixing cracked leather is possible—and it’s often easier than you think.
This guide will help you understand why leather cracks, how to assess the damage, and how to restore your seats step by step. Whether you’re a beginner or have tried repairs before, you’ll find clear instructions, practical tips, and examples that make the process simple.
You’ll also learn how to prevent future damage, saving time and money in the long run. Let’s get your car seats looking great again.
Why Leather Car Seats Crack
Leather is a natural material, and while it’s durable, it’s not indestructible. Understanding why it cracks is the first step to a lasting repair.
Common Causes
- Age and Wear: Over time, leather loses its natural oils. As these oils dry up, the leather becomes stiff and brittle, leading to cracks.
- Sun Exposure: UV rays can break down leather fibers, causing fading and cracking. Seats left in direct sunlight age much faster.
- Temperature Changes: Extreme heat or cold causes leather to expand and contract. This movement weakens the material and forms cracks.
- Spills and Chemicals: Liquids, especially acidic or harsh cleaners, strip away protective coatings and oils, making the leather dry and prone to splitting.
- Neglect: Without regular cleaning and conditioning, dirt and grime grind into the leather, speeding up damage.
Data On Leather Longevity
A study from the Automotive Leather Market shows that untreated leather seats often start showing visible cracks within 5-7 years. Proper care can extend this to 10-15 years. This means a little maintenance goes a long way.
Hidden Factors
Many car owners don’t realize that humidity also matters. In dry climates, leather loses moisture quickly. In humid climates, mold or mildew can weaken leather from the inside. Parking habits matter too—cars parked outside face faster deterioration than those kept in garages.
Assessing The Damage
Before you start fixing cracks, it’s important to know how bad the damage is. Not all cracks need the same repair method.
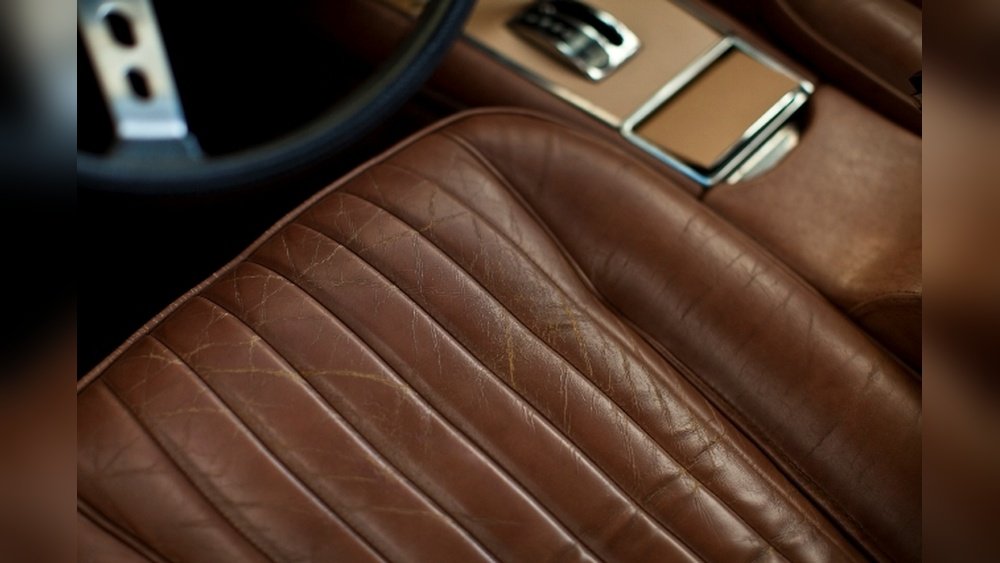
Identifying Crack Severity
- Minor Cracks: Small surface lines, usually less than an inch long. The leather still feels smooth, but looks aged.
- Moderate Cracks: Deeper lines, sometimes with slight color fading. The area may feel rough to touch.
- Severe Cracks: Large splits where the leather separates or exposes the fabric underneath. Sometimes the cracks are wide enough to catch your fingernail.
When To Repair Vs Replace
Repair is possible for most cracks, but if you see:
- Tears larger than 2 inches
- Leather missing or flaking off
- Exposed foam or fabric
Replacement may be more cost-effective. For small to moderate cracks, DIY repair is practical and affordable.
Example Inspection
Run your fingers over the seat. If the cracks feel shallow and the leather is mostly intact, you can fix it yourself. For deep splits or missing chunks, consider professional help.
What You Need: Tools And Materials
Fixing cracked leather car seats requires the right supplies. Here’s a list of what you’ll need:
Essential Items
- Leather cleaner
- Soft cloths (microfiber is best)
- Leather conditioner
- Fine sandpaper (400-600 grit)
- Leather repair kit (includes filler, colorant, and applicators)
- Small spatula or plastic card
- Sponge or brush
- Masking tape (optional, for protecting nearby surfaces)
- Latex gloves (protect your hands)
- Hairdryer or heat gun (optional, speeds up drying)
Recommended Brands
- Leather Honey (cleaner and conditioner)
- Fiebing’s (repair kits)
- 3M (sandpaper)
Data Table: Leather Repair Kit Comparison
Here’s a comparison of popular leather repair kits:
| Brand | Price (USD) | Included Items | Ease of Use | Color Matching |
|---|---|---|---|---|
| Leather Honey | $39.99 | Cleaner, Conditioner, Applicator | Easy | Good |
| Fiebing’s | $29.95 | Repair Compound, Colorant, Tools | Moderate | Excellent |
| 3M | $24.50 | Filler, Sandpaper, Instructions | Easy | Fair |
Non-obvious Supplies
Many beginners skip latex gloves and masking tape, but these can prevent messy accidents and protect your car’s interior. Always check your repair kit for color matching options—some kits work for only one shade.
Step-by-step Guide To Fix Cracked Leather Car Seats
Now that you have your tools, let’s repair those cracks.
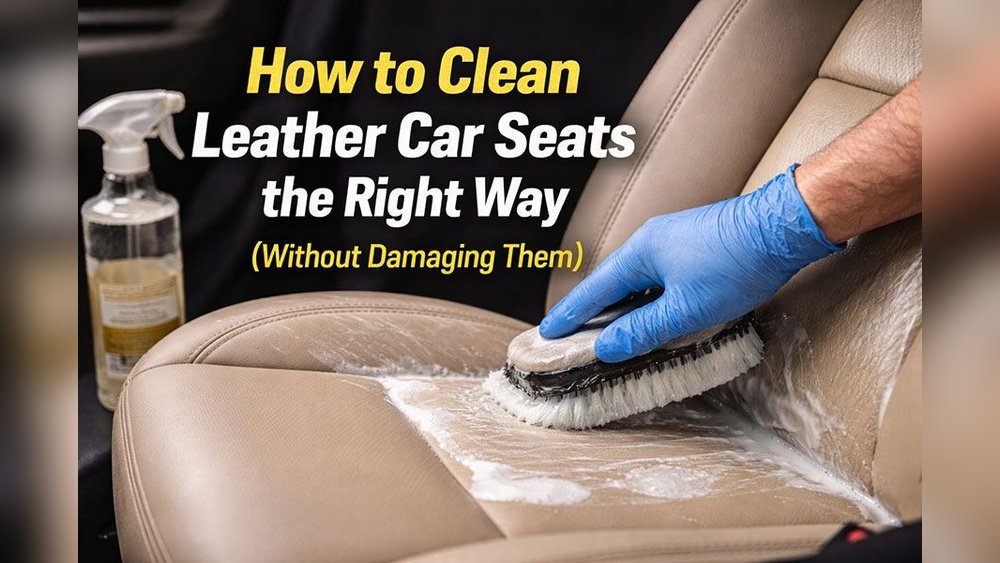
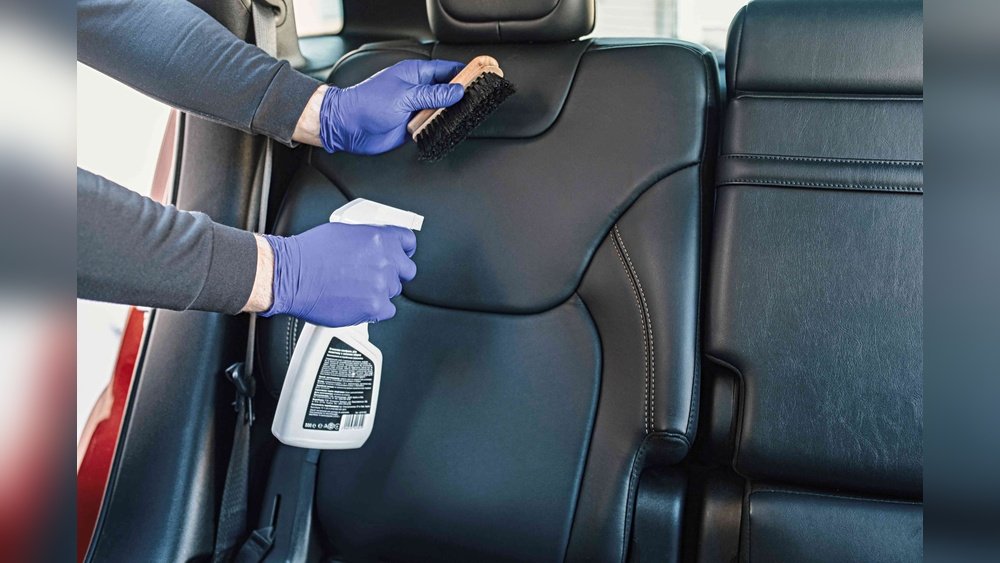
Step 1: Clean The Leather
Start by cleaning the seat. Dirt and oils interfere with the repair materials.
- Spray or apply leather cleaner to the cracked area.
- Use a soft cloth to gently rub in a circular motion.
- Remove all residue and let the seat dry completely.
Tip: Don’t use household cleaners or alcohol—they dry out leather further.
Step 2: Sand The Area
Use fine sandpaper to smooth the cracked surface. This helps the filler stick and prevents bumps.
- Lightly sand the cracks until the leather feels smooth.
- Wipe away dust with a clean cloth.
Common Mistake: Sanding too hard can damage the leather. Always use gentle pressure.
Step 3: Apply Leather Filler
Leather filler fills in cracks and restores a smooth surface.
- Put on latex gloves.
- Use a small spatula or plastic card to spread filler into the cracks.
- Press the filler gently and remove excess.
- Let the filler dry for at least 1 hour (use a hairdryer to speed up).
Insight: Some fillers shrink as they dry. Apply a second layer if needed.
Step 4: Sand Again
After the filler dries, sand lightly to smooth the area.
- Use fine sandpaper again.
- Wipe the area clean.
Step 5: Apply Leather Colorant
Now restore the color to match your seat.
- Use a sponge or brush to apply colorant in thin layers.
- Let each layer dry before applying the next.
- Repeat until the repaired area blends in.
Tip: Test colorant on a hidden spot first to check for match.
Step 6: Condition And Protect
Finish by conditioning the leather. This restores moisture and gives a protective finish.
- Apply leather conditioner with a clean cloth.
- Let it soak for 20-30 minutes.
- Buff with a dry cloth for shine.
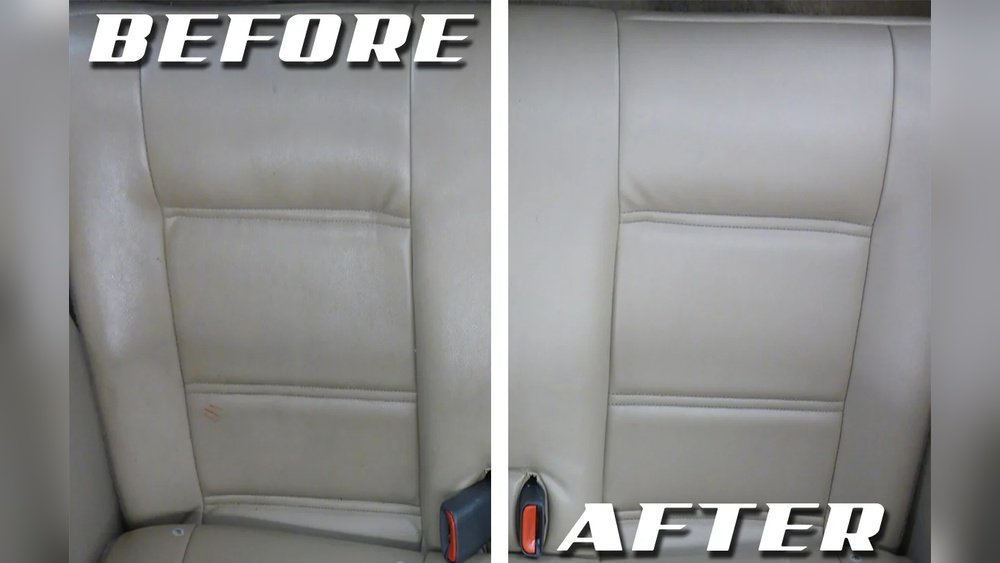
Practical Example: After repairing a black leather seat, a car owner saw the cracks disappear and the seat looked nearly new. With regular conditioning, the repair lasted over a year.
Step 7: Optional Heat Treatment
Some kits recommend a heat gun to cure the filler and colorant. Use low heat and keep moving to avoid burning the leather.
Tips For A Professional Finish
Getting a good result depends on careful work. Here are some tips:
- Patience is key. Rushing causes uneven repairs.
- Layer products thinly. Thick layers crack again.
- Match colors carefully. Use colorant charts or mix colors if needed.
- Protect nearby areas. Masking tape prevents stains.
- Let each layer dry fully. Moisture ruins the finish.
Data Table: Repair Results Vs. Methods
Compare how repair methods affect results:
| Method | Average Repair Time | Durability | Appearance | Cost |
|---|---|---|---|---|
| DIY Kit | 2-3 hours | 1-2 years | Good | $25-$40 |
| Professional Service | 1 day | 3-5 years | Excellent | $150-$300 |
| Seat Replacement | 1-2 days | Lifetime | Perfect | $500-$2000 |
Preventing Future Cracks
Fixing cracks is useful, but preventing them saves money and keeps your car looking sharp.
Regular Maintenance
- Clean monthly: Use gentle cleaners to remove dirt.
- Condition quarterly: Apply conditioner every 3 months.
- Inspect often: Look for early signs of dryness or fading.
Protect From Sun
- Use seat covers: Covers block UV rays and slow aging.
- Park in shade: Keeps interior cool and reduces damage.
- Apply UV protectant: Some conditioners have UV blockers.
Avoid Harsh Chemicals
- Use only products made for automotive leather.
- Avoid bleach, alcohol, and strong detergents.
Data: Leather Care Frequency
Research shows that cars cared for monthly have 50% fewer cracks after 5 years compared to those cleaned only once a year.
Practical Example
A car owner who conditioned seats regularly kept leather soft and crack-free for over a decade, even in a sunny climate.
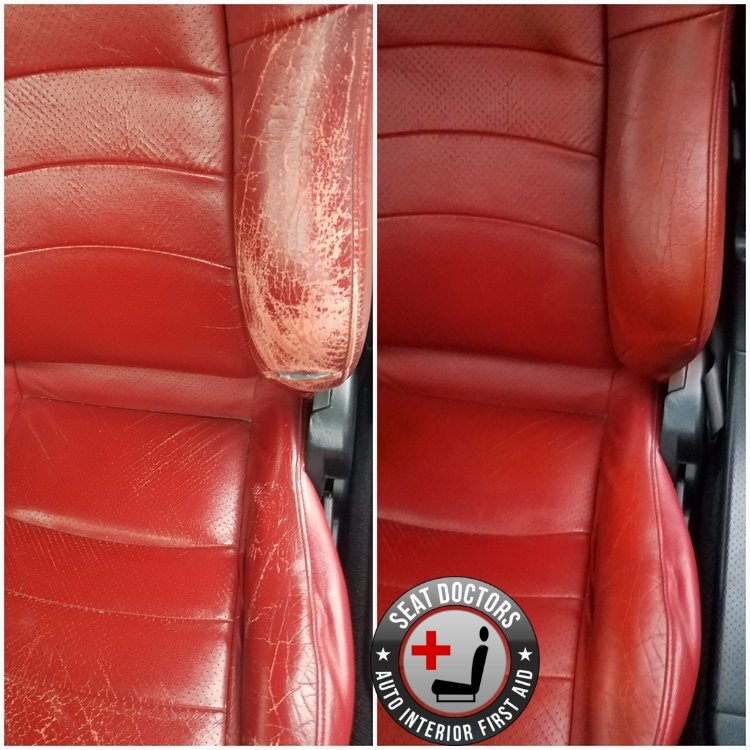
Credit: www.seatdoctors.com
Common Mistakes And How To Avoid Them
Even experienced DIYers make errors. Here are mistakes to watch out for:
- Skipping cleaning: Filler won’t stick to dirty leather.
- Using too much filler: Creates lumps and uneven surface.
- Not matching color: Results in patchy repairs.
- Ignoring drying times: Causes peeling and poor finish.
- Using household products: Damages leather further.
Insider Tip: Always read instructions for your repair kit. Each brand has unique steps.
When To Seek Professional Help
DIY repairs are great for minor to moderate cracks, but some situations need experts.
Signs You Need A Pro
- Cracks cover large areas
- Deep tears or holes
- Leather is stiff or flaking
- Color matching is impossible
Benefits Of Professional Repair
- Longer-lasting results
- Perfect color match
- Repair of structural damage
Professional services use industrial-grade fillers and colorants. If your car is valuable or you’re unsure, investing in expert help is wise.

Credit: mechanics.stackexchange.com
Cost Of Repair Vs Replacement
Understanding costs helps you decide on the best solution.
Repair Costs
- DIY kits: $25-$40 per seat
- Professional repair: $150-$300 per seat
Replacement Costs
- Factory seat: $500-$2000 per seat
- Custom leather: $2000+ per seat
For most car owners, DIY repair is the most affordable option.
Data Table: Cost Comparison
| Repair Option | Cost (USD) | Time Required | Longevity |
|---|---|---|---|
| DIY Repair Kit | $25-$40 | 2-3 hours | 1-2 years |
| Professional Repair | $150-$300 | 1 day | 3-5 years |
| Seat Replacement | $500-$2000 | 1-2 days | Lifetime |
Real-life Examples
Let’s look at a few success stories.
Example 1: Small Crack Repair
A driver noticed small cracks on his tan leather seat after 6 years. Using a Leather Honey kit, he cleaned, filled, and colored the area. The repair took 2 hours and lasted over 18 months.
Example 2: Large Crack Fix
A family van had a deep crack, almost 2 inches long. Using a Fiebing’s kit, they patched the crack and matched color by mixing two shades. The repair blended well, and the seat looked good for 2 years.
Example 3: Preventive Care Success
A car owner in Arizona used UV protectant and conditioner every 3 months. After 10 years, his leather seats had almost no cracks, proving that prevention works.

Credit: www.youtube.com
Frequently Asked Questions
How Long Does A Diy Leather Repair Last?
A well-done DIY repair lasts 1-2 years. Regular conditioning extends the life. Professional repairs can last up to 5 years.
Can I Fix Cracks Without A Repair Kit?
You can improve the look with cleaner and conditioner, but deep cracks need filler and colorant. Kits give better, longer-lasting results.
Is It Safe To Use Household Products On Leather Seats?
No. Household cleaners often contain chemicals that damage leather. Always use products made for automotive leather.
How Can I Match The Color Of My Seat?
Most repair kits come with color charts. Test colorant on a hidden spot. If you can’t find a match, mix colors or ask the manufacturer for advice.
What’s The Best Way To Prevent Leather Cracks?
Clean and condition your seats regularly, avoid sun exposure, and use products with UV protection. Prevention is easier and cheaper than repair.
—
Fixing cracked leather car seats is a practical skill that saves money and keeps your car looking sharp. With the right tools, a little patience, and regular maintenance, you can restore your seats and prevent future damage. Whether you choose DIY or professional help, understanding the causes and solutions puts you in control. For more tips on leather care, check out Consumer Reports. Start your repair today and enjoy a comfortable, beautiful ride for years to come.