Leather seats add a touch of luxury to any vehicle. They look impressive, feel comfortable, and often increase the value of your car. But leather is also sensitive. One of the biggest challenges is removing oil and grease stains. These can come from food spills, sweat, skin oils, or accidental contact with engine grease. If not treated quickly, oil can seep deep into the leather, making stains harder to remove and even causing permanent damage.
This guide gives you step-by-step advice on how to remove oil and grease from leather seats, explains why stains happen, and helps you avoid common mistakes. You’ll also learn about the best products, homemade solutions, and professional tips. Whether you’re dealing with a fresh spill or an old stain, you can restore your leather seats to their best condition.
Why Oil And Grease Are Tough On Leather
Leather is made from animal skin, treated and finished to become a durable material. It’s naturally porous, which means it can absorb liquids and oils. When oil and grease get on leather, they quickly soak in. This causes:
- Dark stains that stand out against the leather.
- Sticky residue that attracts more dirt.
- Weakening of the leather fibers, making seats less durable.
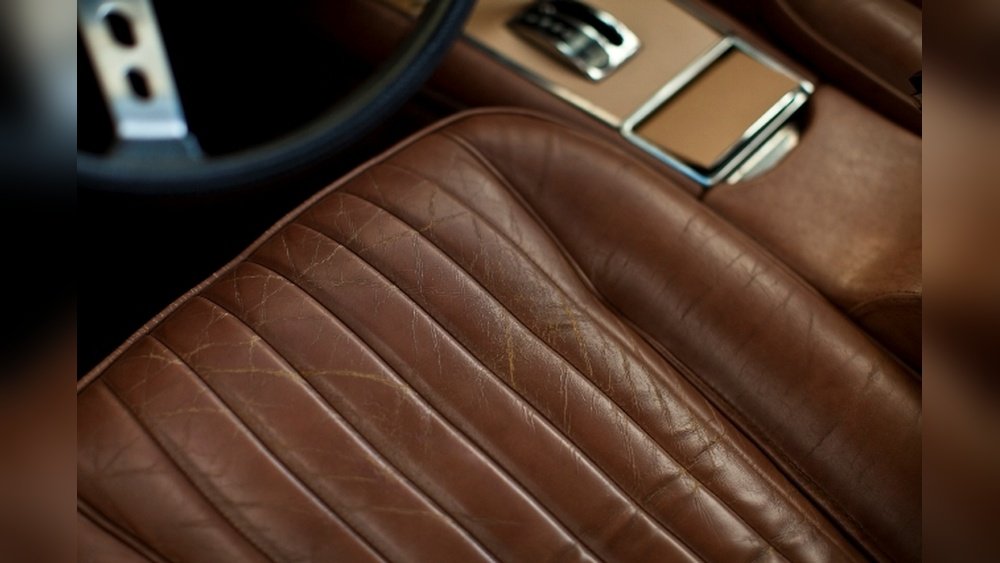
Unlike fabric, leather doesn’t allow stains to be easily washed away. Once oil gets deep into the material, normal cleaning methods may not work. If you ignore oil stains, they can also lead to cracking and fading.
Types Of Oil Stains You Might Face
Not all oil stains are the same. Here are common types:
- Human oil: Sweat, skin oils, and hair products.
- Food grease: French fries, burgers, sauces, and salad dressings.
- Mechanical grease: Engine oil, lubricants, and workshop residues.
- Cosmetic oils: Lotions, creams, and makeup.
Each type can cause different problems. Some are easier to remove, while others need more work.
What You Need Before Cleaning Leather Seats
Preparation is important. Before you start, gather the right tools and products. Using the wrong cleaner or method can cause more damage.
Essential Tools And Materials
- Soft microfiber cloths (at least 3)
- Leather cleaner (commercial or homemade)
- Leather conditioner
- Bowl of lukewarm water
- Soft-bristled brush
- Vacuum cleaner with a brush attachment
- Cornstarch or baking soda (for oil absorption)
- Cotton swabs (for small spots)
- Disposable gloves (optional)
Choosing The Right Cleaner
There are many cleaners for leather. Some are safe, others are not. Avoid harsh chemicals, bleach, or ammonia—they can strip the leather’s finish. Look for products labeled “safe for leather. ” If you want a homemade solution, mild soap and water usually work for light stains.
Here’s a quick comparison of common cleaning products:
| Product Type | Best For | Possible Risks |
|---|---|---|
| Commercial Leather Cleaner | Deep stains, routine cleaning | Expensive, may contain harsh chemicals |
| Mild Soap & Water | Fresh, small stains | May leave residue if not rinsed |
| Baking Soda/Cornstarch | Oil absorption | Can scratch if rubbed too hard |
| Alcohol-Based Cleaner | Very stubborn stains | Can dry out leather, cause fading |

Credit: www.jdpower.com
Step-by-step Guide: Removing Oil And Grease From Leather Seats
Cleaning leather is not just about wiping. Here’s a detailed process you can follow for best results.
Step 1: Act Fast
The sooner you deal with the stain, the easier it is to remove. Fresh oil stains are much easier than old, set-in ones. Use a clean microfiber cloth to blot (not rub) the area. Remove excess oil gently.
Step 2: Absorb The Oil
If the stain is still wet, sprinkle cornstarch or baking soda directly onto the spot. These powders pull oil out from the leather. Let them sit for at least 30 minutes. For tough stains, leave the powder overnight.
Afterward, use a soft brush or cloth to remove the powder.
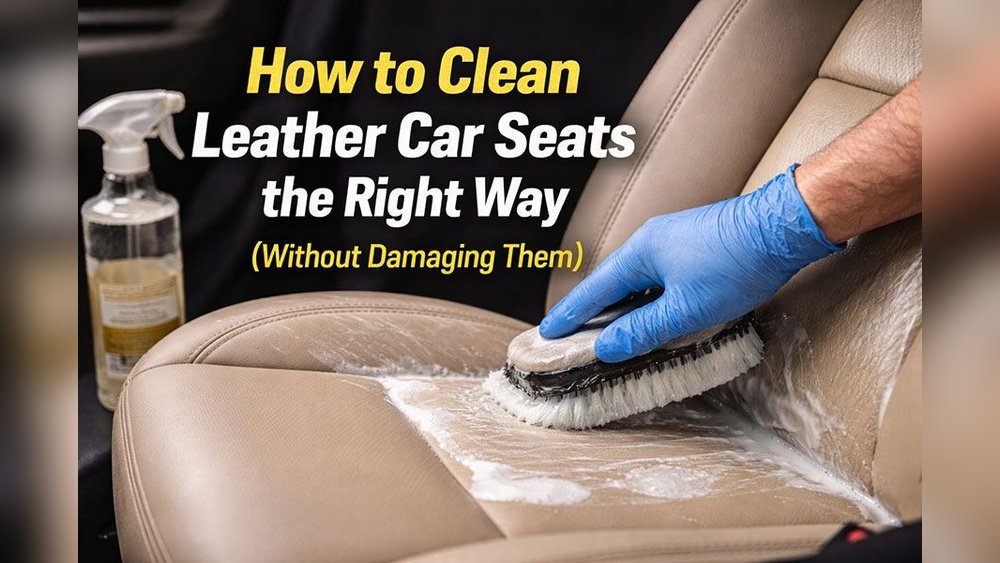
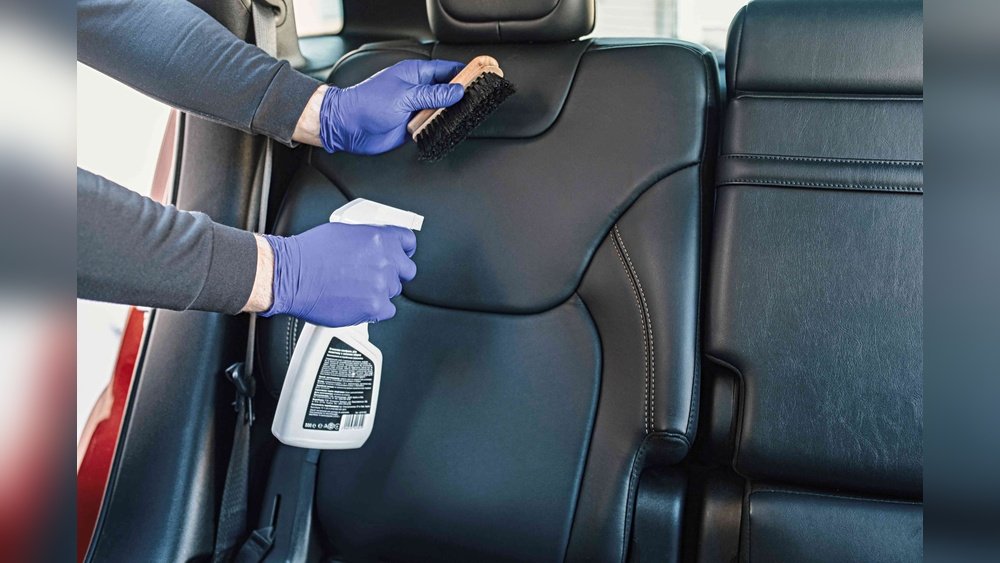
Step 3: Clean With Leather Cleaner
Apply a small amount of leather cleaner to a clean microfiber cloth. Wipe the stained area gently. Do not soak the leather—too much moisture can cause more damage.
If you use a homemade cleaner, mix a few drops of mild dish soap in a bowl of water. Dip the cloth, wring it out well, and wipe the area. Always test the cleaner in an invisible spot before using it on the stain.
Step 4: Rinse And Dry
Dampen another cloth with clean water and wipe off any soap or cleaner residue. Then, dry the area with a third cloth. Never use a hair dryer or direct sunlight, as heat can crack the leather.
Step 5: Condition The Leather
After cleaning, leather can become dry. Use a leather conditioner to restore moisture and keep the material soft. Apply a small amount, rub it in gently, and buff with a dry cloth. Conditioning also helps prevent future stains.
Step 6: Repeat If Needed
Some oil stains need more than one cleaning. If the stain is still visible, repeat steps 2–5. Be patient and avoid aggressive scrubbing.
Homemade Solutions For Oil And Grease Removal
Commercial products are effective, but many people prefer homemade cleaners. These are usually safer and cost less. Here are some options:
Baking Soda Paste
Mix baking soda with a little water to make a thick paste. Apply to the stain and let sit for 30–60 minutes. Wipe off with a damp cloth.
Cornstarch Method
Sprinkle cornstarch directly onto the stain, let sit, and brush off. For deeper stains, repeat several times.
Vinegar Solution
Mix equal parts white vinegar and water. Dampen a cloth with the mixture and wipe the stain gently. Vinegar is a natural degreaser but can dry out leather, so always follow with a conditioner.
Mild Soap Solution
Use a few drops of gentle dish soap in water. Clean the stain, rinse with a damp cloth, and dry.
Non-obvious tip: Homemade solutions work best on fresh, light stains. Deep, old stains often need professional products.
Common Mistakes When Cleaning Leather Seats
Many people make errors that worsen stains or damage leather. Avoid these:
- Rubbing hard: This pushes oil deeper, scratches the surface, and makes stains worse.
- Using too much water: Leather hates moisture. Excess water causes swelling, fading, and mold.
- Applying harsh chemicals: Products like bleach or acetone break down leather fibers and ruin color.
- Skipping conditioner: After cleaning, leather needs moisture. Skipping this step causes dryness and cracking.
- Ignoring the stain: The longer oil sits, the harder it is to remove.
Non-obvious insight: Always use a soft cloth. Paper towels can leave lint and scratch the leather.
Professional Cleaning Vs. Diy Methods
Sometimes, stains are too stubborn for home cleaning. When should you call a professional?
Signs You Need Professional Help
- Large, deep stains
- Stains that won’t fade after several cleanings
- Very light or dark leather where color may be affected
- Luxury or vintage car seats
Professional cleaners have special tools and chemicals. They can also re-dye leather if the stain has caused fading.
Diy Vs. Professional: Cost And Results
Here’s a quick comparison:
| Method | Average Cost | Success Rate | Risks |
|---|---|---|---|
| DIY Cleaning | $10–$30 | Good for fresh stains | Possible damage if done wrong |
| Professional Cleaning | $80–$200 | Excellent for all stains | Higher cost, need to schedule |
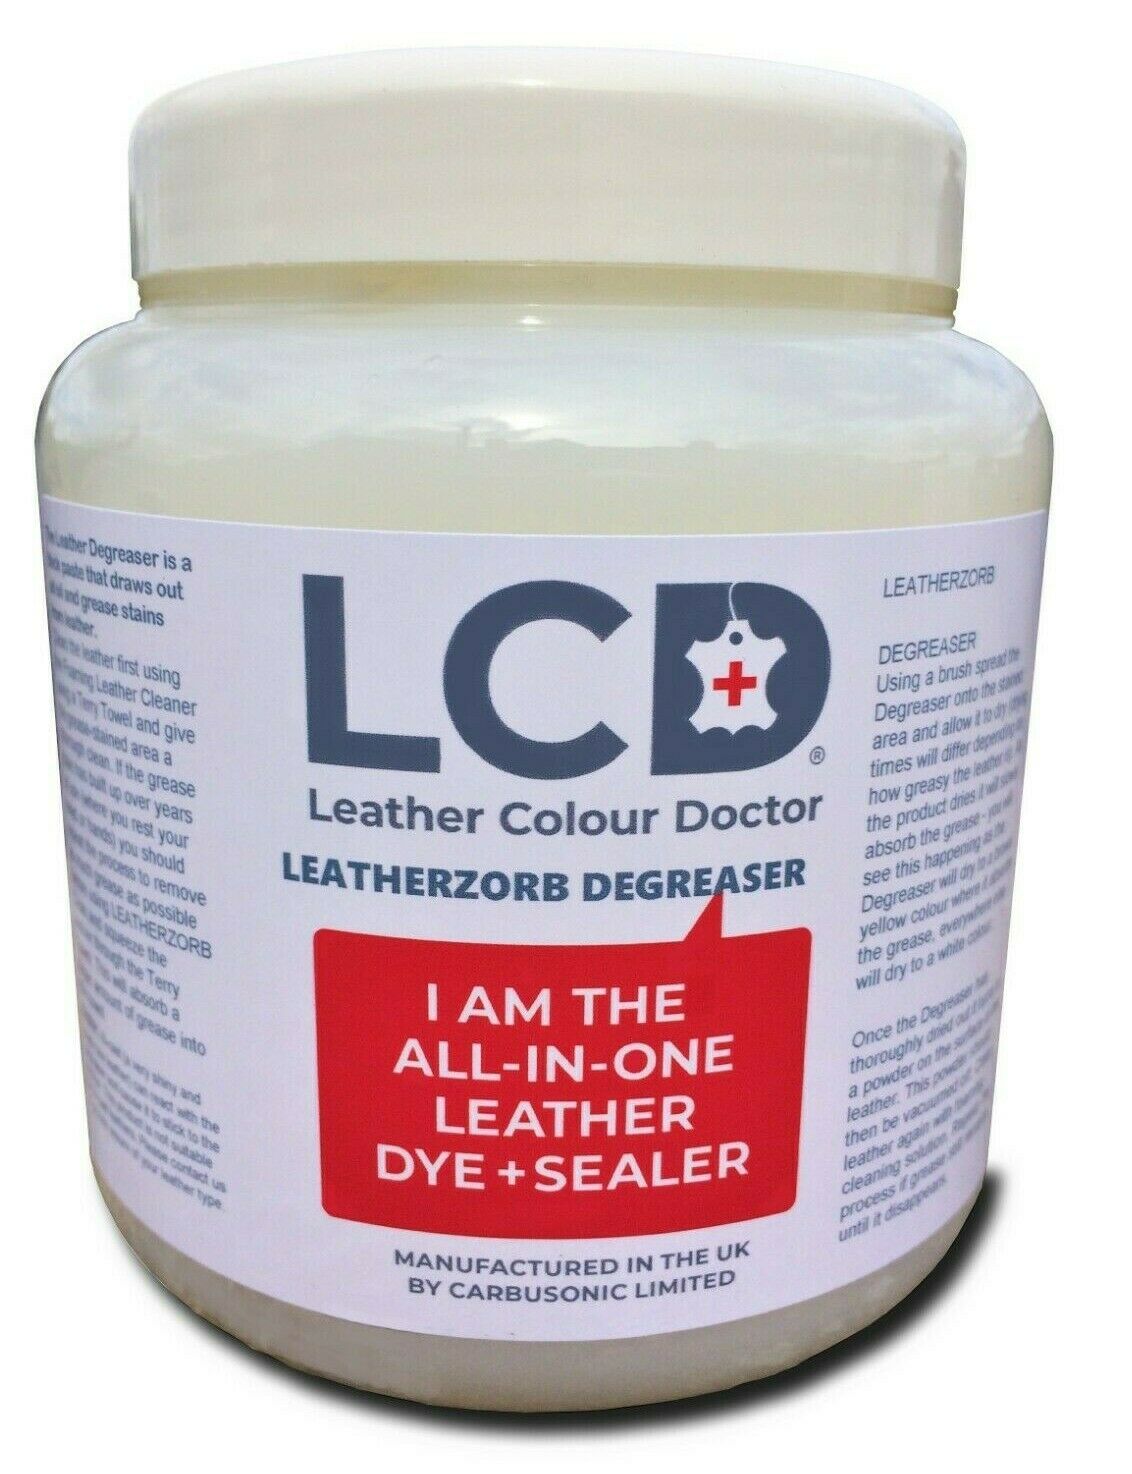
Credit: www.theleathercolourdoctor.co.uk
How To Prevent Oil And Grease Stains
Prevention is always better than cure. Protect your leather seats with these strategies:
- Use seat covers: Especially if you eat in the car or have kids.
- Clean seats regularly: Dust and wipe down once a week to remove surface oils.
- Avoid eating greasy foods in the car: Simple but effective.
- Use leather protector sprays: These create a barrier against spills.
- Keep hands and skin clean: Oils from skin can transfer to seats.
Non-obvious tip: Place a towel or cloth on the seat when working with mechanical parts or handling greasy items.
How To Choose The Best Leather Cleaner For Oil Stains
Not all leather cleaners are equal. Some are designed for routine cleaning, others for tough stains. Look for these features:
- Oil removal ability: Does the cleaner mention oil and grease?
- Safe ingredients: Avoid harsh chemicals.
- Easy application: Spray or wipe-on is best.
- Good reviews: Check user ratings for effectiveness.
Here’s a comparison of popular cleaner brands:
| Brand | Oil Removal | Safe for All Leathers | Price Range |
|---|---|---|---|
| Lexol Leather Cleaner | Yes | Yes | $10–$15 |
| Leather Honey Cleaner | Yes | Yes | $15–$25 |
| Meguiar’s Gold Class | Moderate | Yes | $10–$20 |
| Homemade Soap Solution | Light stains | Yes | $2–$5 |
How Often Should You Clean And Condition Leather Seats?
Regular maintenance keeps leather healthy and stain-free. For most cars:
- Clean seats once a month (more often if you notice stains or spills).
- Condition seats every 3–6 months to keep leather soft and flexible.
If your car sees heavy use or you often eat inside, consider cleaning and conditioning more often.
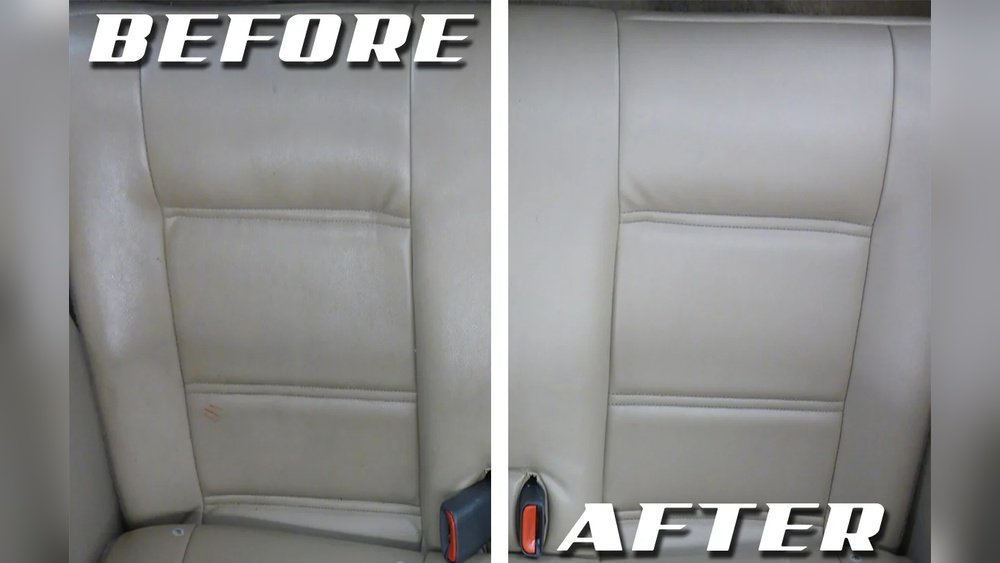
Real-life Examples: Removing Oil From Leather Seats
Let’s look at a few situations:
Example 1: Fresh French Fry Grease
Sarah drops a French fry on her beige leather seat. She notices a small, dark stain.
- She blots with a microfiber cloth.
- Sprinkles baking soda and leaves it for an hour.
- Wipes off, then cleans with mild soap and water.
- Conditions the seat.
The stain disappears. This quick action prevents lasting damage.
Example 2: Old Engine Oil Stain
Mike’s car has a dark patch from engine oil, set for weeks.
- He tries baking soda and vinegar, but the stain remains.
- Uses a commercial leather cleaner twice.
- The stain fades but does not disappear.
- Mike calls a professional, who removes the stain and restores color.
Insight: Old oil stains often need expert help.
Example 3: Lotion Stain From Skin
Jenna’s seats have light, shiny patches from daily lotion use.
- She uses a leather cleaner once a week.
- Conditions monthly.
- The stains don’t return.
Regular cleaning prevents buildup.
When To Avoid Cleaning Yourself
Sometimes it’s safer to avoid DIY cleaning:
- Very light-colored leather: Easy to discolor.
- Perforated or textured leather: Oil can get trapped in holes.
- Seats with worn or cracked finish: Cleaning can worsen damage.
If unsure, test any cleaner in a small, hidden spot.
Expert Tips For Better Results
- Always test cleaners before full use.
- Use circular motions for wiping—reduces streaks.
- Do not mix products: Stick to one cleaner at a time.
- Condition after every cleaning: Maintains softness.
- Store cleaning supplies in your car: Quick access for spills.
Non-obvious insight: Leather seats can change color if cleaned too much. Over-cleaning removes the protective finish. Clean only as needed.

Credit: www.youtube.com
Frequently Asked Questions
How Do I Remove Old, Set-in Oil Stains From Leather Seats?
Old stains are harder to remove. Try baking soda or cornstarch to absorb oil. Use a commercial leather cleaner, repeating the process if needed. If stains remain, professional cleaning may be necessary.
Is It Safe To Use Vinegar On Leather Seats?
Vinegar is a natural degreaser but can dry out leather. Mix it with water (equal parts), and always use a conditioner after cleaning. Test in a hidden area first.
Can I Use Soap And Water To Clean Oil Stains?
Mild soap and water are safe for light stains. Avoid using too much water, and dry the seat well. Always follow up with a leather conditioner.
What Should I Avoid When Cleaning Leather Seats?
Avoid harsh chemicals (bleach, ammonia, acetone), rough cloths, and excess moisture. Don’t scrub hard or use heat to dry leather.
How Often Should I Condition Leather Seats?
Condition every 3–6 months, or after each deep cleaning. This keeps leather soft and prevents cracking.
Final Thoughts
Removing oil and grease from leather seats is possible with the right tools and techniques. Act quickly, use gentle products, and always finish with a conditioner. If stains persist, don’t hesitate to seek expert help. Regular cleaning and prevention are key to keeping leather seats looking luxurious and feeling comfortable. For more tips on leather care, check out Autogeek Leather Care. With proper care, your leather seats will stay beautiful for years to come.